

You're standing at the daycare pickup shelf, holding a blue coat that looks exactly like three others. Your child's jacket has disappeared into the week's laundry shuffle, and the camp bag has returned with someone else's towel. A quick name mark could have prevented the mix-up, but a rushed label that peels after its first wash only creates another chore.
Name iron ons solve that problem by bonding a personalized label directly to fabric with heat. They're more durable than a marker and less dependent on a needle and thread than sewn-in labels, which makes them useful for uniforms, towels, swim gear, jackets, socks, and everyday clothing. The key is applying them for the fabric you have, not pressing for a few seconds and hoping for the best.
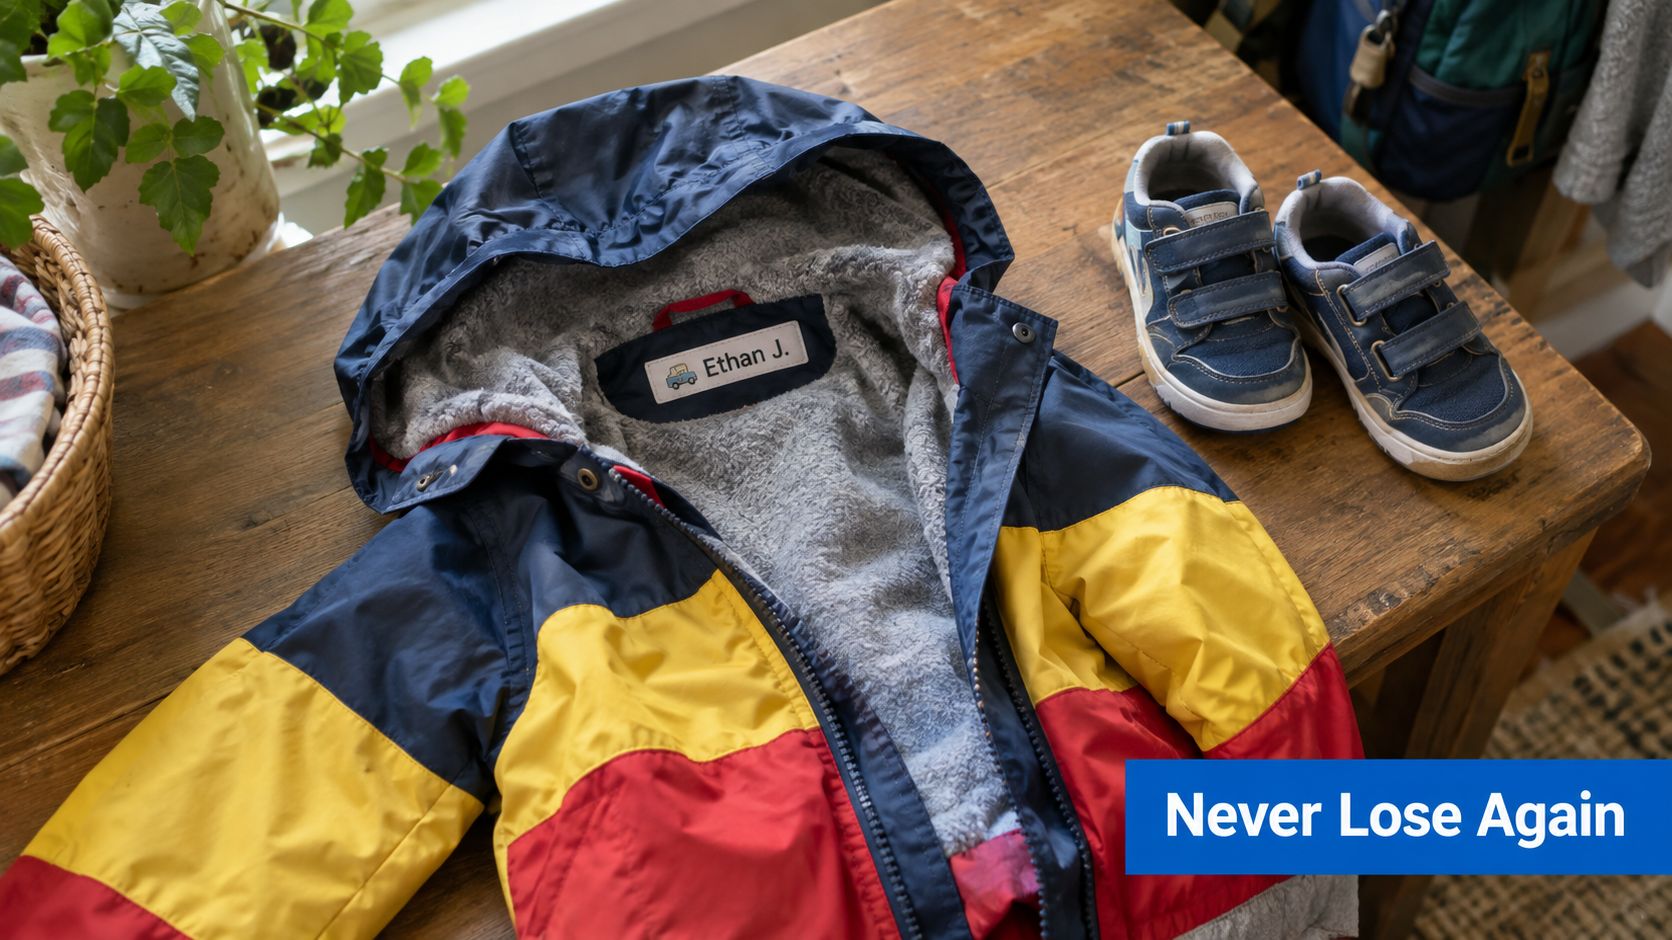
By the end of this guide, you'll know how to choose between iron-ons and stick-ons, prepare fabric, create a reliable bond, protect the label in the wash, diagnose edge lift, and decide whether a permanent label is suitable for a hand-me-down or donation.
Why Name Iron Ons Still Matter for Busy Families
A daycare jacket usually goes missing in an ordinary way. It gets hung beside another child's coat, folded into the wrong cubby, or carried home by a family whose child has the same size and color. Without a clear name, staff have to rely on memory, handwriting, or a parent's description.
A name iron on gives the person sorting the clothing an immediate answer. It also works where marker often doesn't: inside a collar, on a care tag, or along a hem where a child's name needs to remain readable through regular wear. Sewing can create a strong result, but it takes more time and can be awkward on small garments, stretchy fabric, or a pile of socks waiting to be labeled before Monday.
The format has lasted because it addresses a practical need. Historical accounts describe people marking possessions as far back as ancient Egypt, while named labels also appeared in medieval households and institutions. The modern self-adhesive label developed later, and the modern iron-on format became widely available in the United States during the 1960s, when thermoplastic adhesives and thermal-printing advances made quick personalized fabric labels practical. The history of iron-on clothing labels describes how polyester, nylon, and thermal-transfer printing later supported more durable and detailed designs.
Practical rule: A label only saves time if it stays readable and attached after the item enters your normal laundry routine.
Parents often choose name iron ons for school uniforms, towels, swim gear, and frequently washed clothes, all uses reflected in current product guidance. The history of name labels also notes that demand for quick identification increased during World War II, while today's clothing labels continue to serve items exposed to repeated washing and drying.
The preparation is short, but the details matter. Choose the right label for the textile, remove moisture and residue from the fabric, apply even heat and pressure, then allow the adhesive to finish setting before washing. Those steps prevent most avoidable failures and make the label useful well beyond the first week.
How to Choose the Right Name Iron Ons for Your Needs
Start with the item, not the label design. A cotton uniform, a smooth care tag, a towel, and a stretchy performance shirt don't present the same surface. Iron-ons suit fabric items that need a durable, direct-to-textile bond, while stickers make more sense on smooth care tags, printed areas, bottles, lunch boxes, shoes, or clothing used only occasionally.
A stick-on clothing label is quick and avoids heat, but direct application to textured, flexible fabric can be unreliable. The adhesive has less solid surface to grip, and normal stretching can encourage peeling. A smooth polyester or nylon care tag is a better sticker surface because it behaves more like a stable film than the surrounding knit.
| Feature | Name Iron Ons | Sticker Clothing Labels |
|---|---|---|
| Best surface | Fabric that can safely receive heat | Smooth care tags, printed areas, and hard surfaces |
| Main strength | Direct bond with a permanent feel | Fast application without an iron |
| Main trade-off | Requires heat, pressure, and fabric testing | May lift sooner on textured or stretchy fabric |
| Good examples | Uniforms, towels, swim gear, socks | Bottles, lunch boxes, shoes, and care tags |
| Reuse planning | Removal can be difficult or leave a mark | Often easier to replace or remove |
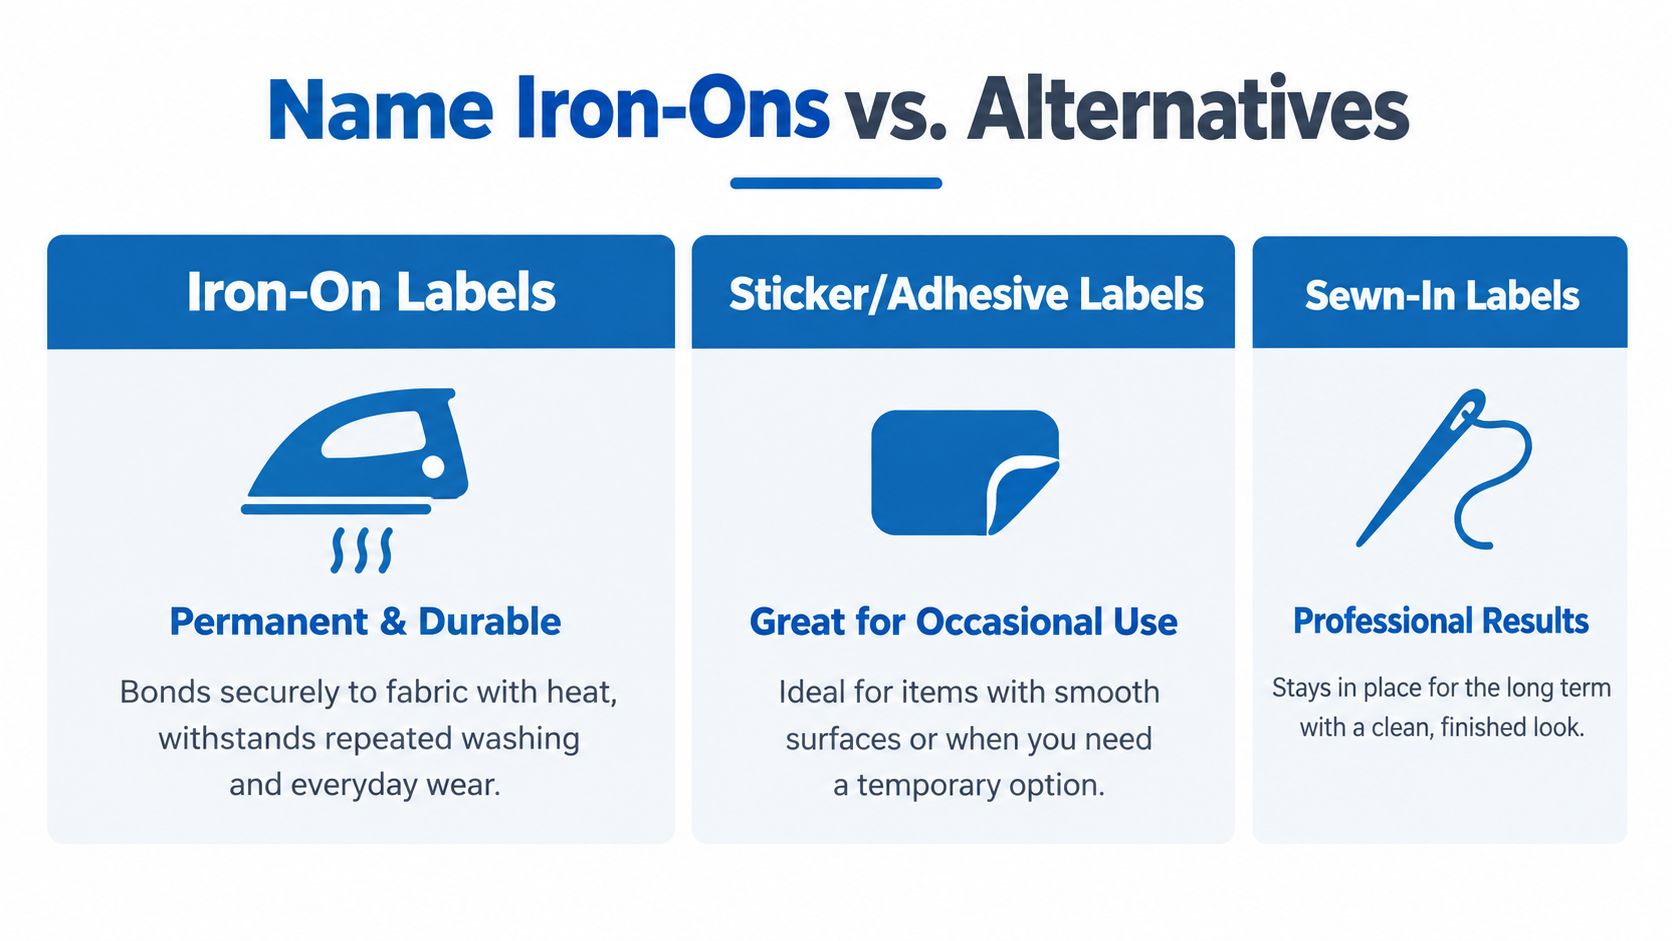
Match the label to the textile
Read the garment care instructions before ordering. Cotton and many cotton blends are generally straightforward candidates for name iron ons, while heat-sensitive synthetics, delicate fabrics, and garments with coatings require more caution. Test an inconspicuous area if the fabric content is unclear, especially on activewear with a smooth finish or noticeable stretch.
Size matters too. A small label works inside a collar or on a narrow care tag, but towels and jackets can accommodate a larger name that staff can read quickly. For daycare, a coordinated bundle can cover clothes, shoes, bags, bottles, and lunch gear without forcing one label type onto every surface.
For a broader look at heat-applied options, browse this iron on patches collection from Dirt Cheap Product, Inc., then compare the backing, intended fabric, and care instructions rather than assuming every heat-transfer product works identically. For clothing-specific personalization ideas, InchBug's guide to personalized name tags for clothes offers another useful reference.
Preparing Fabric and Applying Name Iron Ons Correctly
Most failures begin before the iron touches the label. Fabric softener, moisture, wrinkles, a padded ironing board, or a rough garment surface can keep the adhesive from making full contact with the fibers.
Prepare a stable surface
Wash and dry the garment first, following its care instructions. Skip fabric softener on the preparation wash, because residue can interfere with adhesion. Turn off the steam function on your iron and place the item on a hard, flat, heat-safe surface. A firm table covered with a thin cotton cloth usually gives you better pressure than a soft ironing board.
Lay the garment flat and smooth the target area. Good locations include a care tag, inside collar, waistband, upper hem, or another spot that remains visible to the person sorting laundry but doesn't rub constantly against the child's skin.
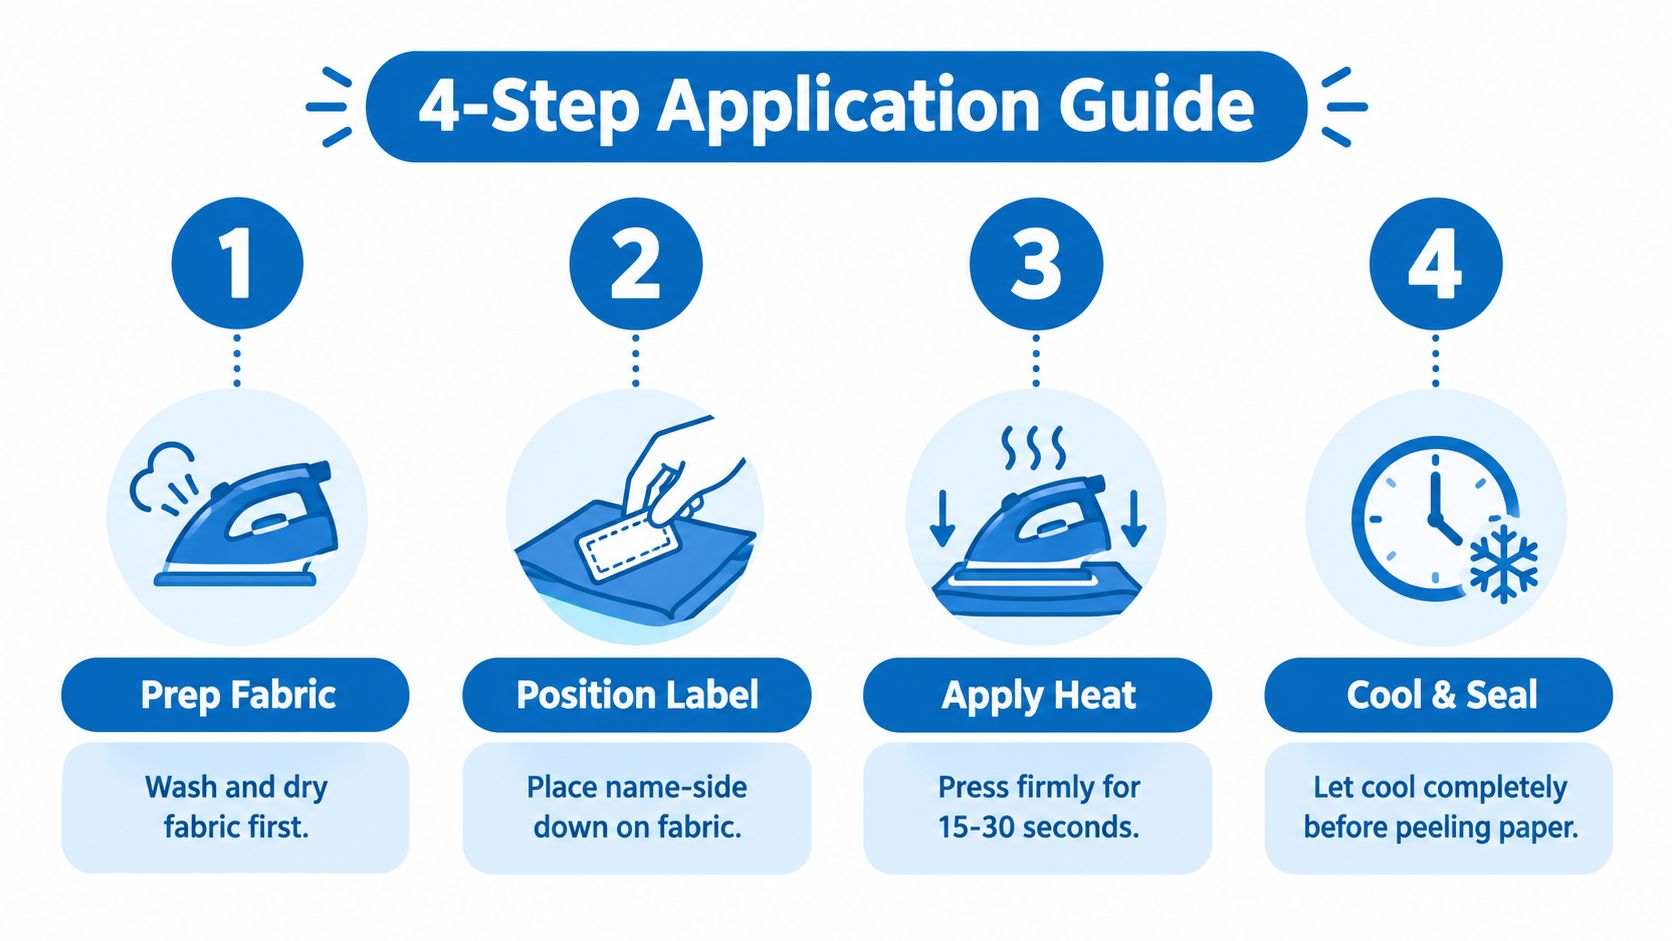
Apply heat with controlled pressure
Follow the label maker's instructions for temperature and timing. As a general working routine:
- Position the label: Put the name side against the fabric, with the backing or protective sheet facing upward.
- Cover the transfer: Use the supplied protective sheet or parchment paper if the instructions call for it. This protects both the label and the iron.
- Press firmly: Hold the iron still over the label rather than gliding it like you're pressing a shirt. Cover the whole design, including every edge and corner.
- Work in zones: If the label is larger than the iron plate, press one area, then shift to the next without dragging the label.
- Cool before checking: Let the piece cool completely, then inspect the edges and any narrow lettering.
Heat and pressure matter more than time alone. A brief press with a cool iron may make the label tack temporarily, but a firm, even application helps the adhesive reach the fabric fibers.
Cotton usually tolerates a higher setting than delicate synthetics. Polyester blends may need a cautious test because some surfaces can shine, warp, or react to heat. For coated, elastic, waterproof, or heat-sensitive fabrics, follow the garment and label instructions closely. If the item can't safely receive the required heat, choose a sewn-in or suitable adhesive alternative instead.
For another clothing-focused application reference, see InchBug's iron-on nametags guide. A short demonstration can also help you see the difference between moving the iron and applying steady pressure.
Don't pull at a warm label to test it. Cooling gives the adhesive time to stabilize, and premature peeling can disturb an otherwise sound bond.
Washing Drying and Everyday Care That Keeps Labels Put
The first wash is the test, especially in a busy daycare laundry cycle. Once the label has been applied and cooled, build care around reducing friction, chemicals, and repeated heat. Turn garments inside out when practical, use a gentle cycle, and avoid bleach or fabric softener unless the garment's care instructions say otherwise. These choices reduce stress on the label's edges and help prevent early lifting.
Dry on low heat or air dry when possible. A hot dryer combines heat with constant tumbling, which can expose a weak edge sooner than normal wear. Towels need extra attention because their loops create a rough, flexible surface. Swim gear faces chlorine, sunscreen, and repeated stretching. Check both types while folding, not after the name has already started to disappear.
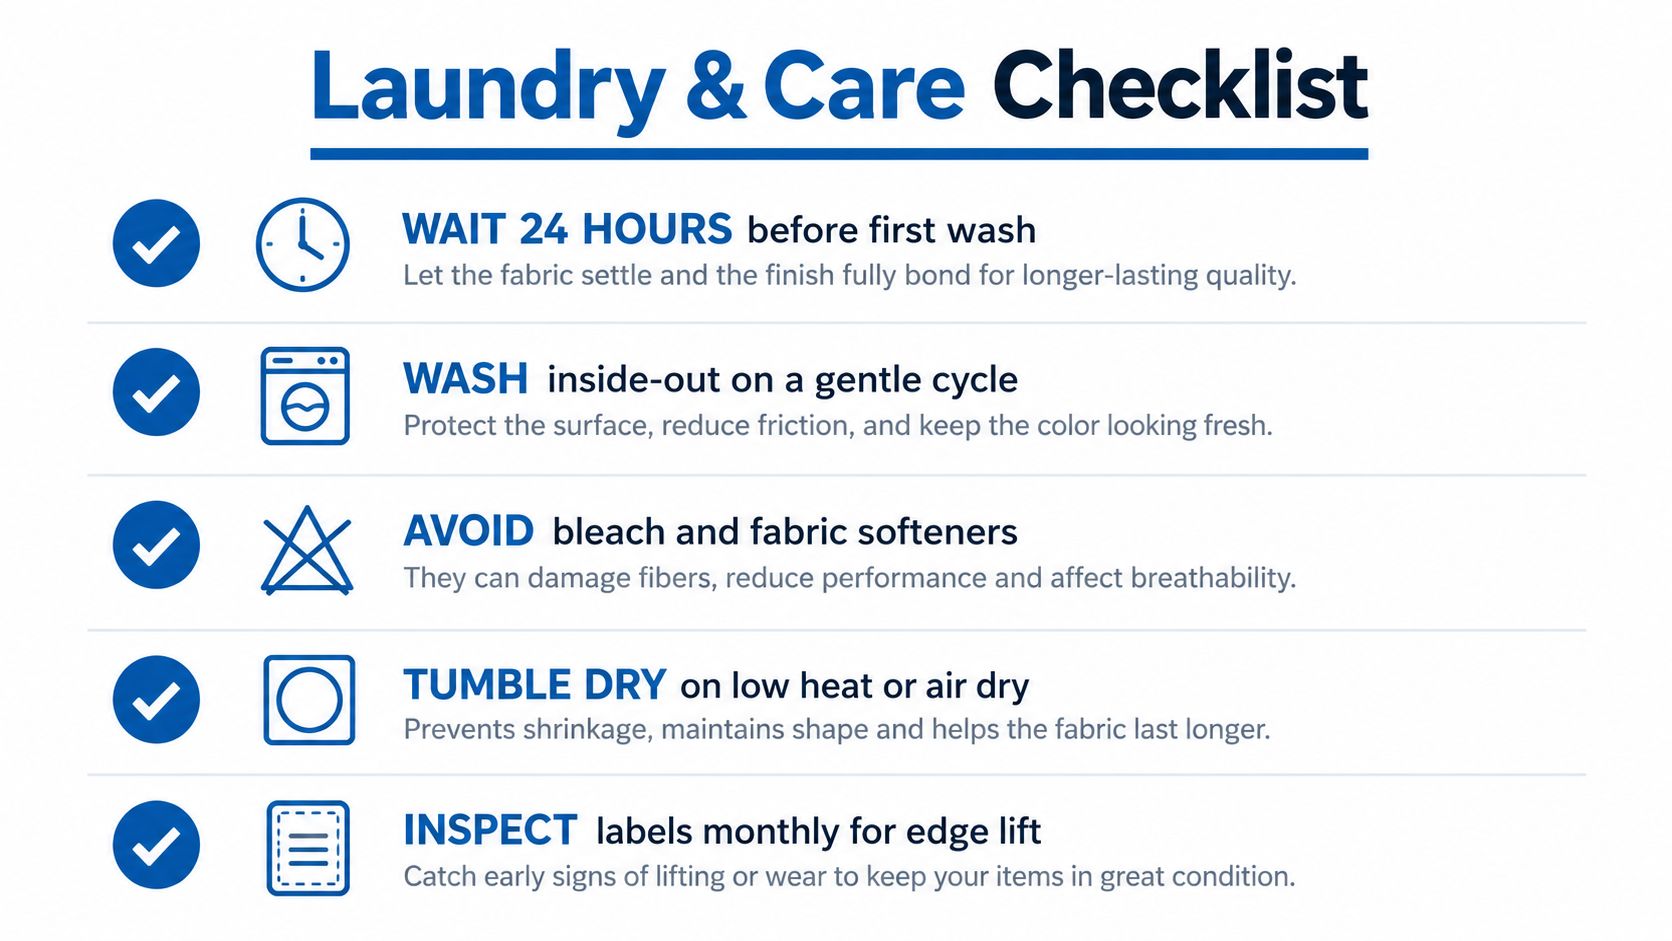
A practical daycare laundry rhythm looks like this:
- After application: Set the garment aside until the product's required waiting period is complete.
- During washing: Turn it inside out, choose a gentle cycle, and skip harsh additives.
- During drying: Use low heat or air drying whenever the fabric and schedule allow.
- During folding: Trace the label's edge lightly with a finger and check for lifting.
- During seasonal sorting: Inspect jackets, blankets, towels, and camp gear before storage or hand-me-down use.
The folding check catches problems while they are still repairable. If an edge has begun to lift, address it before the next wash instead of allowing water and tumbling to work underneath. Do not iron directly over the label during routine garment care unless the product instructions specifically permit it. For a product-specific comparison, review InchBug's label care instructions alongside the label maker's guidance.
Troubleshooting Why Name Iron Ons Lift Peel or Fade
A name iron on that looks secure at first can lift after laundering because the adhesive bonded to the surface without settling into the fabric fibers. Heat, pressure, and contact time all matter. Iron settings also vary by brand, age, and condition, so “cotton” on one iron may not produce the same heat as that setting on another.
Diagnose the failure by its pattern
Corner lift usually indicates uneven pressure or an edge that received too little heat. Cover the label again, press the affected corner firmly, and follow the product's recommended setting if the fabric permits it. Keep the iron still over the area. Sliding across an exposed edge can catch and distort the label.
Peeling across much of the label points to a broader bonding problem. Common causes include fabric incompatibility, softener residue, moisture, or too little contact time. Re-pressing may help when preparation was the issue, especially on a firm, heat-safe surface. It will not create a dependable bond on coated, highly elastic, heat-sensitive, or otherwise unsuitable textiles, and repeated heat can damage the garment.
A label that fades or has damaged lettering may have encountered excessive heat, chemical exposure, or constant rubbing. Test any temperature change on an unseen area, and keep the printed surface covered as the product instructions require.
Repair early, replace when necessary
For a small lift, cover the label and re-press only the affected area with firm, even pressure. Allow it to cool completely, then test the edge gently rather than pulling the whole label. After a re-press, leave the garment undisturbed until it is fully cool before checking adhesion. For an unfamiliar fabric, use the label adhesion test guide before applying a label to a visible area.
If the label still lifts after careful repair, inspect the garment's history. Hand-me-downs and donated clothes may carry fabric softener residue, detergent buildup, or an older label adhesive that interferes with a fresh bond. Wash and dry the item according to its care instructions, avoid adding a new iron on over loose residue, and choose a smooth care tag for identification when possible.
A label that repeatedly fails is a material problem, not an invitation to keep increasing the heat. Switch to a sewn-in label, or use a sticker on a smooth care tag when the garment and product allow it.
Safety Reuse and Hand Me Down Tips for Name Iron Ons
Apply name iron ons with the garment away from children, pets, and loose cords. Keep the hot iron on a stable surface, use the protective sheet recommended for the product, and allow the garment to cool before handing it back. Place labels where they identify the owner without creating a rough rubbing point, especially inside collars, waistbands, or areas that contact sensitive skin.
Permanence also changes the reuse equation. A label that stays attached through repeated washing can remain visible when a jacket goes to a sibling, a resale buyer, or a donation center. Parents have raised concerns that a child's name may remain on donated clothing and make the item feel socially awkward for its next wearer, a concern discussed in this conversation about iron-on labels and donated clothing.
Make a reuse decision before applying
Use this quick check:
- Keep it permanently: Choose an iron-on for uniforms, daycare basics, towels, and items likely to stay with your child.
- Plan to pass it along: Place the label on a removable care tag when possible, or choose a reusable label system instead.
- Need occasional identification: Use a suitable sticker on a smooth tag or printed area.
- Fabric cannot take heat: Select a sewn-in option or another compatible method.
- Already labeled for donation: Try carefully warming and lifting the label with steam, then check for adhesive residue. Some labels can be covered or replaced, but removal may leave a visible mark.
Durable labeling can support longer use, but only when the next owner is part of the plan. For families trying to keep clothing and gear circulating, InchBug's reusable labeling approach offers a useful way to think beyond one child's laundry cycle.
Choose name iron ons for heat-safe garments that need a lasting fabric bond, and use smooth-surface labels when speed and removability matter more. InchBug offers personalized clothing labels and related identifiers for clothing, shoes, bags, bottles, lunch gear, and sports items, so you can match the label to the surface instead of forcing one solution everywhere. Visit InchBug to build a practical labeling setup before the next daycare drop-off, school term, or camp packing day.