

Iron-on name tags are one of the simplest, most permanent ways to label your kids' clothes so they don't get lost at school, daycare, or camp. With a regular household iron, these little labels bond right to the fabric, creating a super durable tag that holds up through endless cycles in the washing machine. For busy parents, they're the fastest way to reliably label everything from jackets to PE kits.
Why Iron-On Name Tags Are Every Parent's Secret Weapon
You know that lost-and-found bin at daycare? The one that feels like a black hole for children's clothing? One minute you’re sending your child off in their favorite hoodie, and the next it’s just… gone. It was probably mistaken for one of the other five identical blue hoodies in their class. This cycle of lost, replaced, and lost again is a frustration almost every parent knows well.
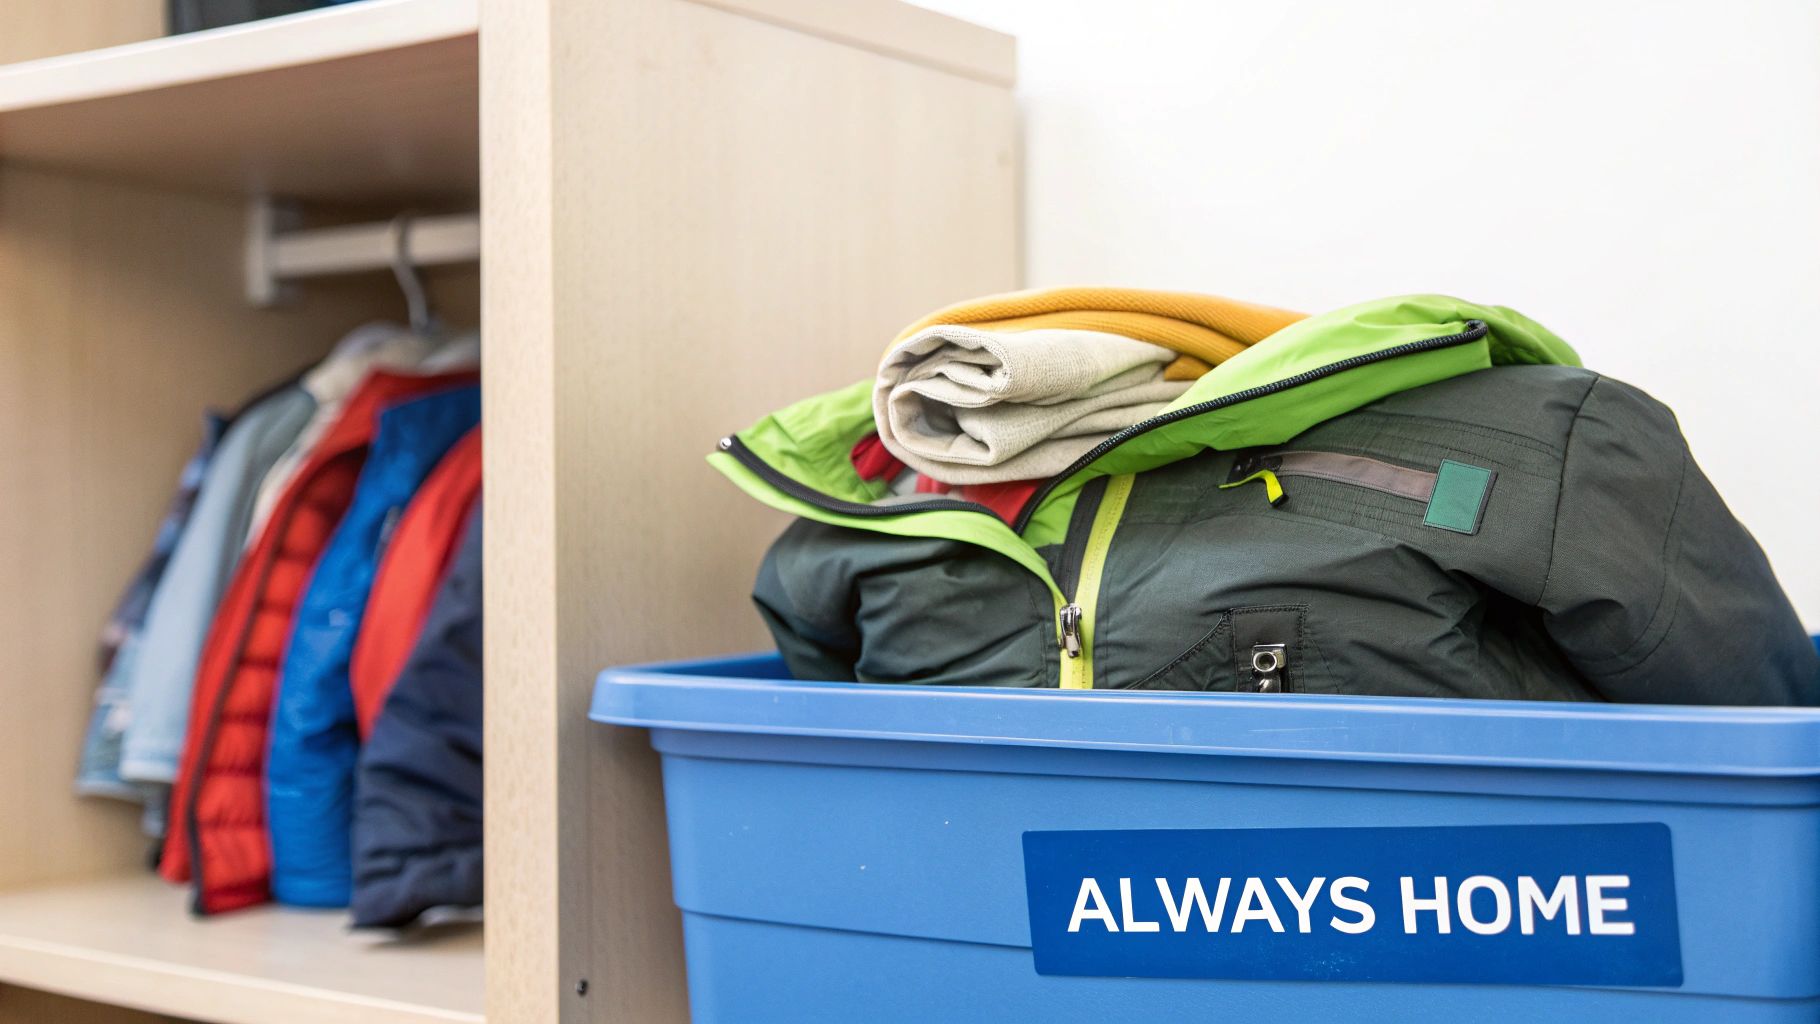
This is where the simple genius of iron-on name tags saves the day. They offer a straightforward, long-lasting fix to a nagging, everyday problem. A quick press with a hot iron is all it takes to permanently label a piece of clothing, saving you both money and the stress of another frantic search.
The Practical Wins for Busy Families
The benefits go way beyond just keeping track of clothes. For many of us, the real value of iron-on tags shines when we're facing a huge organizational task, like prepping for summer camp, where labeling every single item is an absolute must.
Think about these real-world wins:
- Less Morning Chaos: Teachers and childcare providers can quickly spot who owns what, which means fewer mix-ups and less disruption in the classroom.
- Real Cost Savings: You won't have to keep buying new jackets, hats, or sweatshirts throughout the school year just because the old ones vanished.
- Peace of Mind: Honestly, just knowing your child's things are clearly marked is one less thing to worry about in a long day.
This isn't just a hunch parents have. The global market for kids' iron-on labels has hit USD 612.4 million, driven by parents everywhere looking for practical ways to manage the chaos of lost belongings. At the end of the day, these tiny labels make a big difference, helping ensure your kid's gear actually makes it back home.
Setting Yourself Up for a Perfect Application
The secret to an iron-on nametag that actually lasts isn't in the iron itself—it's in the prep work you do before you even plug it in. Taking a few minutes to get things right from the start is what makes the difference between a label that peels after one wash and one that holds on through the chaos of daycare, summer camp, and countless laundry cycles.
Think of it like painting a wall; you wouldn't just slap on a new color without cleaning it first, right? Same principle applies here. Your goal is to create the perfect canvas for that label to grab onto.
First, let's get your tools together. It's a simple list: your nametags, the clean garment you're labeling, a regular household iron, and a small piece of parchment paper. The parchment paper is your secret weapon—it acts as a protective barrier between the hot iron and the label, so nothing melts or scorches.
Preparing Your Garment and Workspace
This first step is the most important one, and it's absolutely non-negotiable: always pre-wash the garment. Brand new clothes often come with sizing chemicals or starches from the factory that make them look crisp on the shelf. These invisible residues will stop the label's adhesive from properly melting into the fabric fibers, which is a recipe for peeling corners and failed labels.
Next, take a look at where you plan to iron. An ironing board might seem like the obvious choice, but its soft, padded surface can actually work against you by absorbing the pressure you need for a strong bond.
For the best possible seal, find a hard, flat, and heat-resistant surface. A wooden table or a countertop with a towel laid down on it is perfect. This solid foundation lets you apply the firm, even pressure needed to fully activate the adhesive and create that permanent bond.
Choosing the Right Fabrics
Not all fabrics are created equal when it comes to taking the heat. Iron-on nametags work best on materials that can handle a hot iron without any drama.
- Ideal Fabrics: Cotton, polyester, and poly-cotton blends are your best friends here. Their fibers welcome the adhesive, creating a tough bond that can stand up to wash after wash. Denim is another fantastic choice for a super-secure application.
- Fabrics to Avoid: Be careful with anything delicate or heat-sensitive. Stretchy materials like spandex, heavily textured fabrics like corduroy, and certain synthetics like nylon or acrylic can melt, warp, or scorch under the high heat required. When in doubt, always check the garment’s care tag first!
If you're dealing with a mix of fabrics, especially some of the trickier ones, you might find that different types of laundry-safe labels are a better fit. But for the vast majority of everyday kids' clothes—like that pre-washed cotton t-shirt—a good quality iron-on tag is a fantastic solution.
Mastering the Iron On Application Process
Alright, this is the moment of truth—getting that iron-on nametag to fuse perfectly with the fabric. When you get the hang of it, this part is actually pretty simple and satisfying. The whole idea is to create a seamless bond that can handle whatever your child throws at it, from playground tumbles to endless trips through the laundry.
First up, you have to decide on placement. For the best comfort and durability, I always aim for spots that won't rub directly against the skin.
- The Care Tag: This is prime real estate. It’s a smooth surface that takes heat well and keeps the label tucked away from sensitive skin.
- The Inner Seam: Another great option is placing the label along an interior seam, like at the waistband or down the side of a shirt. It’s completely hidden from view and stays put.
I try to avoid placing labels on really stretchy areas like ribbed cuffs or elastic waistbands. These spots are constantly moving, which can stress the adhesive over time and cause the label to start peeling.
Getting the Heat and Pressure Just Right
Once you’ve picked your spot, it's time to fire up the iron. The most important rule here? Always turn off the steam function. Steam is just moisture, which is the absolute enemy of a good adhesive bond. Set your iron to the right temperature for the fabric—usually, a cotton or medium-high setting is a safe bet.
This quick graphic breaks down the simple prep you should do before you even plug in the iron.
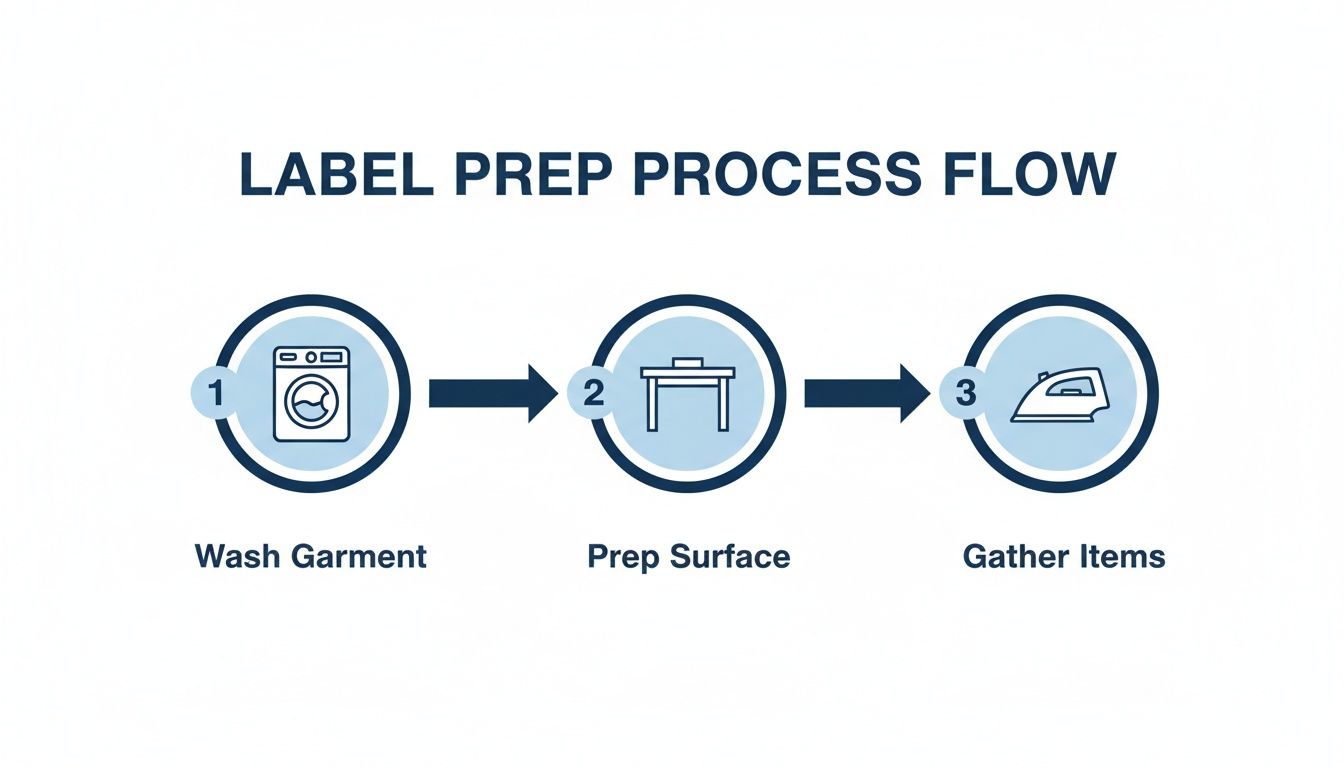
Following these first few steps makes sure the fabric is ready to create a strong, lasting bond with the label.
Now, place the label on the garment, cover it with the little piece of parchment paper that came in the pack (or just a thin cotton cloth), and press down firmly. Here's a key tip: don't slide the iron back and forth like you normally would. Instead, apply direct, even pressure for the recommended amount of time. That consistent pressure is what really melts the adhesive into the fabric's fibers.
Pro Tip: For small labels or those tricky little corners that seem to lift, I use the very tip of my iron to apply some focused pressure for a few extra seconds. This ensures every last millimeter of the label is securely bonded to the clothing.
Iron Settings and Press Times by Fabric Type
Different fabrics need slightly different treatment. Using the wrong heat setting or pressing for too long can damage the clothes or just give you a weak bond that won't last. Use this quick reference to apply your iron-on nametags perfectly without damaging the garment or the label.
| Fabric Type | Iron Temperature Setting | Press Time (Seconds) | Important Notes |
|---|---|---|---|
| 100% Cotton | High (Cotton Setting) | 15-20 Seconds | This is the easiest fabric to work with. It can handle strong, direct pressure. |
| Polyester | Medium-High | 10-15 Seconds | Always use parchment paper to protect the synthetic fibers from scorching. |
| Poly-Cotton Blends | Medium-High | 12-18 Seconds | A great all-around setting that works for most everyday school clothes. |
| Denim | High (Cotton Setting) | 20-25 Seconds | This thick fabric needs extra time and very firm pressure for the heat to penetrate. |
This attention to detail is why personalized iron-on nametags have become such a go-to for parents. They currently make up over 48% of the global market for kids' clothing labels. For anyone with kids in busy places like school or daycare, these little identifiers are lifesavers for preventing mix-ups with identical-looking clothes.
After pressing, let the label cool down completely for at least a minute. This is a crucial step where the adhesive hardens and really sets. Once it's cool to the touch, gently try to lift an edge with your fingernail. If it’s stuck fast, you're good to go! If an edge lifts up, just cover it again and press with the iron for another 5-10 seconds.
And if you're looking for other durable labeling solutions, you can also check out options like our super versatile TagPal clothing labels.
Laundry Tips to Keep Your Nametags Looking New
You’ve perfectly applied your iron-on nametags, and they look fantastic. Getting the label to stick is a great start, but the real test is making it last through the endless cycles of a washing machine. I’ve found that with just a few simple laundry habits, you can protect your hard work and keep those labels securely bonded and easy to read all year long.
The single most important rule is patience. After applying an iron-on label, you absolutely must wait at least 24 hours before its first wash. This waiting period is non-negotiable; it gives the heat-activated adhesive the time it needs to fully cure and create a permanent bond with the fabric fibers. Tossing it in the laundry too soon is the number one reason I see labels fail.
Your Go-To Laundry Routine for Labeled Clothes
Once the label has cured, a few small tweaks to your laundry routine will make a massive difference in its longevity. The goal here is to reduce the friction and harsh conditions that can weaken the adhesive over time.
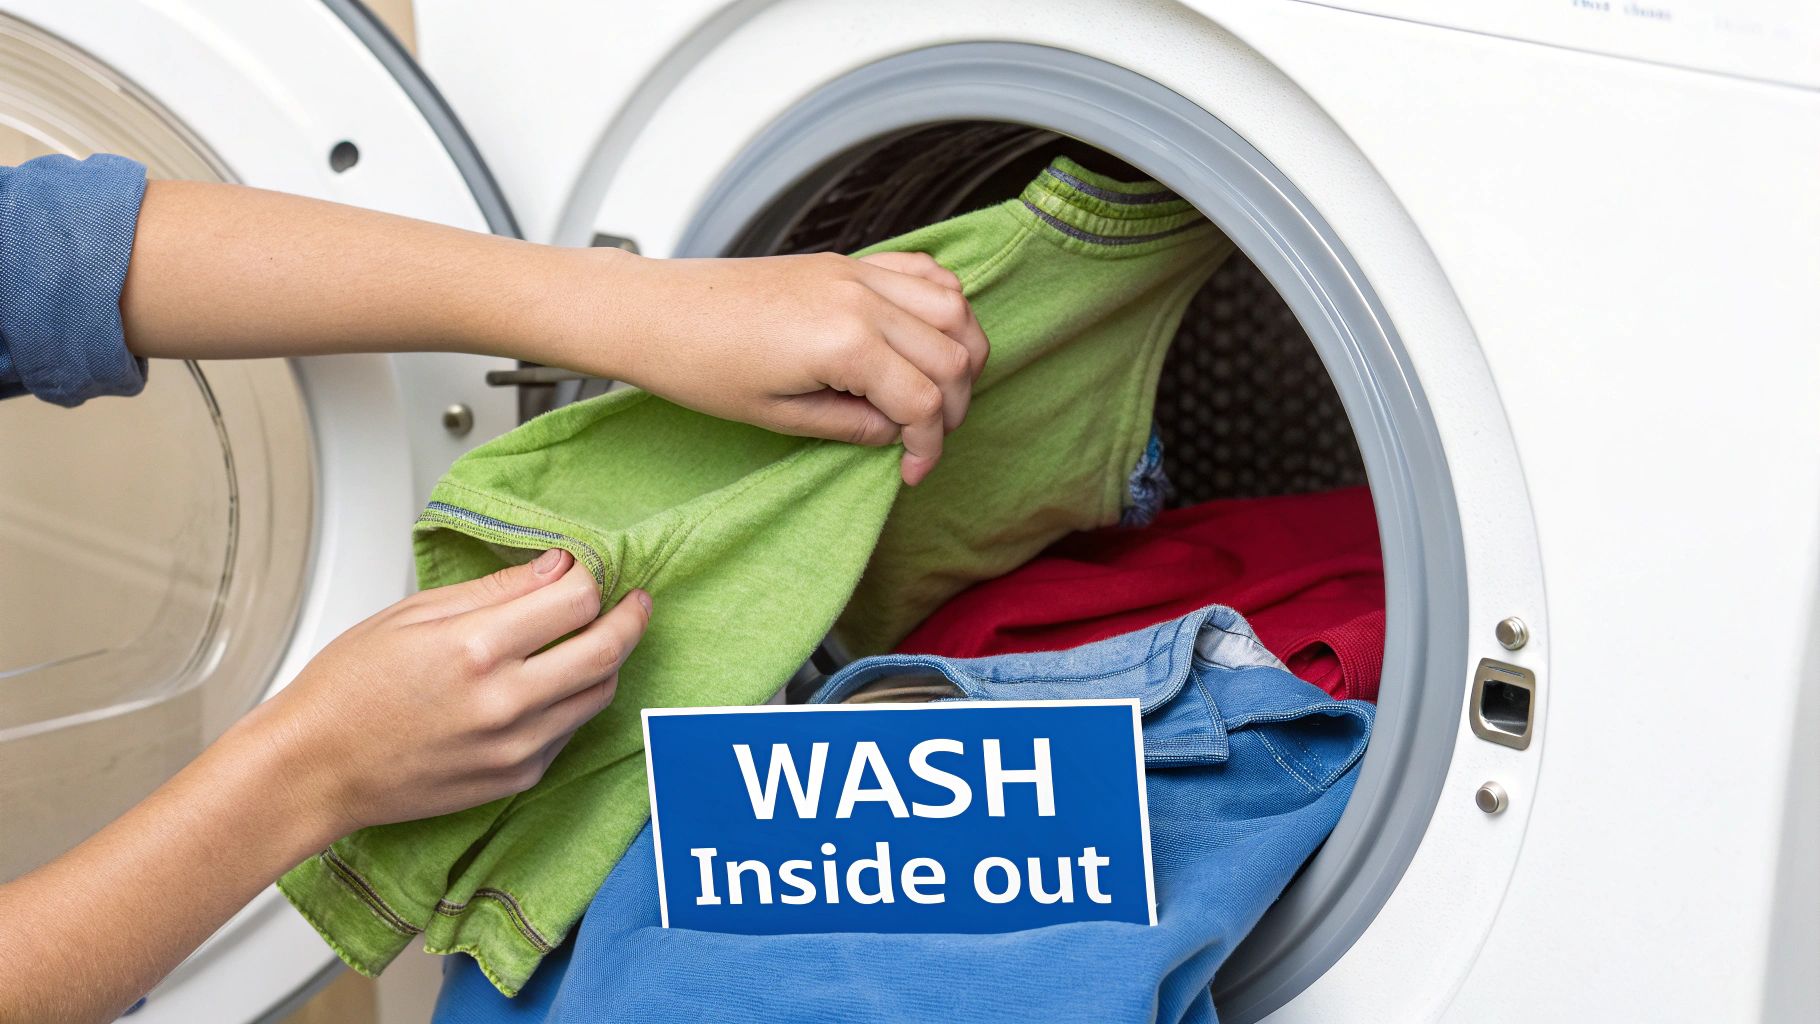
First, always turn the garment inside out before tossing it in the wash. This simple action shields the label from rubbing against other clothes, zippers, and buttons. It’s the easiest way to prevent the edges from snagging and starting to peel away.
Next, it’s all about the machine settings.
- Water Temperature: Opt for cool or warm water, not hot. High temperatures can soften the label's adhesive, making it much more vulnerable to peeling off in the wash.
- Detergent and Additives: Stick to a mild detergent. Try to avoid chlorine bleach or harsh stain removers directly on or around the label, as these strong chemicals can degrade the adhesive and fade the print over time.
- Drying: Whenever you can, tumble dry on a low or medium heat setting. Just like with washing, scorching hot dryer cycles can compromise the bond you worked so hard to create.
By following these basic care instructions, you’re not just washing clothes—you’re actively preserving the life of the label. These small steps are the key to ensuring your iron-on nametags withstand the chaos of daily wear and tear.
For parents juggling endless loads of laundry, especially for daycare items, establishing a consistent labeling and washing system is a total game-changer. If you're in that boat, you can find more helpful advice in our guide on how to label baby clothes for daycare. A little extra care in the laundry room ensures that your child's belongings stay clearly marked and always find their way back home.
Troubleshooting Common Iron On Label Issues
Even when you follow all the steps, you might run into a stubborn iron on nametag that just doesn’t want to cooperate. Don’t panic! Most issues are quick fixes that just need a little detective work.
These labels are designed to be permanent, but a small misstep with heat, pressure, or the fabric itself can cause a hiccup.
The most common frustration I hear about is when the edges of a label start to peel up after a wash. It’s disheartening, for sure, but it almost always points to one of two things: not enough heat or uneven pressure during that first application. You have to think of the adhesive as needing to fully melt into the fabric's fibers; if the heat doesn't quite reach the very edges, that bond will be weak from the start.
Another classic problem is a label that won't stick at all. This is usually a sign that the fabric isn’t right for the job, or your iron’s temperature was just too low.
Fixing Peeling Edges and Corners
If you spot a corner or an edge lifting, the solution is thankfully simple. You just need to re-apply heat directly to that specific spot.
- Lay the garment back on your hard, flat surface.
- Cover the label with your parchment paper to protect it.
- Using the very tip of your hot iron, press down firmly just on the lifted edge for about 10-15 seconds. The key here is direct pressure, so avoid sliding the iron around.
- Let it cool completely before you test the bond again.
This little bit of focused heat is usually all it takes to reactivate the adhesive and lock down that peeling section for good. It’s a much better approach than trying to re-iron the whole label, which can sometimes overheat the center that’s already bonded perfectly.
Remember, the goal is to melt the adhesive into the fabric, not just onto it. If an edge lifts, it means that part of the label didn't get the firm, direct heat it needed to create that permanent connection with the clothing fibers.
When the Entire Label Won't Stick
If your iron on nametag is refusing to bond from the get-go, it's time to do a quick review of your setup. This problem is less about your technique and more about the initial conditions.
Before you try again, ask yourself these questions:
- Is the iron hot enough? Double-check that it’s on the recommended setting for your fabric (usually the 'cotton' or medium-high setting) and that the steam function is turned off. Steam is the enemy of a good bond!
- Was the garment pre-washed? This is a big one. Factory residues on new clothes are invisible adhesive-blockers. If you skipped this step, the label will struggle to stick.
- Is the fabric compatible? Some materials, like nylon, spandex, or anything with a really heavy texture, just can’t handle the heat needed for a secure application. They’ll resist the adhesive every time.
If you suspect the fabric is the problem, an iron-on label might not be the best choice for that particular item. But if the fabric is a simple cotton or poly-blend, the issue is almost certainly heat or pressure. Try bumping your iron’s temperature up slightly (if the fabric can take it) and apply even firmer pressure on your next attempt. A small adjustment can turn a failed application into a lasting success.
Still Have a Few Questions?
Even with the best instructions, it's totally normal to have a few "what ifs" before you pull out the iron. I get it—you want to do it right the first time. Think of this as our final chat before you get started, covering the questions I hear most often from parents just like you.
Getting these last few details sorted will give you the confidence to tackle that mountain of clothes and know your labels are going to last.
Can I Get an Iron-On Nametag Off Later?
Yes, you absolutely can, but it does take a little bit of patience. Since high-quality labels are designed to stick around for the long haul, the trick is to gently reheat the adhesive to loosen its grip.
Here’s how I’ve done it:
- Lay a piece of parchment paper over the label.
- Press your hot iron over the parchment for about 10-15 seconds—just enough to get things warm.
- While the label is still warm, use a pair of tweezers to carefully grab a corner and slowly peel it away from the fabric.
A quick heads-up: this works like a charm on sturdy fabrics like cotton or denim. I'd be hesitant to try it on delicate materials, as the heat could cause damage. Sometimes, a little bit of adhesive residue might stick around, but it's often barely noticeable.
Are Iron-On Nametags Safe for My Baby's Clothes?
This is a big one for parents of little ones, and the answer is a definite yes. Any reputable brand makes their iron-on nametags with sensitive skin in mind, using non-toxic, baby-safe materials that are soft and flexible once they're on. No irritation here!
The real secret to comfort is all in the placement. If you apply the label to the garment's silky care tag or right along an inner seam, it will sit perfectly flat and never even touch your baby’s skin. Just double-check that every edge is sealed down so there’s nothing to poke or scratch.
What if I Can't Use an Iron? What Are My Other Options?
Iron-on labels are my go-to for most clothes, but they’re not the solution for everything. When you need to label something like a nylon rain jacket, a plastic lunchbox, or a backpack, there are some fantastic alternatives.
Here are a few other labeling solutions I swear by:
- Stick-On Clothing Labels: These are an absolute game-changer. They’re completely laundry-safe and stick right onto a garment's satin care tag—no heat required! They're also my top pick for hard surfaces like water bottles and school supplies.
- Sew-On Labels: If you’re looking for a traditional, super-durable option, you can’t beat a classic sew-on label. They take a bit more time, of course, but they are a truly permanent solution that works on just about any fabric you can think of.
- Reusable Name Bands: For things like sippy cups, thermoses, and water bottles, silicone name bands are a lifesaver. They're a stretchy, non-permanent option that you can easily move from one container to another.
Each one has its own superpower, really. It just means you can find the perfect way to label every single thing your child owns, from their coziest sweater to their insulated lunch bag.
Ready to conquer the lost-and-found bin for good? Explore the full collection of durable, personalized, and kid-approved labels at InchBug. Our easy-to-use iron-on and stick-on solutions are designed to make parents' lives easier, one labeled item at a time. Shop now at InchBug and keep your child's gear coming home.