

The pacifier hits the grocery store floor once, you rinse it. It drops again in the parking lot, and now you’re digging through the diaper bag for a backup. By the third time, you’re wondering why this tiny object seems to cause so much daily chaos.
That’s why so many parents end up searching for dummy clip diy ideas. A good clip keeps the pacifier close, saves you from constant wash-and-replace cycles, and adds a bit of personality to something you use every day. The catch is that a lot of tutorials focus on how cute the finished clip looks and barely touch the part that matters most. Safety.
Why Make Your Own Dummy Clip
A homemade dummy clip solves a real parent problem. Pacifiers disappear in strollers, slip under restaurant tables, and somehow land in the one puddle you didn’t see. Making your own means you get to choose the colors, texture, and overall style instead of settling for whatever happens to be in stock.
It also makes sense if you already enjoy simple baby crafts. Parents who like practical projects often put dummy clips in the same category as bibs, burp cloths, and sensory toys. If you’re already in that mode, a homemade playdough recipe is another nice one to keep on hand for the toddler years.
The reason to be careful is simple. A lot of online tutorials skip over compliance details. As noted in a soother clip safety discussion, US guidelines recommend clips at 6 to 8 inches, and that same source says DIY clips are 3x more likely to fail tensile strength tests than commercial ones. That doesn’t mean you shouldn’t make one. It means you should make one with the same seriousness you’d bring to any baby item.
Practical rule: If a tutorial spends more time on bead colors than on clip length, knot security, and material safety, close it and move on.
There’s also the daycare issue. Even a beautifully made clip doesn’t help much if it gets mixed up with another child’s things by lunchtime. A lot of families run into that problem with pacifiers, bottles, and snack containers all at once. That’s why it helps to think beyond the craft itself and build in an organization habit from the start, especially if your child is already in group care. A good primer on that mindset is why labeling your child’s gear matters.
A solid dummy clip diy project should do three things at once. It should keep the pacifier accessible, hold up to real daily use, and avoid the safety shortcuts that show up in too many quick tutorials.
Choosing Your Style and Safe Materials
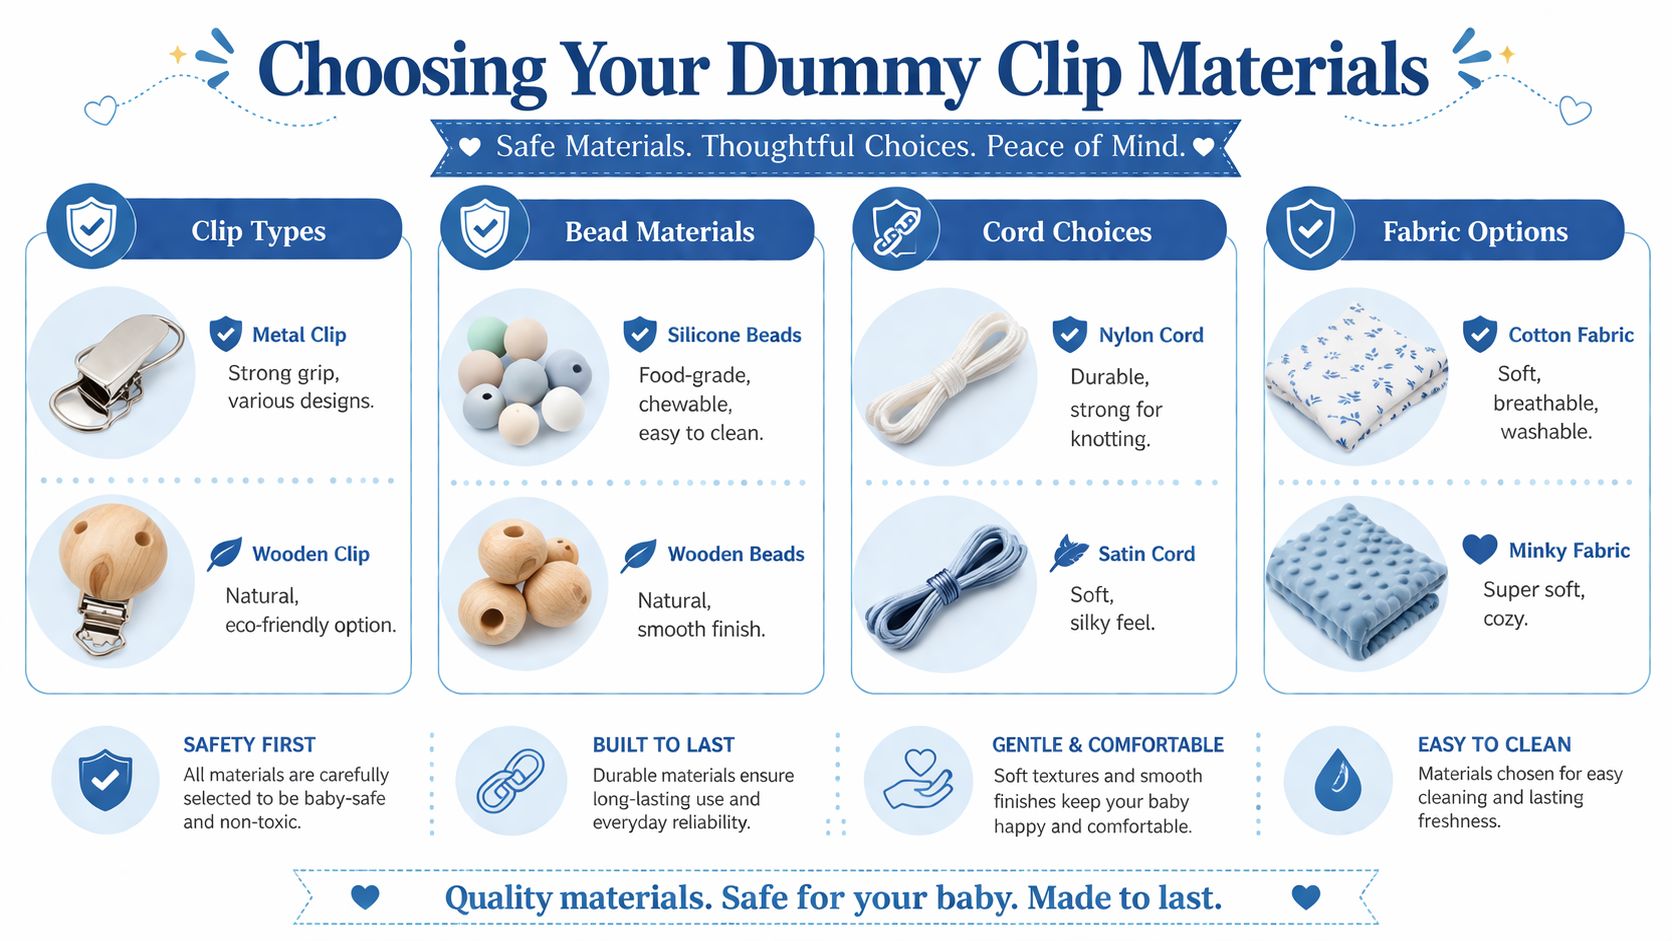
Before you cut cord or iron fabric, choose the style that fits how you’ll use the clip. The two main paths are beaded clips and fabric clips. Both can work well, but they behave differently in day-to-day life.
The most important rule comes first. The European safety standard EN 12586 limits a dummy clip’s maximum length to 220 mm (22 cm), excluding the clip itself, to reduce strangulation risk, as explained in this EN 12586 overview. If you remember one measurement from this whole article, make it that one.
DIY dummy clip styles at a glance
| Feature | Beaded Clip | Fabric Clip |
|---|---|---|
| Look | Modern, colorful, playful | Soft, simple, pattern-friendly |
| Main materials | Cord, beads, suspender clip | Fabric, snap or stitches, suspender clip |
| Best for | Parents who want a custom bead design | Parents who want a lighter, washable strap |
| Main skill | Secure knotting | Precise folding or sewing |
| Common weak point | Loose knots | Poor folding or weak snap placement |
| Cleaning feel | Wipe-down convenience | Easy laundering |
What to buy and what to skip
For a beaded clip, look for:
- Cord with structure: Nylon or polyester cord is easier to knot securely than flimsy craft string.
- Smooth beads: Silicone and wood both work, but avoid anything with rough edges, splinters, peeling finish, or unclear material labeling.
- A sturdy clip: Metal suspender-style clips are common because they grip well and hold up.
For a fabric clip, gather:
- Tightly woven cotton or cotton/poly fabric: It folds cleanly and washes well.
- Reliable hardware: KAM snaps or a sewing machine finish, depending on your method.
- Elastic or a secure loop material: The pacifier end needs to hold shape without stretching out too quickly.
The right material isn’t the prettiest one. It’s the one that stays secure after washing, tugging, and everyday handling.
Which style works better for daycare
This comes down to trade-offs.
A beaded clip often feels more decorative and can be easier to wipe clean after a stroller ride or a snack mess. A fabric clip is softer, flatter, and usually simpler to tuck into a daycare cubby or wash with the rest of the baby laundry.
If your child already wears other identification items in care settings, it can help to think in systems instead of single products. Parents managing drop-off routines often find ideas in resources about ID bracelets for toddlers, especially when they’re trying to keep safety information and everyday gear organized together.
A quick decision filter
Choose beaded if you want:
- Color variety: Great for visual patterns and bold designs.
- A wipe-clean finish: Helpful for quick cleanup.
- A craft that rewards careful knotting: Best if you don’t mind detail work.
Choose fabric if you want:
- A softer feel: Nice for minimal, flexible clips.
- Easy laundering: A strong option for parents who wash everything often.
- A simpler aesthetic: Good for prints, solids, and understated designs.
How to Make a Secure Beaded Dummy Clip
A beaded dummy clip looks simple, but the whole project depends on knot quality. The beads get the attention, but the knots do the work.
Start with a clean workspace and only the pieces you need. You don’t want to reach for the lighter or trim cord while loose beads are rolling around the table.
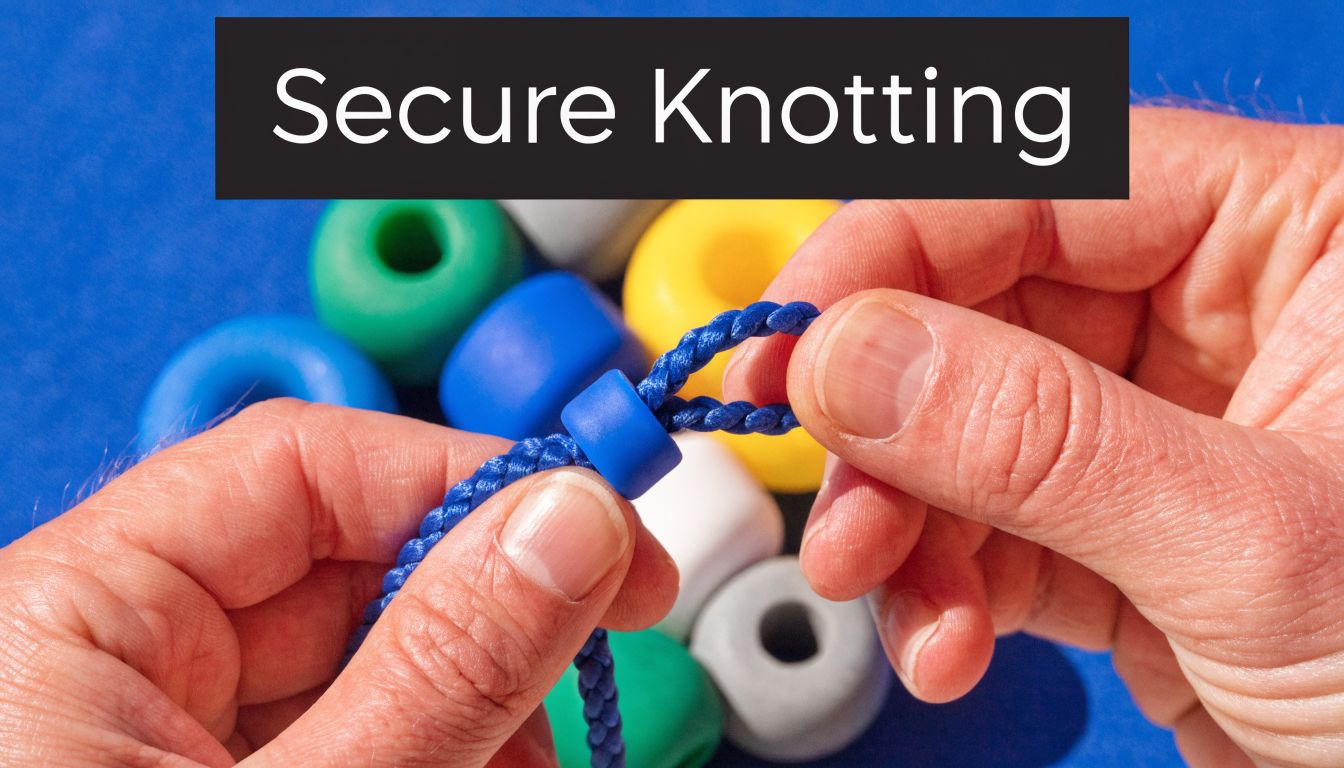
What you need
Use these basics:
- Cord: A 35-inch cord is the standard starting point in the expert method described in this beaded dummy clip guide.
- Suspender clip
- Safety beads
- Decorative beads
- Scissors
- Lighter
- Ruler
- Beading needle or paperclip if you need help tucking the end
That same source notes that double knots in this method are pull-tested to withstand 5 to 10 kg of tension, that loose knots account for 70% of bead slippage issues, and that using a safety bead at both ends reduces detachment risk by 80%.
The build order that works
-
Seal the cord ends first.
Briefly sear the ends with a lighter so they don’t fray while you thread beads. -
Attach the clip.
Fold the cord in half and loop it through the suspender clip base. Tie a tight double knot near the clip so the assembly starts with a solid anchor. -
Add the first safety bead.
Thread both cord ends through a safety bead so the knot sits hidden inside it. This is one of the most important steps in the whole build. -
String your decorative beads.
Add your chosen beads in the pattern you want, checking length as you go instead of waiting until the end. -
Finish with another safety bead.
Tie a final tight double knot, trim the excess, re-sear the tips, and tuck that knot into the last safety bead.
A beaded clip usually fails at the ends, not in the middle. Protect the first and last knots, or the whole project is weaker than it looks.
How to keep it within safe length
Measure the finished strap portion carefully and stop before it exceeds the allowed maximum covered earlier. Don’t guess. Use a ruler every time, especially if you swap bead sizes midway through your design.
This is also where many parents start thinking about the daycare side of the project. Once the clip is finished, the pacifier itself still needs clear identification. If that part feels fuzzy, this guide on how to label pacifiers for daycare is useful because it focuses on the item most often separated from the clip.
A quick visual helps
If you like seeing the hand movements before you try the knotting yourself, this walkthrough can help:
What usually goes wrong
Most mistakes happen for one of three reasons:
- The knot isn’t cinched firmly enough: It looks fine at first, then shifts after a few tugs.
- The cord gets overheated: Too much flame can make the end brittle instead of neat.
- The maker measures only at the end: By then, the design may already be too long.
When a beaded dummy clip diy project is done well, it feels neat, balanced, and hard to pull apart. If it feels questionable in your hands, rebuild it. That’s always better than hoping it holds.
How to Make a Washable Fabric Dummy Clip
If you want something soft, light, and easy to toss in the wash, fabric is the better route. It’s also the option many parents find less intimidating because the pieces are familiar and the process is easier to adjust.
The key is precision. Fabric clips look forgiving, but they’re not. Uneven folds and rushed hardware placement are what make them twist, fray, or open up after a few washes.
Start with a clean fold
For a durable version, begin with a 4" x 10" fabric rectangle and iron it into quarters to create a 1" strip, as shown in this fabric pacifier clip tutorial. That same source says #16 KAM snaps have 10lb shear strength for the no-sew version, the sewn version is strongest with an X-rectangle stitch, and improper folding causes 60% of clips to unravel in the first 5 washes.
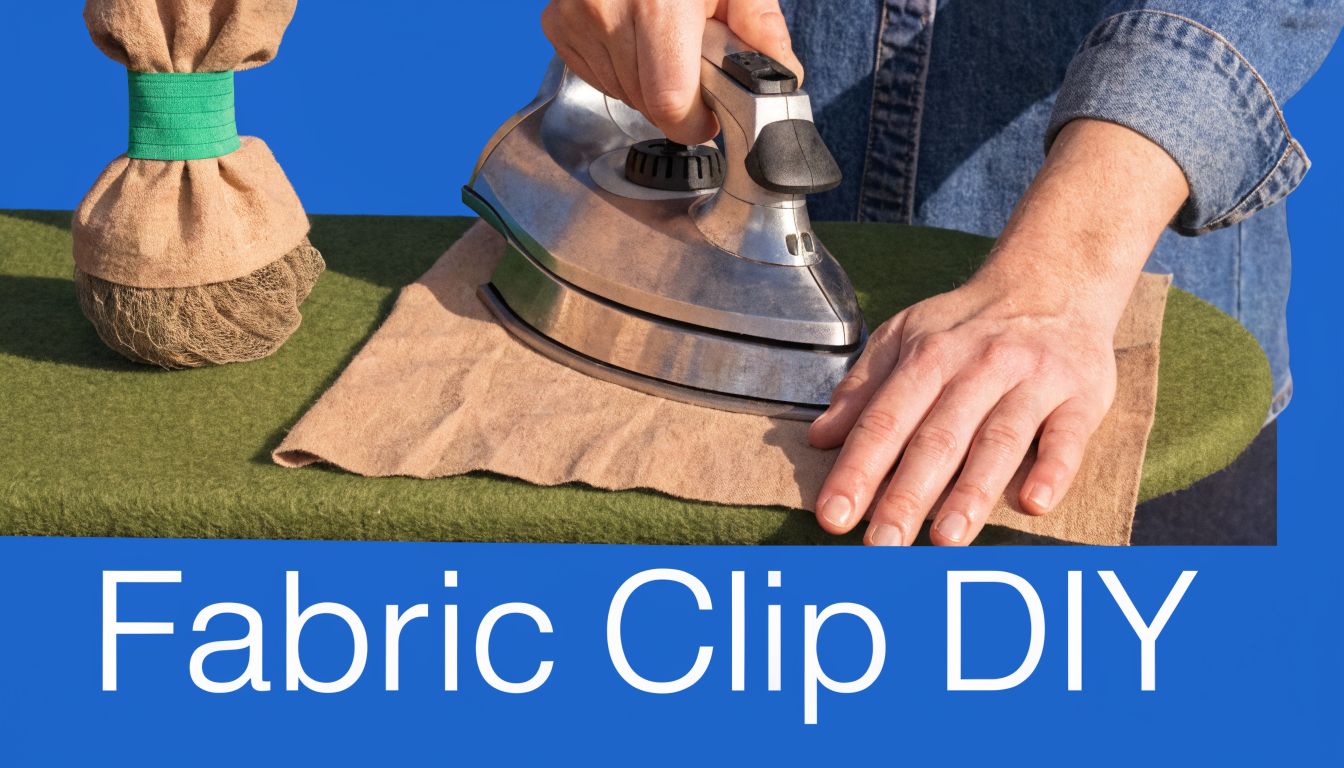
A careful pressing routine matters more than people expect. Press one edge, then the other, then fold inward so the raw edges are enclosed. If you skip that order, the strap won’t sit flat.
No-sew method
This option is useful if you don’t sew or just want a quick afternoon project.
- Cut and press the strip: Follow the quarter-fold method until you have a tidy strap.
- Create the pacifier loop: Use ribbon, elastic, or string arranged into a secure loop at one end.
- Thread on the clip hardware: Slide the opposite end through the suspender clip.
- Set the snaps carefully: Install the KAM snaps where they’ll hold the folded ends snugly without twisting the strap.
The no-sew version can work very well, but snap placement has to be exact. If one side lands slightly off, the clip pulls crooked and stresses the fold every time you open and close it.
Sewn method
A sewn fabric clip takes a little longer, but it’s the one I’d choose for heavy daily use.
- Press the fabric into a firm strip.
- Insert the loop end. Tuck the loop material into one short end.
- Stitch the length closed. Topstitch neatly along the long edge.
- Attach the clip end. Fold the other end around the hardware and secure it.
- Use an X-rectangle stitch where the stress is highest. That stitch pattern spreads force better than a single straight seam.
If the strap looks bulky at the ends, don’t ignore it. Bulk usually means the folds aren’t nested neatly, and that’s where wash wear starts.
What makes fabric clips practical
A fabric dummy clip diy project shines in real family life because it handles routine cleaning well and doesn’t feel cold or rigid. It also gives you more room to coordinate prints with bibs, bags, or stroller accessories.
For families who already separate daycare items by washability, a good clip fits nicely into that system. If that’s your style, it helps to use the same logic you’d use when choosing machine-washable labels. You want something that still works after laundry day, not just something that looks nice on day one.
Fabric clip reality check
Fabric is forgiving in one sense. You can unpick a seam and try again. It’s less forgiving in another. Sloppy prep shows up fast after washing.
If your folded strip isn’t crisp or your snap placement feels uncertain, pause and redo that stage before moving on. That small patience pays off.
Personalizing Your Clip for Daycare and Beyond
This is often the most enjoyable part. You’ve handled the structure, and now you get to make the clip feel like your child’s.
For beaded clips, personalization usually means color blocking, soft neutrals, or a name worked in with letter beads. For fabric clips, the options are even wider. Florals, checks, animals, simple solids, and seasonal prints all work. That creative flexibility is a big reason parents keep searching for this project.
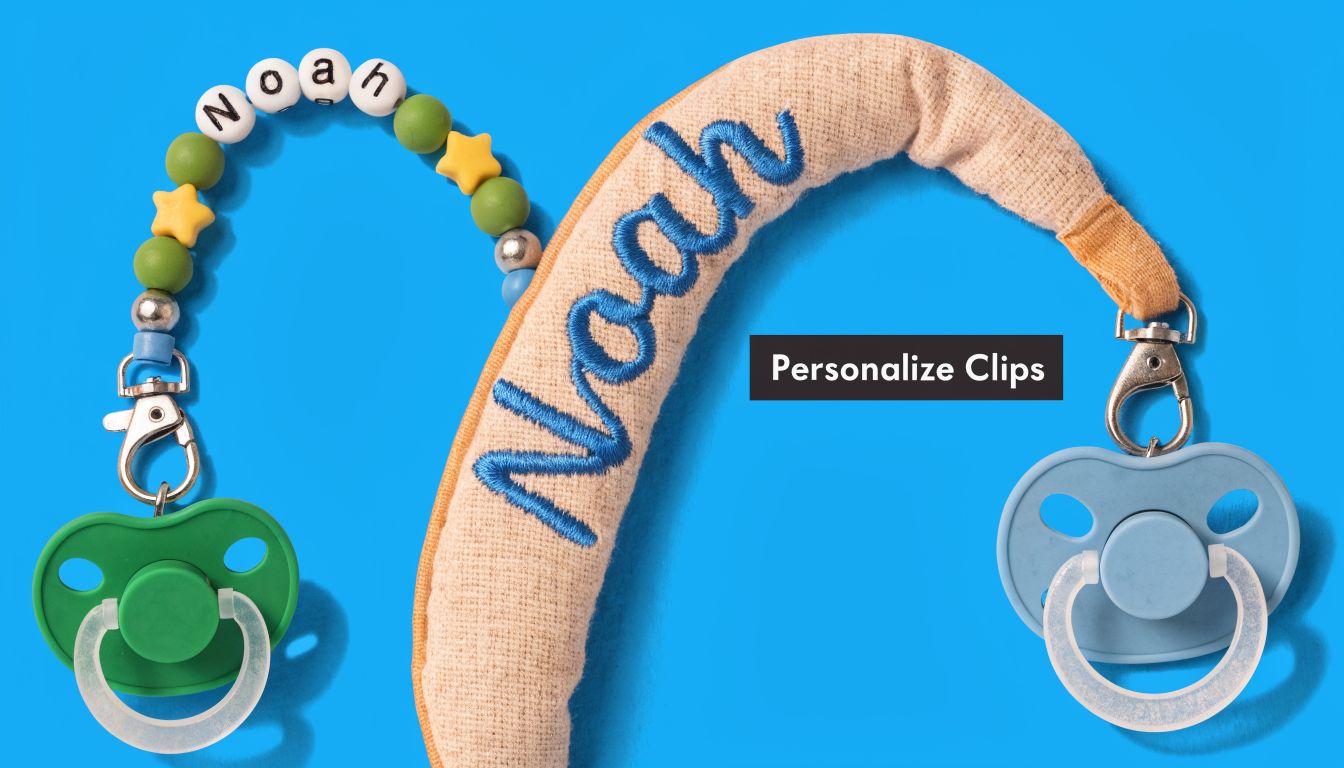
Cute is good. Identifiable is better.
Personalization matters for more than looks. According to this personalized pacifier clip tutorial discussion, there have been 2.5 million Pinterest searches for personalized dummy clips, and a 2026 survey found 68% of US parents prioritize customizable gear to prevent daycare mix-ups. The same source also notes that common personalization methods often fail wash tests.
That lines up with what parents run into in real life. Marker fades. Iron-on shortcuts peel. Handwritten tape looks fine for a day and then curls at the corners.
Personalization ideas that hold up better
Try these:
- Bead pattern themes: Use color groupings instead of overloading the clip with too many focal points.
- Fabric with contrast stitching: It adds personality without introducing extra parts.
- Simple name elements: If you use letter beads, keep the rest of the design restrained so the clip doesn’t feel crowded.
- Clear allergy communication: If a child has a specific need, the clip shouldn’t be the only place caregivers learn about it, but accessories can support that system.
The best personalized clip is the one a caregiver can identify instantly, even during a busy pickup line.
For daycare, a matching system works better than a one-off craft. That could mean the pacifier, cup, lunch gear, spare clothes bag, and comfort item all follow the same naming style. If you’re trying to set that up, personalized labels for daycare can help you think beyond the clip itself and build a routine that survives the weekly shuffle.
What doesn’t work well
A few customization choices are more trouble than they’re worth:
- Paint that chips or smears
- Loose embellishments
- Bulky add-ons that make washing harder
- Temporary labeling methods that disappear after cleaning
A dummy clip can be adorable and practical at the same time. The sweet spot is a design that still looks good after use, washing, and being passed between your hand, a stroller, and a daycare cubby all in one day.
Your Dummy Clip Questions Answered
Parents usually have the same handful of questions once the clip is finished. Those questions are worth asking. A baby accessory should never be “probably fine.”
How long should a dummy clip be
Keep the finished strap within the safety limit covered earlier and measure it with a ruler, not by eye. If you change bead size, fabric fold thickness, or loop style, measure again before calling it done.
Can I use a dummy clip for sleep
I wouldn’t treat a homemade clip as a sleep accessory. Clips are for supervised awake time, stroller walks, errands, and similar situations where an adult can see how the clip is sitting and whether the child is tugging on it.
Which style is easier to clean
Beaded clips are convenient when you want a quick wipe-down. Fabric clips are great when you prefer laundering with other baby items. The better choice depends on your routine, not on a universal rule.
How do I test a homemade clip before using it
Use your hands and be thorough.
- Pull firmly at both ends: The knots or stitches shouldn’t shift.
- Check every bead or fold: Nothing should slide, gap, or rotate oddly.
- Open and close the hardware several times: The clip should grip well without feeling loose.
- Inspect after washing: If you see fraying, stretching, or movement, retire it.
Are letter beads safe to use
They can be, if they fit securely within a properly constructed design and don’t push the clip over the safe length. The bigger issue isn’t the letters themselves. It’s whether the whole assembly remains secure and balanced after you add them.
What should I avoid putting on the clip
Skip anything that introduces a new failure point. That includes loose charms, poorly attached decorations, rough wood, cracked beads, and finishes you can’t identify confidently.
How often should I replace a homemade clip
Replace it at the first sign of wear. A dummy clip isn’t the place to squeeze out a little extra life from a tired item. If the cord looks stressed, the fabric edges soften too much, or the hardware grip changes, make a new one.
If you’re hesitating because a clip “still mostly looks okay,” that’s your answer. Retire it.
Is a fabric clip or beaded clip better for daycare
Neither is automatically better. The better clip is the one you made carefully, can clean consistently, and can identify quickly among other children’s belongings.
A homemade dummy clip can be one of those small projects that makes daily life easier fast. When it’s built with patience and checked regularly, it’s practical, personal, and satisfying to use.
If you’re ready to organize more than just the pacifier, InchBug makes personalized labels and kid-friendly essentials that help keep bottles, clothing, shoes, lunch gear, and daycare items from getting mixed up. It’s a simple way to extend the same thoughtful planning you put into your dummy clip diy project to the rest of your child’s everyday routine.