

At 7:48 a.m., the kitchen table is covered with one missing sock, two daycare sweatshirts, and a lunch bag with last year's nearly unreadable marker scrawl. The cubby also contains three navy jackets that look identical. You know one belongs to your child, but the name has faded into a gray smudge after repeated laundry cycles.
That's the moment a permanent ink stamp for fabric starts looking less like a craft accessory and more like a practical labeling tool. It can be faster than ironing name tags, less fussy than sewing, and cleaner than handwriting directly on a care label. But it isn't a universal fix. A stamp that stays sharp on a smooth woven label can blur badly on a sock, fleece jacket, or stretchy jersey shirt.
The useful question isn't, “Which ink lasts longest?” It's, “Which surface can hold the mark?” The sections below focus on that distinction, along with curing, wash durability, safety, and the situations where an iron-on or sticker label remains the smarter choice.
Why Parents Reach for a Permanent Ink Stamp for Fabric
Parents usually reach for a fabric stamp after another labeling method has failed at an inconvenient time. Handwritten names disappear under detergent and friction. Sticker labels can lift at the edges, especially when they're placed on a care label that rubs against the washer or dryer. Iron-on transfers can work well, but they require a hot iron, a flat garment, and enough time to apply each one without scorching a synthetic school polo.
A stamp removes much of that setup. On a pale, smooth care label, one firm press can identify a shirt, jacket, or pair of trousers without adding a sewn edge or a plastic patch. That makes it appealing for the weeknight pile of daycare clothes, seasonal garments going into storage bins, camp towels, lunch bags, and handmade gifts that need a discreet name or family mark.
The practical appeal is speed and low visual bulk, not decoration.
The useful shortcut: Stamp the surface that already exists for identification, rather than forcing ink into fabric that was never designed to accept it.
A name stamp can also help with clothing that has no traditional neck tag. An inside hem, waistband, or smooth cotton panel may provide enough room, provided the material is light-colored and tightly woven. For dark clothing, a black impression may disappear, so a printed label or iron-on tape usually gives a clearer result.
What the laundry test really tells you
Manufacturers and textile-marking vendors commonly describe durability in wash cycles, but the figures vary by product, temperature, detergent, and surface. One fabric-ink manufacturer specifies waiting 24 hours before the first wash, while vendor guidance reports durability ranging from about 20 to 25 washes, up to 50 washes, with some products rated for 50 or more cycles when properly heat-set. Those figures come from product guidance, not a guarantee for every garment, so they're useful benchmarks rather than promises. Modico's fabric-ink guidance
That distinction matters at daycare dropoff. A stamp may perform well on a smooth care label and poorly on the fuzzy cuff of a sweatshirt. Treat it as one option in a labeling system, not a miracle solution for every piece of clothing.
For parents comparing choices, this guide to name stamps for kids is useful for understanding where a clothing stamp fits into the broader task of keeping belongings out of the daycare lost-and-found.
What Makes a Fabric Stamp Actually Permanent
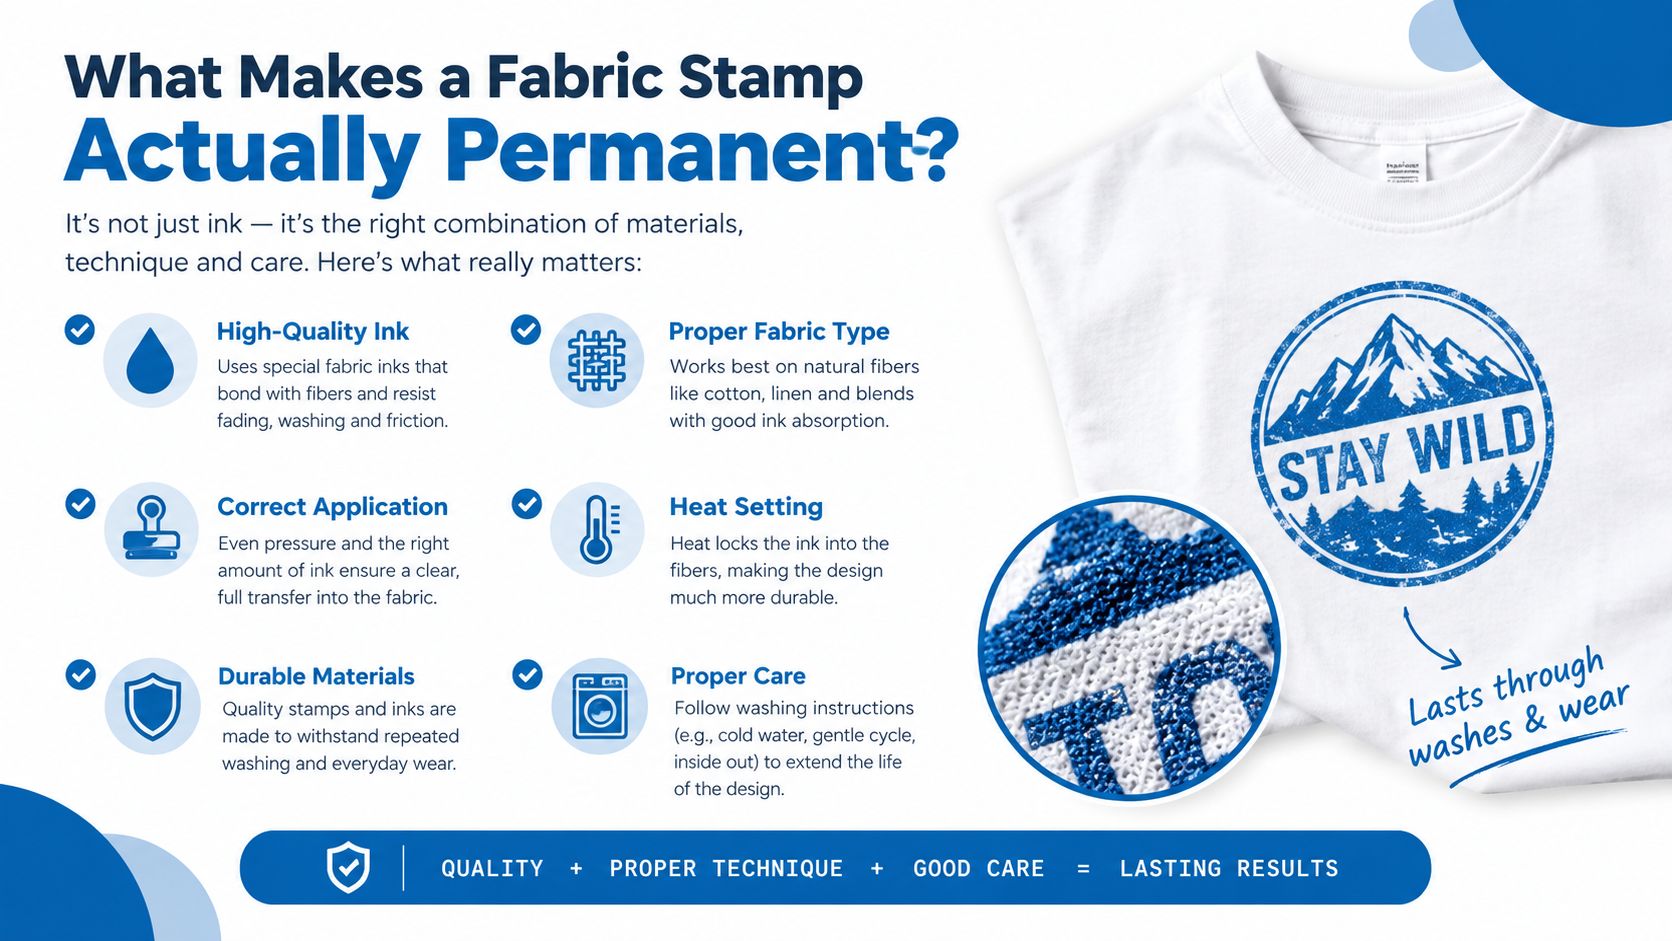
A stamp lasts because three parts of the setup work together: the ink, the application system, and the textile surface. Change any one of them and the result can change from a readable name to a pale smear after laundering.
Start with the ink. A regular paper stamp pad may produce a crisp impression on cardboard but sit on top of fabric fibers instead of bonding with them. Textile inks are formulated for cloth and may be dye-based, pigment-based, water-based, solvent-based, or oil-based depending on the product. You don't need to become a chemist. Read the packaging for terms such as fabric ink, textile ink, laundry-safe, or heat-setting required. “Permanent” by itself isn't enough because some products use that word for paper applications.
The stamp mechanism matters too. A built-in pre-inked stamp is convenient and tidy, while a separate textile ink pad gives you more control over ink choice and replacement. A small pad in a tin may be less convenient at the kitchen table, but it lets you match the ink to the surface and test a new formulation without replacing the entire stamp.
A small materials checklist
Before labeling a drawer full of clothes, gather:
- The stamp: Choose a design with lettering large enough to remain readable after fabric texture softens the edges.
- Compatible textile ink: Don't substitute a paper pad just because its label says permanent.
- A scrap of cotton: Use it to check pressure, ink coverage, and legibility.
- Rubbing alcohol: Keep it nearby for cleaning tools and addressing mistakes before the ink cures, but test it first because alcohol can affect dyes and finishes.
- Parchment paper: Use it as a barrier during heat-setting if the ink instructions permit ironing.
- A flat wooden board: A firm base supports the textile and helps the stamp make full contact.
A label durability testing guide can help you think like a tester rather than trusting the first impression. The goal is to apply the mark, wash a sample, and inspect it before stamping every uniform in the house.
Permanent markers, acrylic craft paint, and paper stamp inks aren't interchangeable with textile ink. They may look acceptable on the first day, but a washable garment puts them through water, detergent, abrasion, and repeated bending. The package needs to identify the product as suitable for fabric or textiles, not merely suitable for stamping.
Fabric Stamps Versus Labels, Stickers, and Iron-On Tags
A fabric stamp competes with several established labeling methods, and each one solves a different problem. The stamp is fast on a smooth, light care label. An iron-on label is more predictable across many fabric types. A sticker is convenient when you want no heat and no wet ink. An engraved tag pin can be reusable, though it adds hardware that may rub or catch.
The comparison below focuses on the decision a caregiver makes at the table. The plan may be to label ten garments quickly, but the right choice depends on surface, skin contact, wash conditions, and whether the mark needs to look polished.
| Method | Apply Time per Item | Wash Survival | Skin Safety | Approx. Cost per Item |
|---|---|---|---|---|
| Fabric stamp | Quick press on a suitable surface | Vendor guidance ranges from about 20 to 25 washes up to 50 or more when the product is cured and heat-set correctly | No added patch or edge, but follow the ink maker's skin-contact guidance | Usually low after the initial stamp purchase |
| Iron-on name label | Requires positioning and ironing | Depends on label construction, heat application, and garment surface | Smooth when applied correctly, but edges may bother sensitive skin | Moderate, depending on the label pack |
| Peel-and-stick clothing label | Peel and place | Can lift or wear when the surface is textured, stretched, or heavily rubbed | No wet ink, but the label itself can create an edge | Moderate, depending on pack size |
| Engraved plastic or metal tag pin | Attach hardware to the garment | Hardware can remain useful across garments, but the pin and fabric can wear | May rub, catch, or feel uncomfortable inside clothing | Higher initial cost than a single ink impression |
The stamp wins when you're labeling a pile of pale uniforms, care labels, bags, or smooth cotton items. It doesn't need an iron, and it doesn't add a tag that a child can feel. It loses on black fabric, plush textures, and stretch knits, where the impression may be hard to read or may distort as the garment moves.
Where the alternatives earn their place
Pre-printed iron-on tapes make sense for a school uniform that needs a clean, consistent name. Sticker sheets in the style of Stikins, Stuck-on-You, Kutsu Kids, or Mabel's Labels suit families that want color, icons, and no curing time. Engraved nickel-plated tag pins can work for coats and bags that move between children, provided the hardware won't irritate the wearer.
A stamp shouldn't be judged against all of these as if they were identical products. It's a surface-specific tool. For a broader comparison of clothing identifiers, this overview of personalized name tags for clothes can help you choose between ink, adhesive, and attached tags.
My verdict is simple: use a stamp on a smooth care label when speed matters, and choose another method when the fabric is dark, fuzzy, stretchy, or directly against sensitive skin.
Prepping and Stamping Clothing the Right Way
The best stamping session starts before the stamp touches the garment. Choose the care label or an inside seam first, then test the ink on a hidden area or a scrap with a similar weave. This catches problems such as bleeding, weak coverage, or unreadable lettering before a favorite sweatshirt becomes the experiment.
Wash the clothing before stamping if it's new or carries a noticeable factory finish. Sizing, softeners, and other surface treatments can interfere with absorption. Let the garment dry fully, then place it on a firm, flat surface. A cutting board, smooth table, or closed magazine works better than a soft bed or padded ironing board, where the stamp can sink unevenly.
A kitchen-table method that avoids most mistakes
- Protect the back layer. Slide scrap paper or thin cardboard inside a shirt, tote, or jacket panel. If ink travels through the fibers, the paper keeps the front and back from becoming one accidental label.
- Smooth the target. Flatten wrinkles without stretching the fabric. Stretching changes the shape of the weave, and the name can look distorted when the material relaxes.
- Ink the stamp evenly. A separate pad should cover the lettering without flooding it. Too little ink creates gaps. Too much ink fills small spaces and produces a blob.
- Press straight down. Hold firm, even pressure for roughly 5 to 10 seconds when the product instructions call for a held impression. Don't rock the stamp from side to side. Rocking creates doubled edges and blurred letters.
- Lift vertically. Pull the stamp straight up, then leave the fabric flat. Moving or folding the garment immediately can transfer wet ink to another area.
- Air-dry before handling. Allow at least 10 minutes before moving the garment, and avoid stretching the marked zone while it's wet.
Practical rule: A crisp first impression starts with a stable surface, not extra force.
Keep the test swatch. Put it through the next laundry load under the same conditions as the garment, then inspect the lettering. If the sample fades, bleeds, or becomes stiff, change the ink or surface before labeling the rest of the drawer.
If you're also ordering decorated apparel for a group, a resource such as explore custom park shirts can help you think about how printed fabric behaves in real wear, beyond the first clean impression. For everyday labels, this explanation of label application methods offers additional context on choosing an application approach.
Heat-Setting and Curing for Real Wash Survival
Air-dry and wash-proof aren't the same thing. The ink may look dry on the surface while still needing time and heat to bond more firmly with the fibers. Cutting that process short is one of the main reasons a name looks strong on Monday and weak after the first few laundry cycles.
Follow the product instructions first. One manufacturer specifies a 24-hour wait before the first wash, and other textile-marking guidance recommends heat-setting with an iron or dryer to improve permanence. Some products call for a dry iron, while others are designed for a dryer. Don't assume that a method suitable for one ink is suitable for another. Modico's product guidance is an example of why the cure window belongs in the product instructions, not in guesswork.
A cautious cure routine
After stamping, leave the garment flat for the full stated cure period. If the label permits ironing, place parchment paper or a thin pressing cloth between the iron and the printed area. Use the specified temperature, keep the steam off, and avoid dragging the iron across an uncured impression.
A dryer may be the recommended alternative for some products. Guidance in this category includes 20 minutes in a hot dryer after the cure window, while iron instructions may specify 10 to 15 seconds on each side. These are product-dependent directions, so use them as examples of the type of instruction to look for, not as universal settings. Textile stamp durability guidance emphasizes that cure and heat treatment affect wash performance.
| Ink Type | Air Cure | Heat Method | Time on Fabric |
|---|---|---|---|
| Textile ink with iron instructions | Follow the manufacturer's cure window, commonly 24 hours before washing | Dry iron with a pressing barrier, no steam | Product-specific, often a short held pass |
| Textile ink designed for dryer setting | Complete the stated air-cure period first | Hot dryer if the packaging allows it | Product-specific dryer cycle |
| Water-based pigment textile ink | Allow the impression to dry fully before heat | Iron or dryer only at the stated temperature | Depends on the formulation and fabric |
| Solvent-based textile ink | Use ventilation and follow the product's handling instructions | Use only the approved heat method | Depends on the formulation and substrate |
Heat-setting isn't a license to wash carelessly. Higher temperatures and harsh detergents can reduce fastness, especially when the substrate is already a poor match. Washing inside out and following the garment's care instructions can reduce abrasion.
For households that would rather outsource folding and washing during a busy labeling week, try Tumble Laundry as a practical laundry service option. For labels exposed to pressing or heat, this guide to heat-resistant labels adds useful context about choosing materials that suit the care routine.
Why Some Fabrics Kill the Ink and Others Keep It
The surface usually matters more than parents expect. A smooth, tightly woven care label gives ink a stable place to contact and remain legible. A loose knit, fuzzy pile, or coated textile breaks that contact into uneven fibers, so the same stamp can look crisp on one garment and fuzzy on another.
The strongest candidates include woven cotton labels, denim, canvas, and smooth cotton panels. Their structure gives the impression enough support. The difficult surfaces include socks, fleece, terry cloth, jersey, spandex blends, and water-repellent materials. Socks and stretch knits move as you stamp them, fleece and terry pull fibers into the lettering, and coatings may repel the ink instead of accepting it.
Independent FAQ guidance describes stamps lasting about 50 washes on care labels, while performance drops on stretchier, thicker, or coated textiles. It specifically identifies socks, fleece, and Teflon-coated garments as problem surfaces. Stamptastic's fabric-stamp FAQs support the practical conclusion that “permanent” depends on the substrate.
A quick surface decision
| Surface | Stamp Result | Notes |
|---|---|---|
| Woven care label | Usually the most reliable | Smooth structure supports clear lettering |
| Light cotton panel | Often good | Keep it flat and avoid stretching |
| Denim | Generally suitable | Dense weave can accept a strong impression |
| Canvas | Suitable when smooth enough | Test because heavy texture affects edges |
| Jersey knit | Variable | Stretch can distort the name |
| Socks | Poor candidate | Loose knit and curved shape encourage bleeding |
| Fleece or terry cloth | Poor candidate | Raised fibers blur fine lettering |
| Teflon-coated or water-repellent fabric | Often unsuitable | The coating may repel the ink |
The surface test: If you can see pronounced texture or stretch the fabric easily, assume the stamp needs a test before it earns a place on the garment.
This is why the care label is such a useful target. It's usually smooth, light enough for dark ink, and hidden from direct skin contact. If there's no usable label, choose an inside seam or flat woven section. For a fleece jacket or black uniform, switch to an iron-on or pre-printed label rather than trying to force a permanent ink stamp for fabric to do a job it wasn't designed to handle.
Safety, Troubleshooting, and When to Skip the Stamp
A cured, purpose-made textile ink is different from a wet impression sitting against a child's skin. Fresh ink may remain tacky or transfer before it has completed its cure period, so follow the manufacturer's waiting instructions before returning the garment to a toddler. If the product is intended for clothing, check its safety language rather than assuming every permanent stamp pad is suitable for skin-adjacent fabric.
The first wash is your quality check. Watch for lettering that loses definition, ink bleeding onto a neighboring layer, or a rigid patch that the child can feel. Those signs usually point to one of two problems: the ink wasn't fully cured, or the surface was too textured, stretchy, or coated.
For baby clothes, allergy-prone skin, and uniforms that must remain readable, a pre-printed sew-on or iron-on label may remove more uncertainty. A sticker can also be sensible for a smooth care label when you want to avoid wet ink entirely. The stamp earns its place on caregiver labels, daycare bags, lunch kits, and light woven surfaces where a discreet mark is more useful than a polished printed tag.
InchBug offers several kid-focused labeling options, including TagPal clothing labels, ShoePal identifiers, bag tags, allergy alert tags, and waterproof name labels for items such as bottles, lunch boxes, and sports gear. Visit InchBug to compare those label formats with a fabric-stamping approach and choose the surface-specific option that fits your child's laundry and daycare routine.