

The lunchbox is packed, the water bottle is somewhere under the sofa, and your child is already asking where their favorite hoodie went. Then you arrive at daycare or school and discover that several children own the same cup, jacket, or navy backpack. Square label stickers won't solve every morning problem, but they make belongings easier to identify, return, and take care of.
The square format works especially well because it gives you a tidy, readable area on flat surfaces. A name can sit beside a simple icon, and the label can fit on a lunchbox lid, notebook cover, storage tub, or the bottom of a cup without wrapping around an edge. The result is a small organizational habit that supports both parents and children.
Understanding Square Label Stickers for Kids
At drop-off, a clearly labeled lunchbox gives a teacher an immediate answer. A name on the underside of a water bottle helps when several identical bottles collect beside the sink. A bright square on a notebook lets a young child recognize their own things before they can read every letter.
That combination of standard shape, readable space, and quick recognition makes square labels useful across a child's routine. Unlike a narrow strip, a square gives you room for a first name, initials, or a small identifying symbol. Its straight edges also make placement predictable, which helps when you're labeling a group of supplies at once.
The format suits many smooth, flat areas:
- Lunch containers: Place the label on the lid or the broadest visible side.
- Water bottles: Use a flat panel rather than a sharply curved section.
- Notebooks and folders: Apply it to the front cover or inside cover.
- Storage boxes: Put the name where staff can see it without opening the container.
- Small toys and activity supplies: Choose a clean, non-textured surface.
Practical rule: A label only helps if another person can find and read it quickly.
Square labels also give children a sense of ownership. A familiar color or animal icon can help a pre-reader identify a bag independently, while an older child can use the printed name as a reminder to check their belongings before leaving. For families building a broader labeling system, this beginner's guide to adhesive labels for kids offers useful background on matching labels to everyday items.
The same principle applies outside school. If you're looking for playful designs for a child's room, craft box, or activity supplies, the find barn life decals collection can provide additional inspiration. Keep the design secondary to the practical test: the name or identifying mark should remain visible when the item is handled quickly.
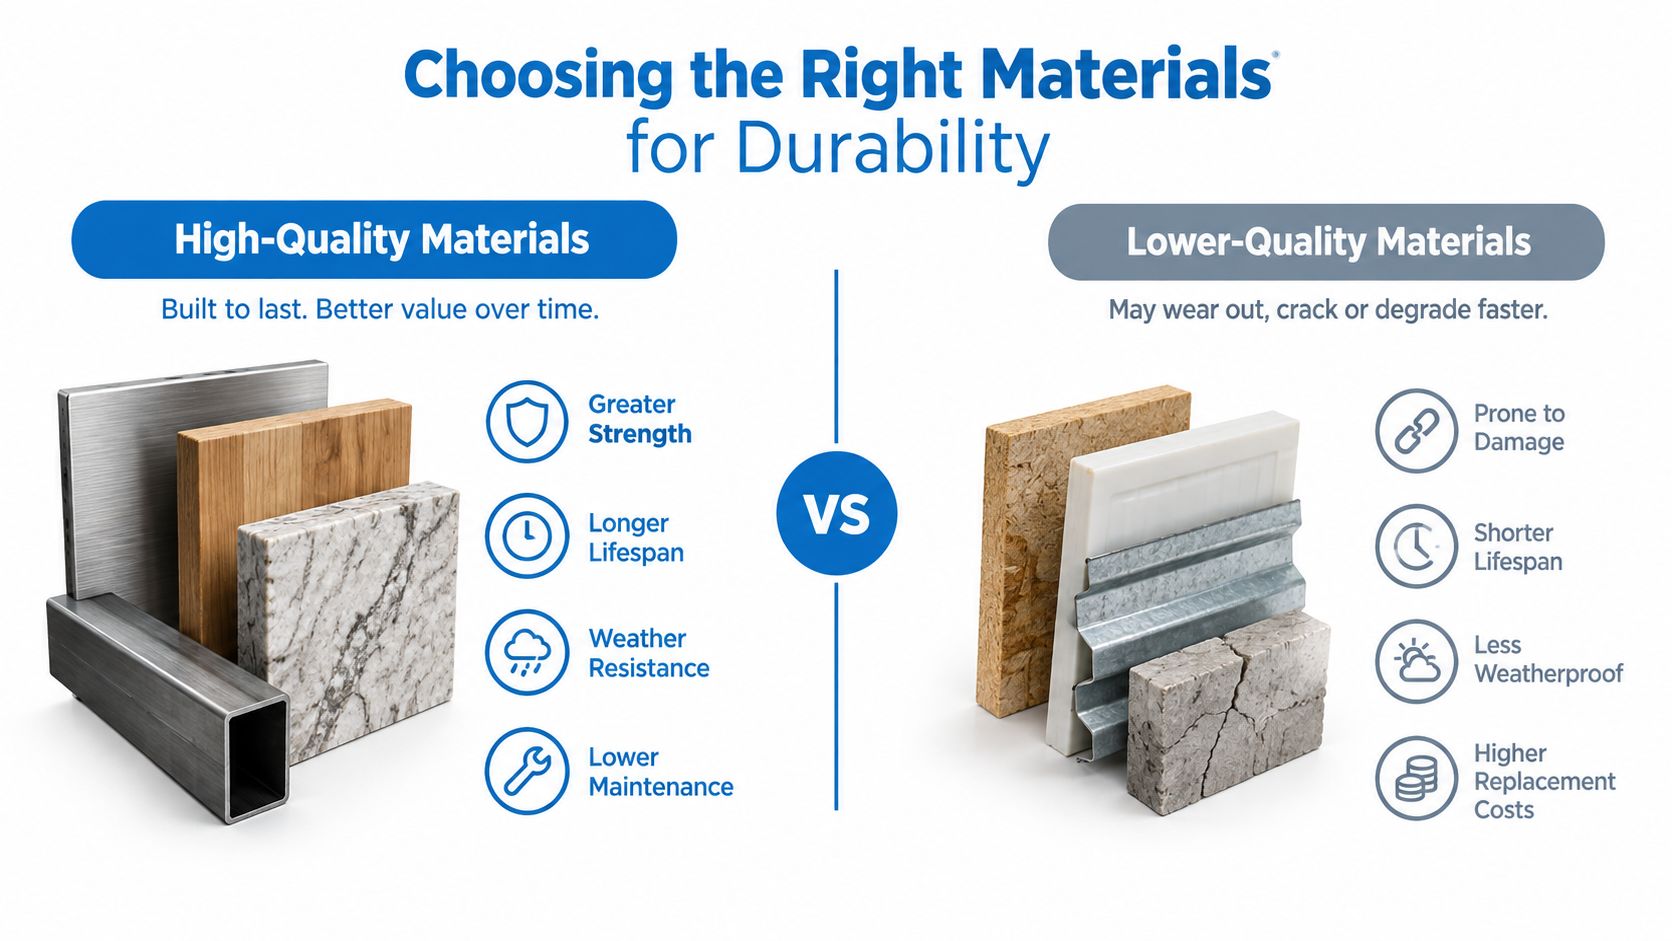
Choosing the Right Materials for Durability
A cute label that peels after the first serious wash isn't a durable label. The face material, printed surface, adhesive, and application method all contribute to performance, so the word waterproof shouldn't be treated as a complete specification.
Paper is suitable for dry items such as folders, books, and some indoor storage containers. It can be easy to print and pleasant to write on, but it absorbs moisture more readily than a film substrate. For bottles, lunch containers, and gear exposed to condensation or repeated cleaning, polypropylene, polyester, and vinyl films are more appropriate because their non-porous surfaces don't absorb water. This waterproof label guidance also emphasizes that the entire label system matters, not just the visible face.
Match the material to the item
Use the item's environment as your first filter:
- Dry school supplies: Paper or standard adhesive labels can work when the item stays indoors and dry.
- Cold bottles and lunch containers: Choose a film face, such as polypropylene or vinyl, because condensation and spills are likely.
- Outdoor gear: Look for a tear-resistant film and adhesive suited to temperature changes and abrasion.
- Frequently cleaned items: Confirm whether the label is intended for dishwasher use, rather than assuming a film face automatically makes it dishwasher-safe.
A film face can protect the printed surface, but it won't compensate for a weak adhesive. Pressure-sensitive labels need an adhesive that stays bonded instead of lifting at the corners. Library of Congress specifications for pressure-sensitive adhesive labels require high permanence, resistance to lifting, curling, flagging, and peeling, along with a usable shelf life of at least one year, as described in its pressure-sensitive label specifications.
Read beyond the front of the package
Before buying, check whether the product identifies the facestock, adhesive type, and recommended applications. A permanent pressure-sensitive adhesive is generally a better choice for belongings that will be handled repeatedly, while a removable adhesive may be useful for temporary classroom organization.
Don't choose solely by color, finish, or price. The practical question is whether the label system matches the surface and the cleaning routine. For a closer look at the difference between waterproof materials and real-world performance, review this explanation of waterproof vinyl labels.
Everyday Uses for Daycare and School Supplies
Start with the items most likely to be misplaced, not the items easiest to label. Lunch containers, bottles, jackets, and shoes move through shared spaces every day, so staff need to identify them without turning the item around repeatedly.
Label the high-loss items first
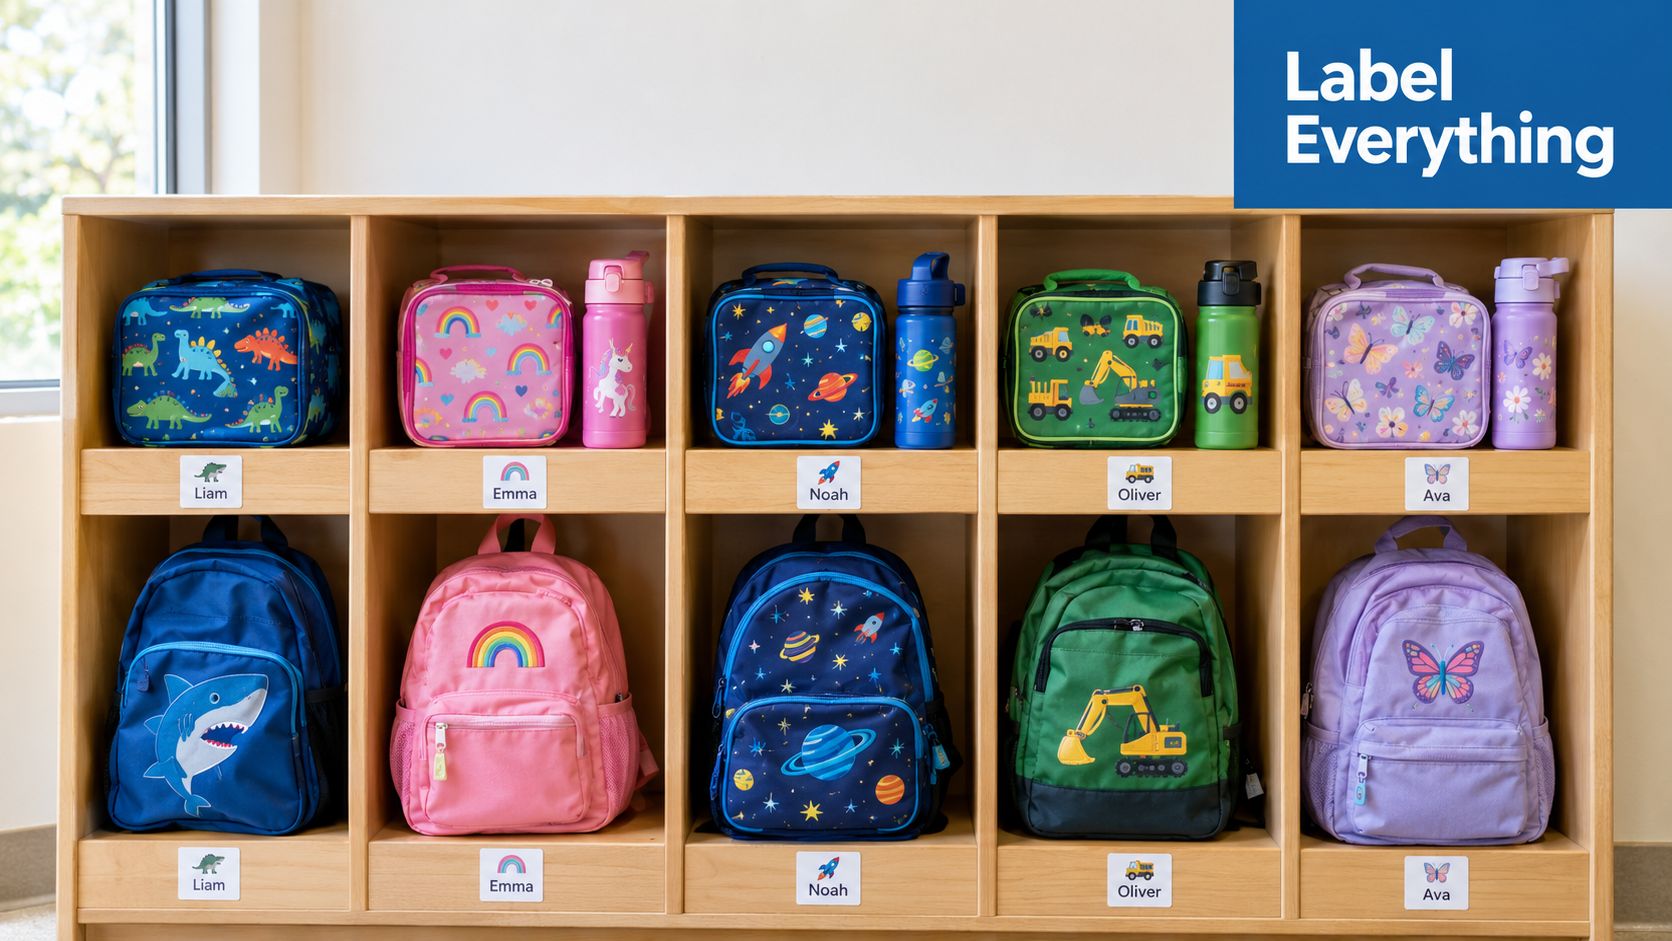
For a lunchbox, put a square label on the broad front panel or lid where cafeteria staff can see it while sorting meals. If the lid is textured, place the label on the smoothest suitable area. Bento boxes often have several removable parts, so label the main container and consider marking a lid or accessory only when the surface allows secure adhesion.
A thermos or bottle deserves a visible location too. Avoid seams, hinges, deep grooves, and areas that flex when the item is squeezed. On a cup with a flat base, the bottom can work for identification, but a side panel is easier for teachers and children to spot.
Build a supply checklist
Once the daily essentials are marked, move through the classroom categories:
- Clothing: Add name labels to coats, sweaters, hats, and removable layers. Follow the garment's care instructions and select a clothing-specific identifier where a hard-surface sticker won't bond properly.
- Shoes: Mark the inside area with a purpose-designed shoe identifier. The label should remain comfortable and shouldn't interfere with the child's foot.
- Books and paper goods: Use square labels on notebook covers, folders, binders, and reading journals. An inside-cover placement can be useful when the exterior needs to stay uncluttered.
- Art and activity gear: Label smocks, pencil cases, lunch accessories, and reusable craft containers before they join the classroom supply area.
- Bags and sports equipment: Add identification to backpacks, pouches, helmets, and gear bags where a teacher can see it during collection.
A daycare-specific labeling resource, such as this guide to labels for daycare, can help families think beyond bottles and lunchboxes. The best system is the one you can apply consistently, using a visible name on shared items and a durable identifier on items that face friction, moisture, or frequent handling.
Designing Personalized Labels That Stand Out
Personalization should help a child and an adult identify an item at a glance. Decorative details are useful when they support recognition, but they become a problem when a busy background makes the name difficult to read.
Choose contrast first. Dark lettering on a light label, or light lettering on a dark label, is easier to scan than similar tones placed together. A simple sans-serif font usually works better than a decorative script, especially for young children learning to recognize their names. Keep the text large enough for a teacher to read without holding the item close to their face.
Create a visual signature
A consistent design can reduce searching. Use the same icon, color family, or character theme across your child's bottle, lunchbox, folder, and bag. A pre-reader may recognize a rocket, flower, dinosaur, or animal before recognizing the written name.
Keep the icon beside the name rather than placing it behind the lettering. Give the name clear space around it, and avoid filling every corner of the square. The label should remain legible when the item is dusty, wet, or viewed under classroom lighting.
Design test: Cover the label with your hand, then reveal it briefly. If you can't identify the name and icon immediately, simplify the layout.
Decide how much personal information to show
A full name may make returns easier, but some schools and families prefer using only a first name, initials, or a family identifier. Check your daycare or school's policies before ordering. For bags, coats, and items visible in public spaces, initials can offer a useful balance between identification and privacy.
A monogram can also make a discreet identifier. For example, monogram initials vinyl decal stickers show how initials can function as a clear visual mark without displaying a child's full name. For more ideas on balancing readable type, icons, and color, consult these label design ideas.
Design for the person doing the sorting. Teachers need fast recognition, children need an approachable symbol, and parents need a label that remains useful after the novelty of a new design fades.
Care Instructions for Long-Lasting Adhesion
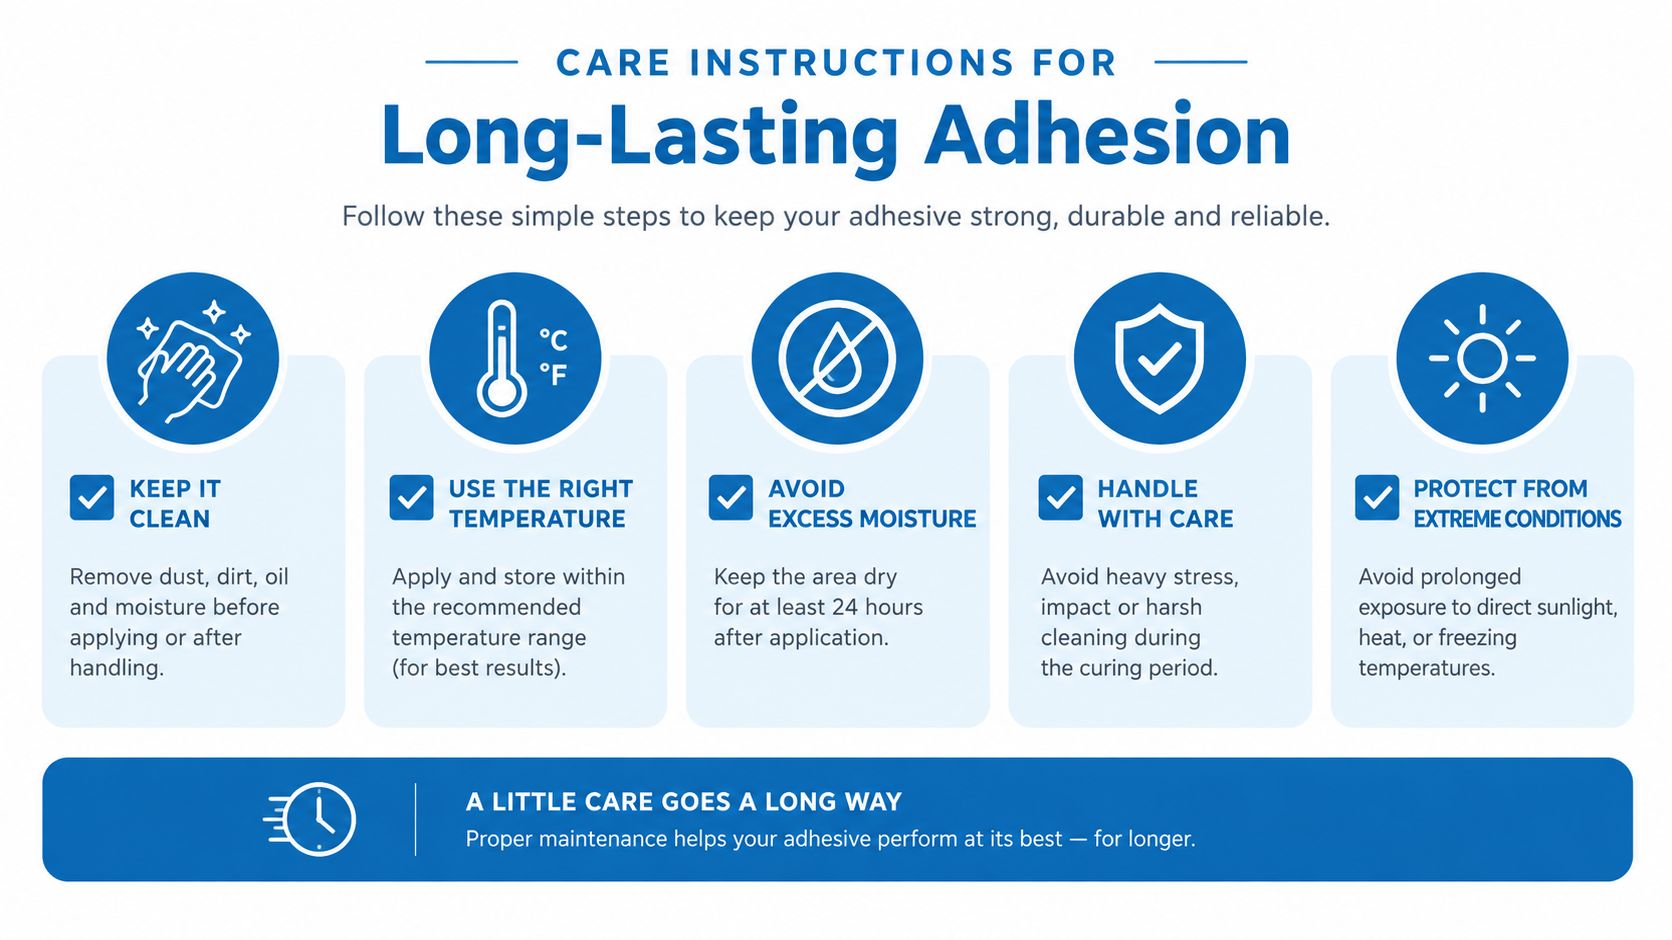
“Waterproof” doesn't mean indestructible. A label can resist splashes yet struggle with hot dishwasher water, strong detergent, repeated abrasion, or an edge that was never fully bonded to the surface.
Dishwasher performance depends on the material, adhesive, lamination, wash temperature, and detergent. Independent guidance notes that even high-tack vinyl may have a shorter life after repeated dishwasher cycles, while lower-temperature cycles are generally less demanding. Some coverage reports that BOPP labels may begin peeling after 5 to 10 dishwasher cycles, while vinyl with stronger adhesive and lamination can last longer, but the result varies by product and conditions. See this guide to waterproof labels and dishwasher use before treating a cycle count as a guarantee.
Apply the label correctly
- Clean the surface: Remove grease, dust, food residue, and old adhesive. A clean surface gives the adhesive direct contact with the item.
- Dry it completely: Don't apply a label to condensation or a damp container. Moisture trapped beneath the label can weaken the bond.
- Choose a flat area: Avoid ridges, seams, corners, hinges, and flexible sections whenever possible.
- Press from the center outward: Smooth the label firmly so air pockets don't remain beneath the face.
- Let it bond: Give the adhesive time to settle before the item goes into water or a dishwasher.
Reduce avoidable stress
Follow the product's cleaning instructions rather than relying on a general waterproof claim. If the item can go in a lower-temperature dishwasher cycle, that may be gentler than a hotter program. Hand washing can also reduce heat and detergent exposure, especially for a label placed near an edge.
Inspect the corners during routine cleaning. Early lifting is easier to address than a label that has already collected water and dirt beneath the face. This label care instructions resource provides another practical reference for cleaning and maintaining adhesive labels.
Microwave safety is a separate question from dishwasher durability. Only use a labeled container in a microwave when both the container and the label manufacturer explicitly allow it. A waterproof face alone doesn't establish microwave suitability.
Selecting the Best Label Bundles for Your Family
Buying labels one item at a time often creates gaps. You remember the water bottle, then notice the lunchbox, jacket, shoes, and sports bag waiting beside it. A bundle encourages you to label by routine instead of by accident.
Choose a package suited to the main environments your child moves through:
- Hard-surface labels: Square or rectangular stickers for lunchboxes, bottles, folders, notebooks, and containers.
- Clothing identifiers: Labels designed to remain attached to fabric without relying on a hard-surface adhesive.
- Shoe markers: Identifiers made for the inside of footwear and positioned away from pressure points.
- Bag tags: Larger markers for backpacks, totes, and activity bags where a small sticker may be hard to see.
- Special-purpose tags: Allergy alerts or other information your child's caregivers need to notice quickly.
The value of a bundle isn't only the number of pieces. It's the consistency of the system. One design across different label types helps children recognize their belongings, while a single personalization process reduces the chance that names are spelled differently across separate orders.
Before checkout, compare the materials with your routine. A bundle with film labels may suit bottles and lunch containers, while clothing and shoe items still need purpose-built formats. Confirm the cleaning guidance, application surfaces, and whether the labels match your school's privacy preferences.
For families preparing for daycare or a new school term, InchBug offers personalized labels for bottles, lunch boxes, clothing, shoes, bags, and school gear, including square adhesive labels for smooth hard surfaces and broader combination bundles. A coordinated set can turn a scattered labeling task into one organized preparation session, giving you a clearer inventory of what has been marked and what still needs attention.
The practical payoff is fewer anonymous items in the lost-and-found area, less repeated writing, and a system your child can understand. Choose durability before decoration, then select a design your family will recognize quickly.
InchBug offers customizable square labels and coordinated identifiers for the bottles, lunch boxes, clothing, shoes, bags, and school supplies that children use every day. Visit InchBug to build a labeling set that matches your child's routine and start the school season with belongings clearly marked.