
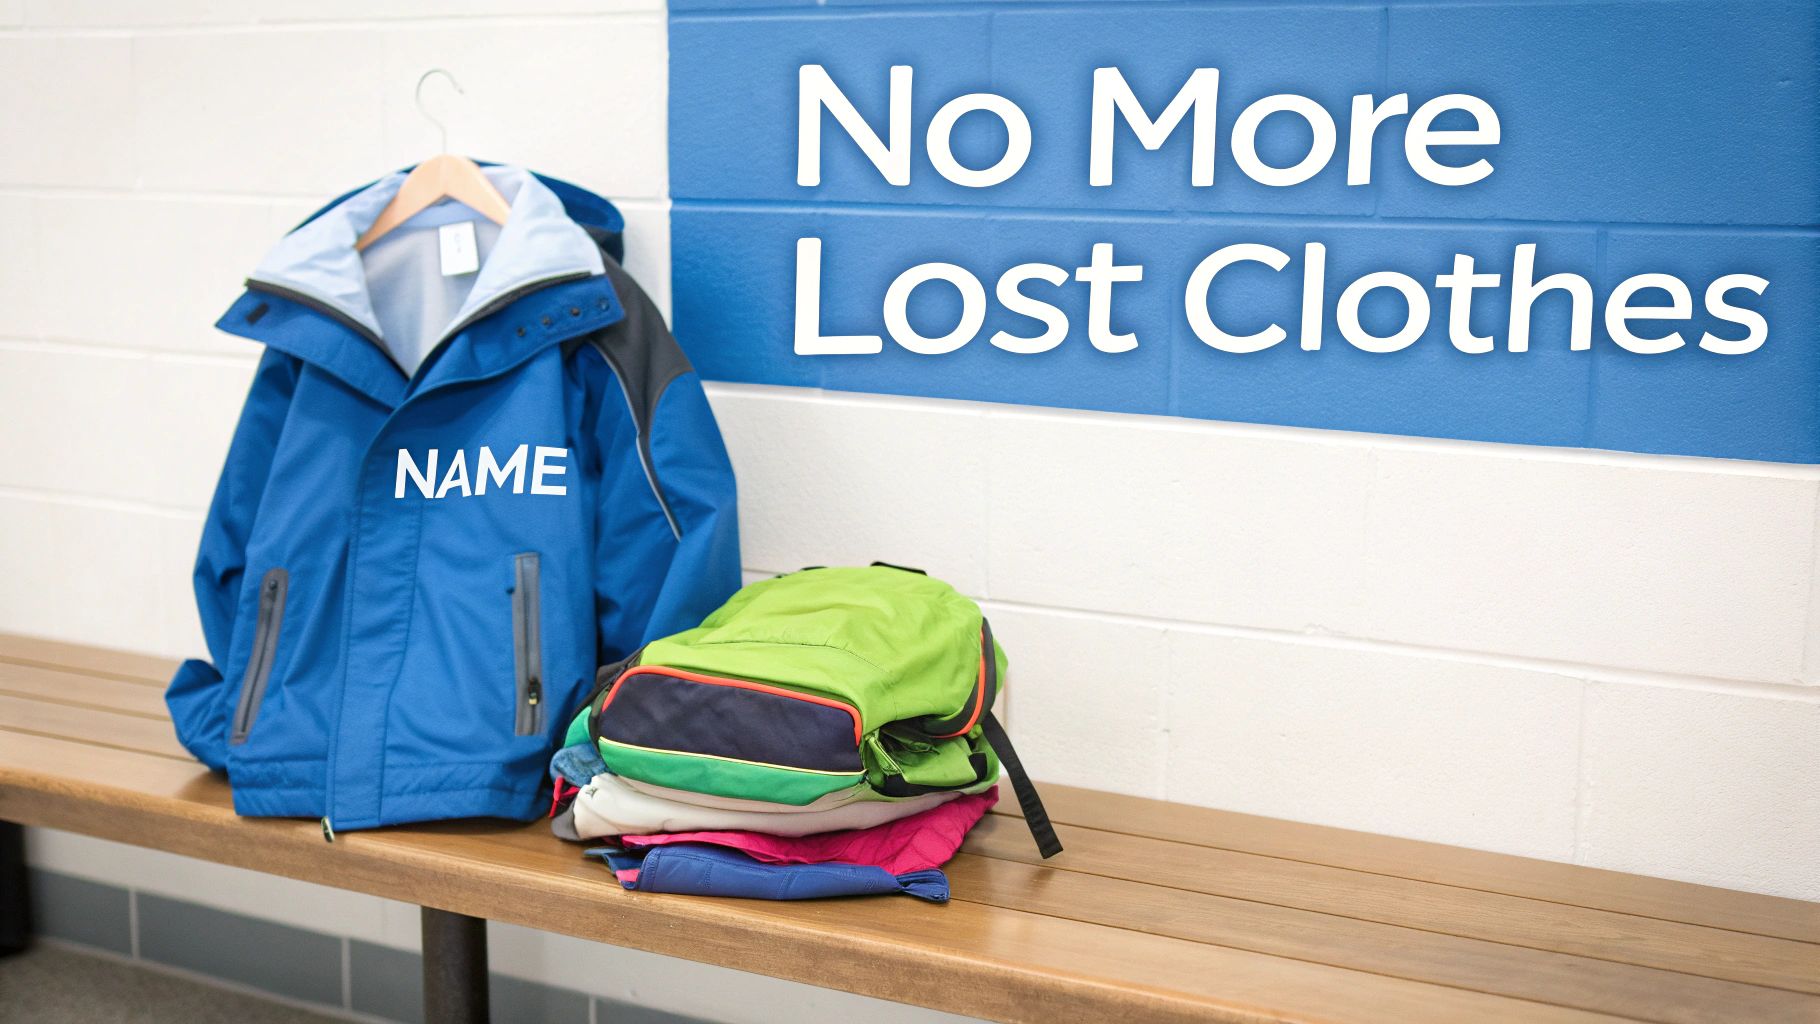
Lost jackets, runaway socks, and mystery sweatshirts—if you're a parent, you know the struggle is real. Iron on name tag labels are one of the simplest and most durable ways to keep track of every single piece of clothing your kid owns, making sure that favorite hoodie actually makes it back home from school, daycare, or camp.
These aren't your grandma's old iron-on patches; modern labels are designed to become one with the fabric and withstand countless wash cycles and playground adventures.
Why Iron On Labels Are a Parent's Best Friend
Let’s be honest, vanishing clothes are more than just a little annoying. They add up to a real waste of time and money, creating a frustrating cycle of searching for lost items and then having to replace them. That’s something busy families just don’t have time for.
This is where a good labeling system becomes a lifesaver. It’s not just about organization; it’s about peace of mind.
Modern iron on labels are built to last. A marker will fade after a few washes, and a stick-on label might peel off a stretchy t-shirt, but a properly applied iron-on label forms a permanent bond. The heat-activated adhesive melts right into the fabric's fibers, so the name stays put through every tumble in the washing machine and dryer.
A Clear Winner for Durability and Ease
When you look at all the options, iron-on labels just make the most sense for clothing. Sew-in tags are definitely durable, but they require time and sewing skills that a lot of us just don't have. And while stick-on labels are super fast, they’re really better for smooth surfaces like lunchboxes or water bottles, as they tend to fail on fabric.
The numbers back this up. The global market for iron-on clothing labels for kids has soared to USD 612.4 million. This boom is driven by more kids in daycare and the simple, practical need to stop mix-ups in crowded classrooms. For parents, labels that can survive 50+ washes aren't a luxury—they're a must-have.
The best labeling system is one you'll actually use. Iron-on labels strike that perfect balance between being incredibly durable and incredibly easy to apply, making them the go-to for keeping kids' wardrobes organized.
Beyond Just a Name
A label's main job is identification, but today’s high-quality labels offer so much more. You can add a phone number, list an allergy, or even pick fun icons that help little ones who can't read yet spot their own stuff.
For most families, the simplicity of an iron-on label is exactly what’s needed. Of course, for things like sports team uniforms or company gear, you might look into custom embroidery logo services for a more professional touch.
But for day-to-day life? An iron-on label gets the job done perfectly. If you want to dive deeper, you can learn more about why clothing labels for kids make sense right here.
Comparing Your Labeling Options
To make it even clearer, here’s a quick look at the most popular ways to label kids' clothes. This should help you decide what's right for your family based on durability, how long it takes to apply, and what each is best suited for.
| Label Type | Durability | Application Method | Best For |
|---|---|---|---|
| Iron-On | Excellent | Heat from an iron | All clothing, especially cottons and polys |
| Sew-On | Excellent | Needle and thread | Heavier fabrics, heirlooms, handmade items |
| Stick-On | Fair (on fabric) | Peel and stick | Hard surfaces like lunchboxes, shoes, water bottles |
Each method has its place, but as you can see, iron-on labels really hit that sweet spot of high durability and low effort for everyday clothing. They’re the workhorse of the labeling world
Setting Up for a Perfect Application
I’ve learned the hard way that the secret to an iron-on label that actually lasts isn’t about how you press it on—it’s all in the prep work. Taking just a few minutes to get your garment and workspace ready is the difference between a label that peels after one wash and one that sticks around for years. This is how you sidestep the most common mistakes before you even plug in the iron.
First things first, let's talk fabrics. Iron-on name tag labels are designed to bond with materials that can take the heat. You're in luck, because this includes most of the sturdy, everyday fabrics our kids live in:
- Cotton and cotton blends: This is the perfect canvas for an iron-on label.
- Polyester blends: These work beautifully and are super common in sportswear and uniforms.
- Denim: Its tough, flat weave creates an ideal surface for a super-strong bond.
Now, for the fabrics to avoid. To prevent a melted mess, you'll want to steer clear of delicate synthetics like nylon and silk. Anything with a bumpy, textured, or velvety surface is also a no-go. These materials can either melt under the iron or they just don't provide the smooth, flat surface needed for the adhesive to grab on properly.
The Non-Negotiable Pre-Wash
This is the one step I tell everyone never, ever to skip: pre-washing the garment. It’s so tempting to just iron a label onto a brand-new t-shirt, but new clothes are treated with chemicals and sizing agents at the factory. You can't see them, but these residues create an invisible barrier, stopping the label’s adhesive from melting deep into the fabric fibers.
Just wash and dry the item once—without fabric softener!—and you’re golden. This simple step removes all that factory gunk and ensures the adhesive can form a direct, permanent bond with the fabric. It’s the key to making sure that little label can withstand dozens of future tumbles in the washing machine. You can find more tips on getting items ready in our guide on how to label baby clothes for daycare.
Creating the Right Environment
Your ironing setup matters just as much as the fabric prep. I know it’s convenient to grab the ironing board, but its padded, squishy surface actually works against you. The cushioning absorbs the pressure you’re applying, leading to a weak, uneven bond that’s almost guaranteed to start peeling at the edges.
For a truly permanent application, you need a hard, flat, and heat-resistant surface. I use a sturdy wooden table or a kitchen countertop with a thin towel laid over it. This gives you the solid, unyielding base you need to apply firm, even pressure, which is essential for fully activating the adhesive and fusing it to the fabric for good.
Applying Iron On Labels That Actually Stick
With your garment prepped and your workspace ready, we can move beyond the instruction leaflet and get into the real technique for applying iron on name tag labels that actually last. This is where a little bit of patience and the right method will create a bond so strong it’ll outlast the school year.
First things first, that little piece of parchment paper included in the pack is your best friend. It acts as a protective shield, preventing the direct, scorching heat of the iron from melting the label or damaging delicate fabrics. Always place it over the label before you press.
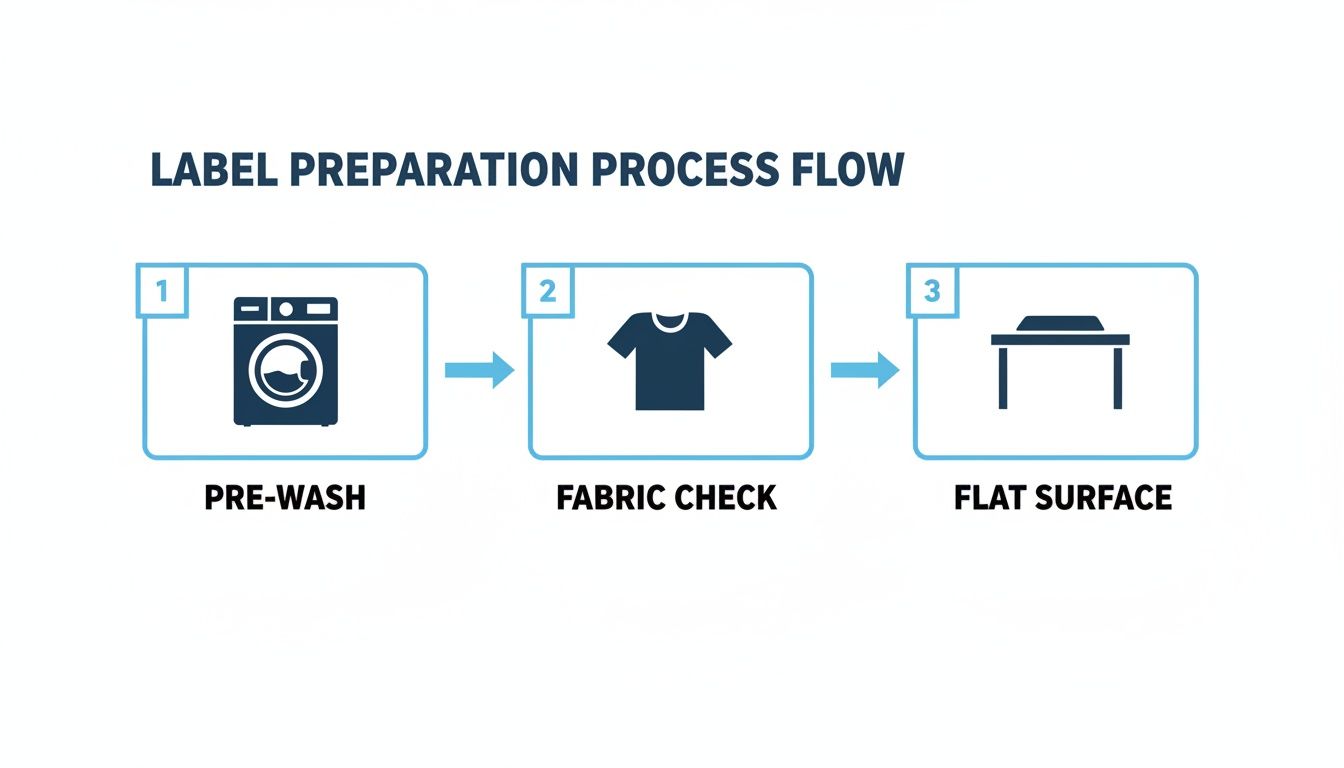
Following these three simple prep stages—Pre-Wash, Fabric Check, and using a Flat Surface—really does eliminate the most common reasons why labels fail before you even plug in the iron.
Master the Pressing Technique
If there's one secret to a perfect application, it's pressure. You need to apply firm, steady, and even pressure directly down onto the label. My best tip is to use your body weight to press down on the iron—don't just rely on arm strength.
A common mistake I see is wiggling the iron back and forth like you’re trying to get wrinkles out. This movement can shift the label and stop the adhesive from melting evenly into the fabric's fibers. Instead, press and hold the iron firmly in one spot for the recommended time, usually 15-20 seconds.
For larger labels, it’s much better to press one half completely, lift the iron, and then press the other half. This ensures every part of the label gets the same direct heat and pressure, which is key for creating a uniform bond that won't peel up at the corners later.
Handling Tricky Placements
Let's be real, not all clothing items have a perfect, flat surface. Think about the inside of a sweater collar, the stretchy waistband of leggings, or the heel area of a sock. For these tricky spots, your technique needs a slight adjustment.
- Sweater Collars: Try to flatten the collar as much as possible on your hard surface. You might need to press for a few seconds longer to ensure the heat penetrates the thicker fabric.
- Stretchy Waistbands: Gently stretch the waistband flat over your surface before placing the label. Apply the label while the fabric is slightly taut. This helps it adhere without puckering when the elastic snaps back to its normal state.
The technology behind modern labels is pretty amazing. Digital printing is surging at an 8.87% CAGR, allowing for hyper-personalized kid labels with names, icons, and even allergy alerts. This means small production runs are possible, making custom designs from brands like InchBug super accessible. These newer iron-on labels are 2x faster to apply than old-school sew-in alternatives and experience 90% less fading after 100 washes. That's some serious durability. You can dive deeper into these market trends for iron-on clothing labels for kids.
The real secret to making labels last is giving the adhesive time to cure. The bond is still vulnerable right after you apply it, so resist the urge to peel at the corners to check your work while it's still warm.
The Crucial Cool Down Period
After you’ve pressed the label, the final step is maybe the most important: let it cool down completely. Seriously, walk away. The heat-activated adhesive needs time to set and harden within the fabric fibers, and picking at it while it's still warm will absolutely ruin the bond.
Once the garment is cool to the touch, the label should be fully fused. For the best results, I always recommend waiting a full 24 hours before throwing the item into its first wash. This curing period is your ultimate guarantee that the label will stick around through countless adventures and wash cycles, making all your hard work pay off.
Solving Common Iron On Label Frustrations
Even when you follow the instructions perfectly, sometimes things just go a little sideways. You might find an iron-on name tag lifting at the corners after a wash or, even more frustrating, refusing to stick in the first place. This is your go-to guide for those moments, packed with simple fixes that will save you from having to start all over again.
The most common headache is a label that just won’t adhere properly. Before you get too frustrated, run through a quick mental checklist of the usual suspects. More often than not, the problem is simpler than you think.
- Was the iron hot enough? Most labels need a high-heat, no-steam setting (think cotton). If your iron was a bit too cool, the adhesive never got the chance to fully melt and bond with the fabric.
- Did you accidentally leave the steam on? Steam is the enemy of a strong adhesive bond because it introduces moisture right when you don't want it. Double-check that your iron is completely dry.
- Was your surface hard enough? A standard ironing board is actually too soft for this job. It has too much give and absorbs the firm pressure you need to really fuse the label to the fabric fibers.
Honestly, these three things account for over 90% of application issues. The great news is that if the label hasn't fully bonded yet, the fix is usually as simple as correcting the problem and giving it another go.
Fixing Peeling Edges and Corners
If you pull a shirt from the laundry and notice a corner or edge has started to lift, it’s a classic sign that one little spot didn't get enough heat and pressure. It can be tempting to pick at it, but don’t—that will only make it worse!
Instead, just lay the garment back on your hard surface and cover the label with your parchment paper. Now, focus the heat of your iron right on that peeling area. Press down with firm, direct pressure for about 10-15 seconds. This reactivates the adhesive and creates that permanent bond you were looking for.
When the Label Goes on Crooked
It happens to the best of us, especially when we’re in a rush. If you notice it’s crooked right away—while the label is still hot—you might be able to gently peel it off with a pair of tweezers and try again. Be warned, though, this can be risky and might stretch or damage the fabric.
A much safer bet is to remove it completely after it has cooled. To do this, cover the crooked label with parchment paper and press it with your hot iron for about 15 seconds. While it's still very warm, carefully use tweezers to peel the label off. It will be hot, so go slowly and protect your fingers. You might see a little adhesive residue left behind, but this usually washes out over the next few laundry cycles.
Don't look at a failed application as a total loss. Understanding why an iron-on label didn't stick is the key to mastering the process. A quick adjustment to your heat, pressure, or surface is usually all it takes to get a perfect, lasting result on your next try.
This approach not only solves the immediate problem but also helps you get it right every single time, whether you're labeling a brand-new school uniform or giving a hand-me-down a new life.
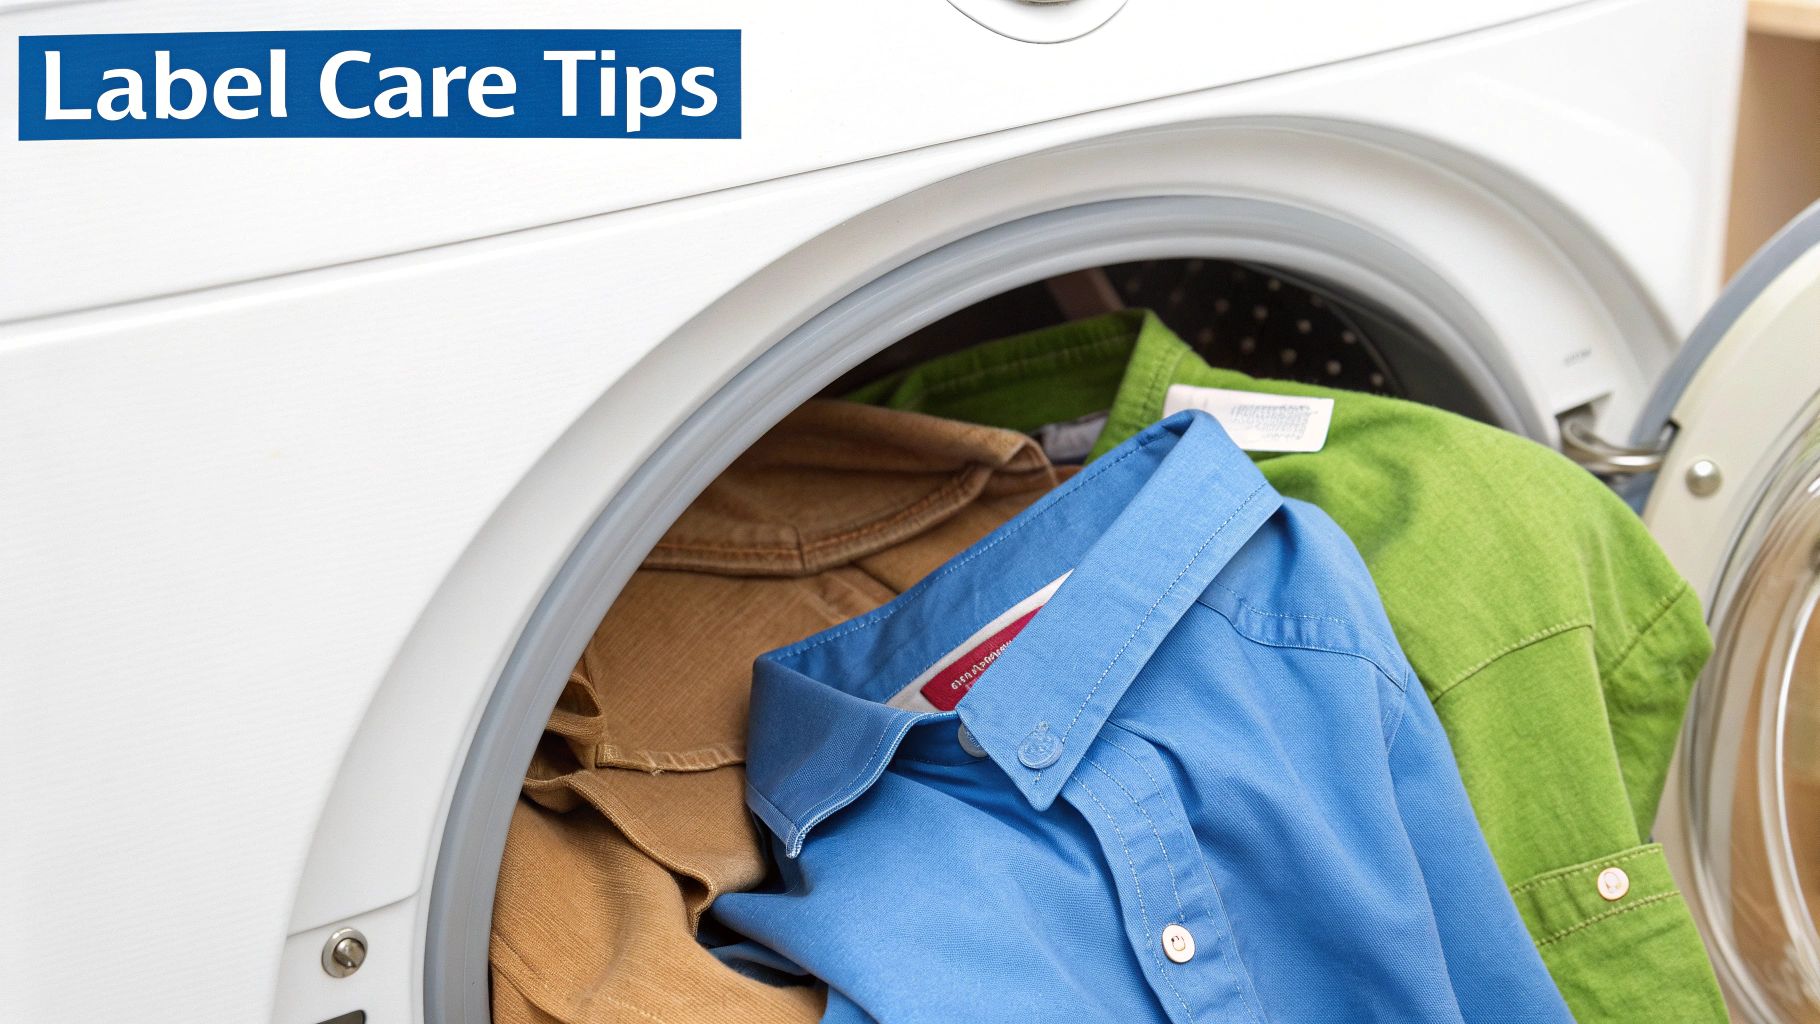
Keeping Your Labels Looking New All Year
Getting the label on is only half the battle; smart laundry habits are what make those iron on name tag labels really last. You’ve put in the work to get a perfect seal, and now a few simple tweaks to your laundry routine will keep them looking crisp and clear all year long. That means no re-labeling mid-semester!
The biggest game-changer is also the easiest: turn labeled garments inside out before tossing them in the wash. This tiny step minimizes the friction labels get from rubbing against other clothes, zippers, and buttons. Think of it as a simple buffer that protects the edges from snagging and peeling over time.
Fine-Tuning Your Wash and Dry Cycles
Heat and harsh chemicals are the two biggest enemies of the adhesive holding your labels on. A properly applied label is designed for the long haul, but you can give it a major boost by being mindful of your machine's settings.
I always recommend sticking to a cold or warm water cycle. Consistently using hot water can slowly soften and weaken the label’s adhesive, making it way more likely to peel off. Don’t worry, modern detergents work great in cooler temperatures, so you won’t be sacrificing cleanliness.
When it comes to the dryer, high heat is not your friend. Tumble dry on a low or medium setting. Better yet, let the garment air dry when you can. Just like you needed heat to apply the label, too much heat in the dryer can work to loosen it.
One of the most common reasons I see labels fail is from harsh chemicals. Chlorine bleach and aggressive stain removers are notorious for breaking down the label material and eating away at the adhesive until it just gives up.
Laundry Habits to Adopt
To make sure your labels survive the school year, here are a few key practices to work into your routine:
- Avoid Chlorine Bleach: If you’re dealing with a tough stain, reach for a color-safe, bleach-free alternative and try to apply it carefully around the label.
- Skip Fabric Softeners: Over time, liquid softeners and dryer sheets can leave behind a waxy film that interferes with the adhesive's grip.
- Don't Overload the Machine: This is a big one. Giving clothes room to move around means less friction on the labels, which helps them stay smooth and secure.
By adopting these easy habits, you’re not just doing laundry—you’re actively protecting the labels you spent time applying. If you find you need something different for certain items, you can always explore other options like specialized laundry labels from InchBug, which are designed for maximum durability.
Still Have Questions About Iron On Labels? We’ve Got Answers.
Even after reading the instructions, you might have a few specific questions swirling around. I know I did the first time I used them! This little FAQ section is designed to tackle some of the most common things parents ask, so you can feel totally confident from start to finish.
Think of this as our chat over coffee where I answer all those "but what if..." questions. Let's dive in.
Can I Use a Hair Straightener Instead of an Iron?
I get this question all the time! While your household iron is definitely the best tool for the job, you can use other things in a pinch. A craft press, like a Cricut EasyPress, is a fantastic alternative because it gives you that perfect combo of consistent heat and even pressure.
A hair straightener is a bit more of a gamble. It can work for very tiny labels, but those curved plates make it really tough to press down evenly. An uneven press often means a weak bond that won't survive the laundry. If you're in a bind and have to use one, just make sure you still use the parchment paper to protect everything.
Are These Labels Safe for My Child's Sensitive Skin?
This is a big one for parents, and it’s a concern I take seriously, too. The good news is that reputable brands make their labels with safety as a top priority. High-quality labels are typically made from materials certified to be free of nasty stuff like BPA and phthalates, so they’re non-irritating, even with direct skin contact.
When you apply them correctly, the label and the adhesive actually fuse into the fabric fibers. This creates a smooth finish that feels just like part of the clothing, not a scratchy or stiff patch. To be sure, always stick with trusted brands that are transparent about their materials.
The best labels are the ones you can apply and then completely forget are there. They should be tough enough to last, but so comfortable that your kid doesn't even feel them.
How Do I Get Old Labels Off?
This is surprisingly easy, which is a lifesaver for hand-me-downs or when you need to update a label. The trick is simply to use heat to reactivate the adhesive.
Here’s how I do it:
- Lay the garment out on a hard, flat surface.
- Cover the old label with a piece of parchment paper.
- Press your hot, dry iron right on top for about 10-15 seconds.
- While it’s still hot, carefully use a pair of tweezers to grab a corner and peel the label away.
Just be careful, as the label will be very hot to the touch! Sometimes a faint outline of the adhesive is left behind, but I’ve found it usually comes out after a couple of washes.
Will They Stick to Stretchy Fabrics?
This is a great question, especially for all those leggings, socks, and sports jerseys. The short answer is: it depends on just how stretchy the fabric is. Iron on name tag labels form the strongest bond with more stable fabrics like cotton, denim, and most polyester blends.
For super stretchy materials, the constant pulling and relaxing can stress the adhesive, which might cause the label to crack or peel off over time. For things like socks or performance wear, you might have better luck with a different approach. Stick-on labels, for example, can be applied directly to the care tag, which avoids the stretching issue completely and holds up great.
Ready to put an end to lost clothes for good? InchBug offers durable, kid-safe, and fully customizable iron on name tag labels that are designed to withstand whatever your child throws at them.
Personalize your own set of durable clothing labels at InchBug today!