

You pack the snacks, fill the water bottles, toss a few juice pouches into the cooler, and head out feeling prepared. Then somebody grabs the wrong cup, another bottle starts sweating all over the stroller tray, and by lunchtime you’re trying to remember which blue cup belongs to which child.
That’s exactly why I like a good build your own koozie project. Not the usual party-can version with a funny slogan. A parent version. One that helps kids spot their own drink fast, keeps hands a little drier, and survives real life like backpacks, car seats, lunch bags, and repeated washing.
A lot of tutorials miss that use case completely. They focus on beer koozies, event swag, or adult party favors. That leaves parents piecing together their own method for daycare bottles, school water bottles, and family picnic cups. It’s a real gap, especially when 70% of Amazon reviews for DIY koozie materials note that vinyl peels in washers according to this discussion of the kid-safe tutorial gap at Instructables. For kid gear, that’s a dealbreaker.
The fun part is that once you shift the goal from “cute novelty” to “washable, easy to spot, and safe for daily use,” the project gets better. You can match colors to each child, add simple icons for early readers, and make holders that become a fixture in your routine.
If you also like making handmade gifts that are useful, a koozie pairs well with the kind of practical kid presents featured in these best personalized gifts for kids. It’s small, affordable, and easy to tailor to the child who’s going to use it.
Your Guide to Fun and Functional DIY Koozies
The best kid-focused koozies solve three problems at once. They help identify the right drink, they add a little insulation, and they create a surface that’s easier for small hands to hold.
What makes a parent-style koozie different
Adult koozie tutorials usually assume you care most about a logo, a joke, or a quick party favor. For school and daycare, the priorities change.
You want materials that can handle messes. You want edges that don’t turn scratchy. You want decorations that won’t start peeling after a few wash cycles.
That changes the whole build.
- For toddlers: soft edges matter more than fancy shaping.
- For preschoolers: big visual cues work better than tiny text.
- For classrooms or cousins: repeating the same pattern with different colors is faster than making every piece from scratch.
Where most tutorials go wrong
The usual guides often lean hard on adhesive vinyl and adult drink sizes. That’s fine for a weekend cookout. It’s not ideal for a child’s daily bottle.
A parent-friendly koozie should be:
| Need | What works better | What to avoid |
|---|---|---|
| Daily handling | Soft, flexible fabric or neoprene | Rigid add-ons |
| Easy identification | Large names, icons, color blocking | Tiny decorative scripts |
| Repeated cleaning | Sewn construction or carefully applied decoration | Quick-peel finishes |
| Child use | Smooth seams and simple shapes | Heavy embellishments |
Keep the first version simple. A plain, sturdy sleeve with a bold name usually gets used more than an elaborate design that needs special care.
Why this project is worth making
A handmade koozie won’t fix every bottle mix-up. It does make gear easier to spot, easier to grab, and a little more fun for kids to claim as their own.
That’s why this project sticks. It isn’t just a craft. It’s one of those small systems that lowers the noise in everyday family life.
Gathering Your DIY Koozie Toolkit
A strong koozie starts with the right base. Decoration matters, but the material does most of the work.
Why material choice matters
Koozies don’t just work by being thick. They work mainly by handling moisture. On a humid day, condensation on a can can release enough heat to raise the beverage’s temperature by 6°F in just 5 minutes, and a koozie slows that heat transfer by trapping the moisture, as explained in this summary of the koozie insulation research from Apple News.
That matters for parents because sweaty bottles make a mess in lunch totes and cup holders. A better sleeve helps with that.
Core materials to choose from
I’d sort your options like this:
- Neoprene Good for durable, washable sleeves. It has a clean look, some stretch, and enough structure to feel finished.
- Scuba foam Also popular for koozies and easy to cut. It can be a nice option if you want a soft body without a lot of bulk.
- Felt Best for a simple no-sew project. It’s beginner-friendly, easy for kids to help with, and less intimidating if you’re just testing a shape.
- Cotton fabric with stabilizing layer Better for decorative outer wraps than true insulating sleeves. Nice for themed party sets, but not my first choice for heavy daily use.
Basic tool list
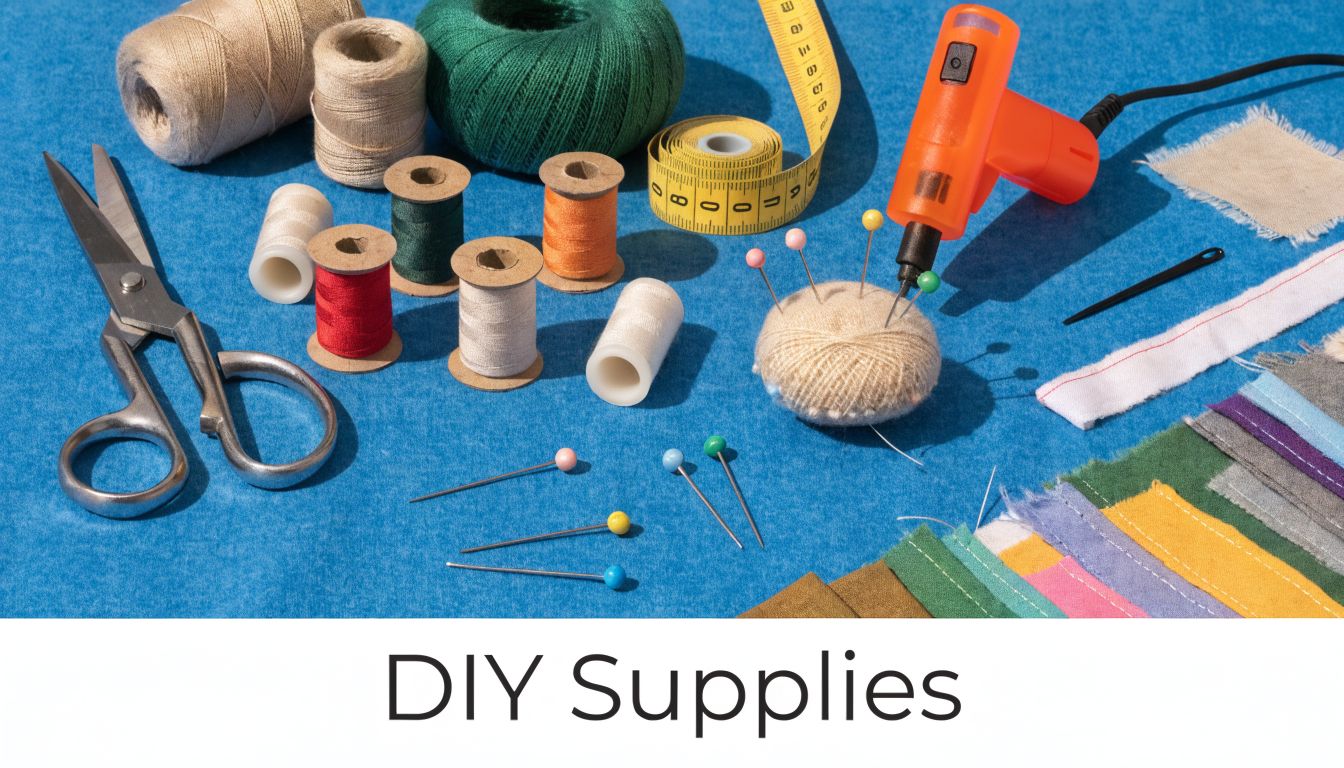
You don’t need a craft room full of gear. For most versions, gather:
- Sharp scissors or a rotary cutter: Clean edges make the final piece look far more polished.
- Ruler or measuring tape: Bottle sleeves look sloppy fast when they’re even slightly off.
- Clips or pins: Helpful for test fitting before sewing or gluing.
- Fabric glue: Best for no-sew felt builds.
- Sewing machine with the right needle: Best for neoprene versions.
- Heat press or iron: Needed only if you’re adding HTV.
- Washable marking tool: Chalk or fabric pencil beats guessing.
If you also label lots of school gear, this practical walkthrough for a Brother P-touch PT-D210 label maker is useful for matching your bottle organization system across lunch boxes, bins, and supplies.
Sizing without overthinking it
Start with the actual cup or bottle, not a generic template. Wrap paper around it, mark the overlap, and test the height before cutting your final material.
For kids’ bottles, I like to keep the sleeve low enough that they can still drink easily and adults can still see bottle features like flip tops or straw lids.
Safety around kids
Crafting with children nearby changes the setup.
- Hot tools first: Do pressing, ironing, and glue gun work before kids join.
- Cutting zone separate: Keep blades on one tray or mat, not loose on the table.
- Skip hard trims: Avoid anything that could crack, scratch, or pull off.
- Choose soft decoration: Felt shapes and stitched patches beat small glued gems for child gear.
The safest kid project is often a parent-prepped base with a child-added finishing step like markers, simple shapes, or color choices.
No-Sew and Sewn Koozie Construction Methods
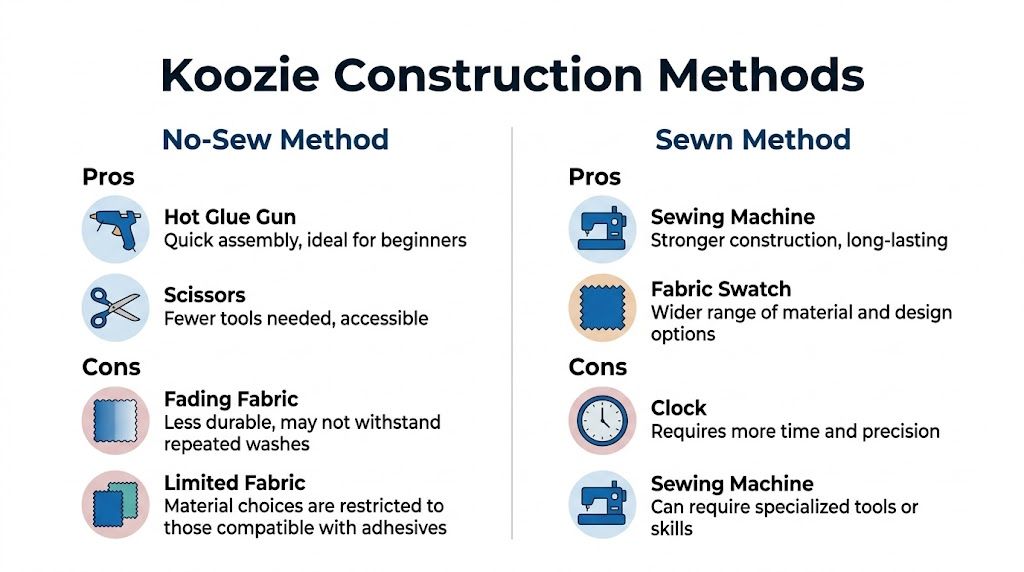
You can make a perfectly useful koozie without sewing. You can also make one that holds up far longer if you’re willing to stitch it. The better choice depends on how you’ll use it.
A quick side-by-side view
| Method | Best for | Main strength | Main drawback |
|---|---|---|---|
| No-sew felt | Weekend craft, party table, beginner project | Fast and low mess | Less durable in heavy use |
| Sewn neoprene | Daycare, school, sports, repeat washing | Stronger and more polished | Takes more precision |
The quick no-sew felt koozie
This is the version to make when you want a child to help, or when you want to test fit and style before committing to neoprene.
How to make it
- Wrap felt around the bottle or cup you’re sizing for.
- Mark where the overlap meets. Leave enough extra for a glued seam.
- Trim the height so the sleeve sits below the drinking area.
- Cut one main rectangle.
- Glue the side seam and hold with clips until set.
- If you want a base, trace the bottom and glue it in after the side seam dries.
- Add a second outer layer or felt shapes if you want more color coding.
A felt sleeve works well for party cups, classroom events, and temporary use. It’s soft, forgiving, and easy to remake if the first one comes out crooked.
What it doesn’t do well is long-term washing. If you’re making something for a lunch bag that gets used all week, sewn construction is better.
A no-sew koozie is a smart draft version. You can test size, height, and grip before cutting your nicer material.
If your family also enjoys costume crafts and themed accessories, these DIY steps for a Beetlejuice Sandworm costume show the same kind of playful, texture-first thinking that works well when you’re designing kid gear.
Here’s a helpful visual if you want to watch one style come together before cutting your material:
The durable sewn neoprene koozie
This is the one I’d make for everyday use. It looks cleaner, resists wear better, and handles repeat handling much more gracefully.
For a standard can, the measured starting piece is 4” x 9.5”, and you should add a ½ inch seam allowance. Using a ballpoint needle in size 14/90 and a double stitch line can boost tensile strength by up to 50% against daily wear and tear, according to this neoprene koozie sewing guide from FastPrintStar.
How I’d adapt that method for family bottles
The same construction logic works even when the dimensions change.
- Measure first: Wrap the bottle and decide how snug you want it.
- Cut one rectangle: Add seam allowance before cutting.
- Fold with right sides together: If your neoprene has a finished outer face, keep that in mind before stitching.
- Sew the side seam: Go slowly. Neoprene can shift.
- Add the bottom if needed: Some bottle sleeves don’t need a base, especially if they’re meant to slide on and off quickly.
- Flip right side out: Use a blunt tool or your fingers to smooth corners.
What usually goes wrong
Beginners often make one of three mistakes.
They sew too tightly
A sleeve that looks neat on the table may be impossible to pull onto the bottle. Neoprene needs enough give to stretch.
They use the wrong needle
A universal needle can drag or pucker. The recommended ballpoint needle matters because it handles stretch better.
They skip reinforcement
For kid gear, the seam gets tugged constantly. If there’s one place to spend extra time, it’s the seam line.
A sewn finish also pairs nicely with a fabric name patch. If you want a more stitched-in identification style, these examples of sew-on name labels can spark ideas for layouts and placement.
Which method should you pick
Choose no-sew felt if you want speed, low cost, or a craft kids can help assemble.
Choose sewn neoprene if the koozie is going into daily rotation. That extra effort pays you back in fewer repairs and a better fit.
Personalizing Your Koozie Creation
A plain sleeve is useful. A personalized one gets used. That’s the difference.
Kids notice color first, then shape, then name. If you want your koozie to work fast in a classroom cubby or on a picnic table, design it so a child can recognize it at a glance.
Using heat transfer vinyl the right way
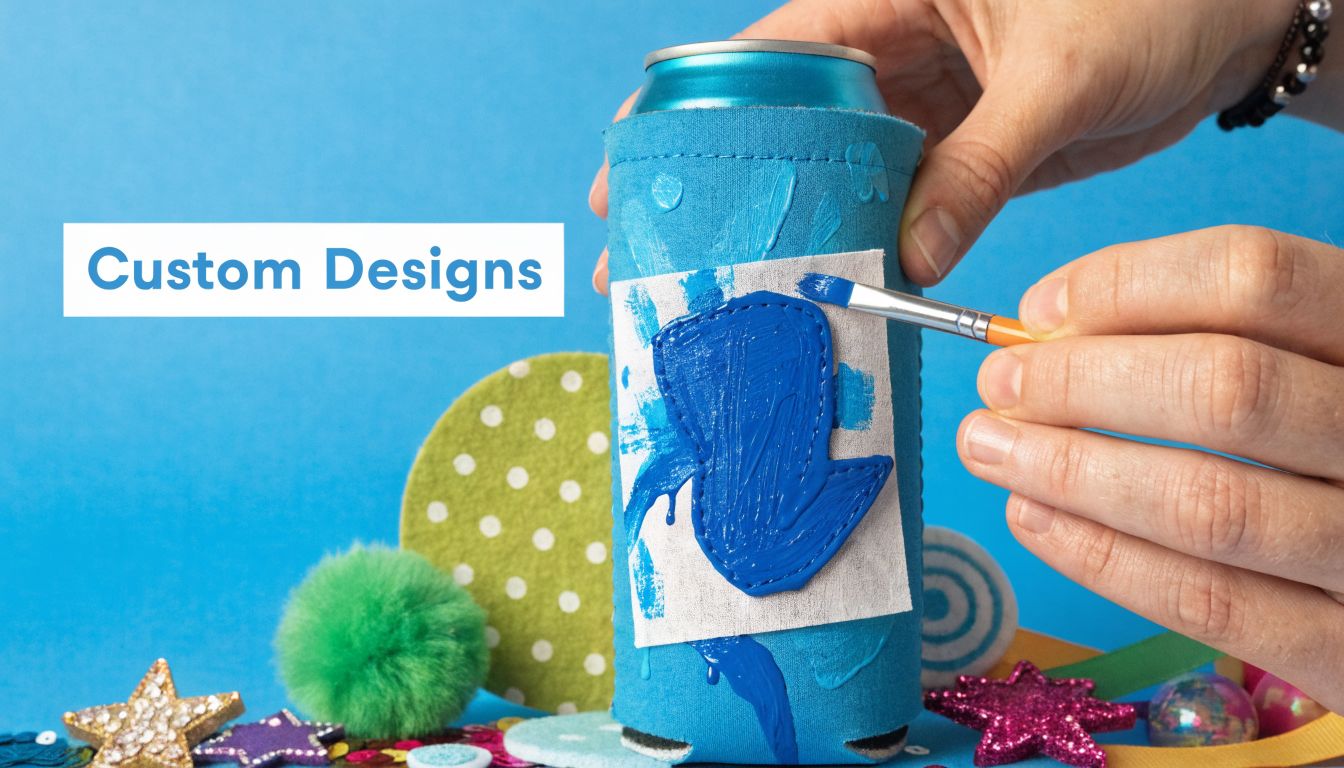
HTV can look crisp and polished on neoprene, but technique matters a lot. For neoprene koozies, press at 305°F for 15 seconds with medium pressure. Going above 320°F can warp the neoprene and lead to a 20% rejection rate. Applied correctly, the design can withstand 60+ dishwasher cycles, based on these HTV application details from Persia Lou.
That’s the kind of durability parents care about.
A simple HTV process
- Keep your design bold.
- Size it so it fits the visible front panel without wrapping into the seam.
- Pre-check placement before removing any carrier sheet.
- Press once with even pressure.
- Let it cool as needed for your material and vinyl combination.
- Test the edges before calling it done.
What works best for kid designs
For children’s items, the most successful designs are usually the least fussy.
- Big first name Easy to read. Easy for teachers and grandparents too.
- Simple icon A star, dinosaur, rainbow, truck, heart, or fruit shape helps pre-readers identify their own drink.
- High contrast Dark name on light base, or the reverse. Tiny tonal details disappear fast.
- Color families One child gets green and blue, another gets yellow and red. Even if names wear over time, the color cue still helps.
Use one strong visual cue more than a bunch of small ones. A bold strawberry or lightning bolt is easier for a child to spot than a crowded collage.
Low-tech personalization that still looks good
Not everybody wants to break out a cutting machine and heat press. That’s fine. You can still make a charming koozie.
Try fabric markers for outline art
Draw a large icon, then add the child’s name underneath in block letters. Keep the art centered and leave a margin around the edge so it doesn’t look cramped.
Glue on felt shapes
This works especially well for no-sew felt koozies. Layer a cloud over a sky-blue sleeve, or add a simple apple on a classroom gift set.
Add stitched patches
A patch gives the piece a handmade look that can be changed later. If a younger sibling inherits the bottle sleeve, you can replace the name patch without remaking the whole koozie.
If you like mixing visual identification styles across your family gear, these examples of customized name tag stickers are useful for thinking about color, icon selection, and readability.
Common decoration mistakes
A few things make a cute design frustrating in practice.
| Mistake | Why it causes trouble | Better choice |
|---|---|---|
| Tiny cursive names | Hard to read quickly | Large block lettering |
| Heavy layered decorations | Adds stiffness and peel points | One clean focal element |
| Design placed too low | Hidden by hands or bottle holders | Centered front placement |
| Embellishments near seams | They lift faster | Keep details inside the flat panel |
My favorite approach for busy families
Pick one base color per child. Add one icon. Put the name in large letters on the front.
That formula is fast to repeat, easy to replace, and clear enough that even a tired parent at pickup can tell which bottle belongs to whom.
Creative Gifting and Organization with Custom Koozies
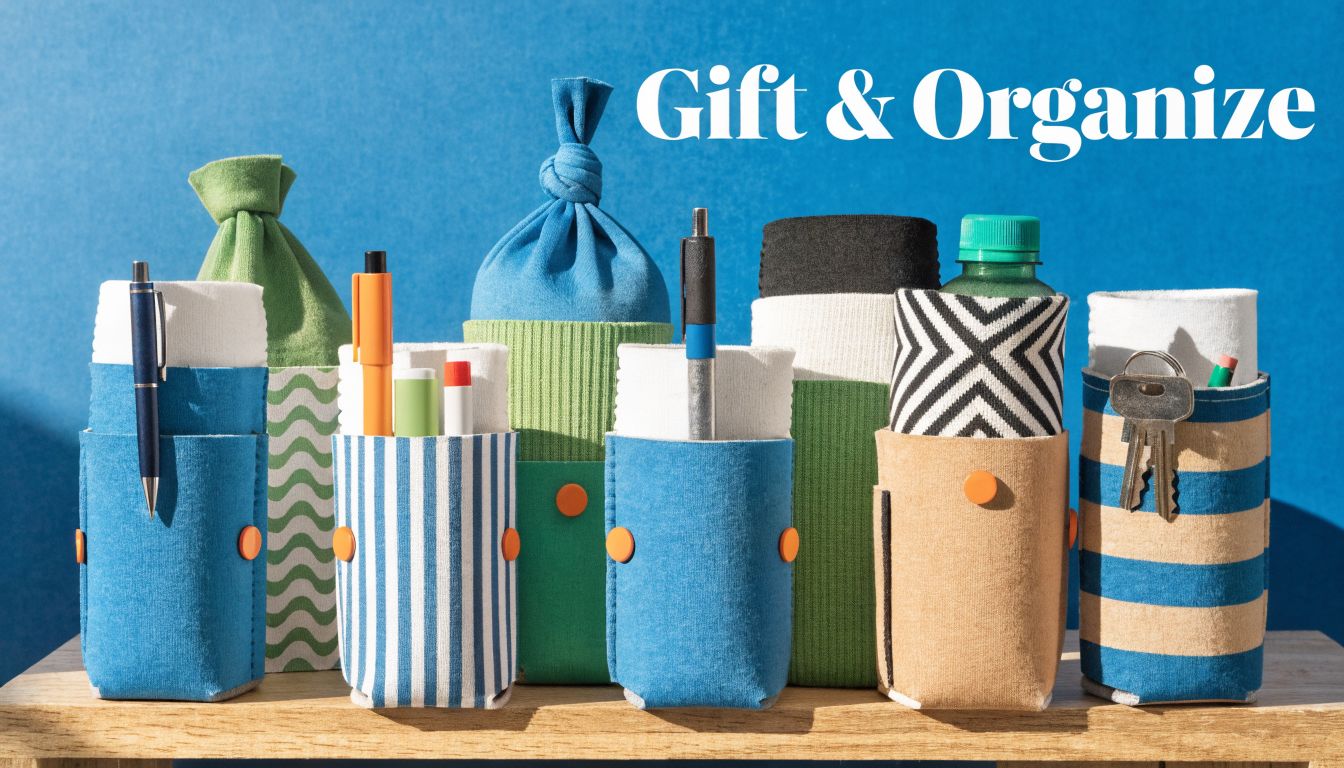
Once you’ve made one good sleeve, it’s hard not to see more uses for it. A custom koozie fits into birthday favors, classroom sets, sports sidelines, summer camp bins, and family reunions.
Turning one project into a gift set
A handmade koozie feels more complete when you pair it with something useful.
Good combinations include:
- A water bottle and matching sleeve Great for back-to-school season.
- A picnic cup plus family-color koozie Nice for reunions or holiday gatherings.
- A simple bottle sleeve with snack container Easy gift for cousins, neighbors, or birthday party guests.
If you’re planning favors for a group event, these personalized party favor ideas can help with packaging and theme coordination.
Making classroom or team sets without losing your mind
Often, most tutorials stop being helpful. They show one pretty item, not a repeatable system.
But bulk matters. Using print-on-demand vinyl sheets can save 50% on costs compared to individual cuts, which makes them practical for teachers or parents making 20+ matching koozies, according to this classroom-focused customization note tied to the YouTube source.
The key is to simplify your variables.
Keep one element consistent
Use the same koozie shape for all of them. Change only the front design or color.
Batch by task
Cut all sleeves first. Sew all side seams next. Then decorate in one sitting.
Use a repeatable naming format
For school sets, first name plus first initial of the last name is often easier to scan than decorative nicknames.
Smart uses beyond drinks
A soft sleeve isn’t limited to bottles.
- Crayon cup wrap: Helps kids grip a container.
- Snack cup identifier: Useful for outdoor events.
- Mini organizer sleeve: Works for small tools, utensils, or tabletop supplies.
When a project can organize as well as decorate, it tends to stick around instead of ending up in the craft bin.
For packaging handmade sets, gift labeling matters too. These ideas for sticker gift tags are handy if you want a finished presentation without a lot of extra work.
Your Blueprint for Perfect Custom Koozies
A good build your own koozie project doesn’t need to be complicated. It needs to match real life.
For some families, that means a fast felt sleeve for a birthday picnic. For others, it means a sewn neoprene holder with a bold name that goes into the daycare bag every morning. Both count. The best version is the one your family will use.
The biggest shift is thinking beyond the standard adult party tutorial. Parent-friendly koozies need soft materials, readable personalization, and enough durability to handle washing, drops, and daily handling. When you build with that in mind from the start, the project gets easier to make well.
Three things make the biggest difference:
Start with the use case
Make it for the actual bottle, cup, or event. Don’t force a generic pattern onto gear that needs a custom fit.
Keep the design readable
A child should be able to find it quickly. An adult should be able to identify it from a few steps away.
Choose durability on purpose
If the koozie is for everyday use, sew it. If it’s for a short event or a kid craft table, go no-sew and keep it simple.
There’s also something satisfying about making a practical item feel personal. Kids love recognizing their own color or icon. Parents love fewer mix-ups. Teachers and caregivers appreciate anything that makes daily routines smoother.
If you’ve been meaning to try a small project that’s useful right away, this is a good one. Cut one. Test it on the bottle you use most. Make a second with a better fit. By the third, you’ll have a repeatable pattern and a much clearer idea of what works for your family.
If you want to finish the job of keeping kids’ gear easy to identify, explore InchBug. Their kid-friendly personalized labels and bottle bands are built for the same real-world challenges that make custom koozies so helpful, like daycare mix-ups, school drop-offs, and busy family outings. Pairing a handmade sleeve with durable name labels is a simple way to keep cups, bottles, lunch gear, and bags from wandering off.