

Before you start labeling, make four quick decisions: does your daycare want a first name or full name, do the clothes have care tags, how hard will the item be washed, and is the item a sock, outerwear piece, or everyday basic? Many childcare centers ask families to label everything that comes in regularly, especially spare clothes, jackets, bedding, cups, and comfort items; check your own center’s handbook or a sample childcare supply checklist before you write on anything. That one-minute check tells you which method will hold up.
Here’s the simple framework I use: adhesive labels are best when the garment has a care tag and you want speed; iron-on labels make the most sense for tagless items and clothes that are washed constantly; sew-on labels are best for expensive coats, uniforms, and hand-me-downs you want to relabel later; and a laundry-safe marker is the fastest backup for emergency labeling. That matters because lost clothing adds up fast—one widely cited parent summary reports that 43% of parents lose an item in the first six weeks of the school term, with replacement costs climbing over time, according to this daycare label overview.
Why Labeling Daycare Clothes Saves Your Sanity
A good labeling system is less about perfection and more about reducing everyday friction. If your child goes through outfit changes, nap gear, outdoor layers, and spare socks in the same week, labels give teachers a fast way to return items before they end up in the lost-and-found. The practical question is not whether to label clothes, but which method fits each item.
For everyday daycare wardrobes, start by sorting clothes into four groups: tagged basics, tagless basics, socks and underwear, and outerwear. Tagged basics usually do best with adhesive labels placed on the care tag. Tagless shirts, leggings, and pajamas are better candidates for iron-on labels or a fabric marker because there is no smooth tag surface for a sticker to grip. Socks need their own approach because stretch, friction, and frequent washing cause many labels to fail faster there than anywhere else. Coats, rain gear, and snowsuits are worth a more durable method because they are costly and commonly left behind.
The Real Cost of Lost Items
Replacing one pair of mittens is annoying; replacing jackets, shoes, blankets, and backup outfits over a school year is expensive. A 2013 survey reported that 80% of children lose pricey supplies, lunch boxes, or clothing during the school year, and outerwear ranked among the most frequently lost categories at 43%, according to PR Newswire’s survey summary. In real daycare life, coats and spare layers are exactly the items most likely to be removed, stacked, and mixed together.
Beyond replacing things, labeling cuts the daily back-and-forth. Teachers do not have time to inspect every gray sweatshirt or navy sock. A visible, readable name on the right spot means the item can be returned immediately instead of waiting in a cubby or communal bin. That is especially useful during cold-weather months, when every child seems to arrive with the same puffer jacket and knit hat.
More Than Just Clothes
Labeling also helps with hygiene and classroom routines. Centers often ask parents to mark personal textiles so children are not swapping hats, bedding, or spare clothing during the day; see this healthy child care guidance for why individual items matter in group settings. It also makes independence easier for older toddlers, who can begin recognizing a name, color, or icon on their own belongings. If you want a broader look at why labels make sense for kids in our detailed article, that guide goes deeper on the organizational side.
How I Evaluated Daycare Clothing Labeling Methods
I compared each method against the same five criteria: speed to apply, durability through repeated wash and dry cycles, comfort on tagless clothing, removability for hand-me-downs, and how well it works on high-problem items like socks and outerwear. I also looked at whether the method depends on a care tag, because that is the first thing that eliminates a lot of “easy” options in real wardrobes.
In hands-on use, the biggest difference was not brand hype; it was placement and fabric. I found adhesive labels excellent on satin care tags and disappointing on stretchy knit fabric. Iron-ons took longer, but once applied correctly they were the most dependable option for tagless shirts and leggings. Markers were useful, though only as a short-term answer on items that would be washed heavily. Socks were the toughest category: methods that looked fine on day one often failed after a few wear-and-wash cycles if they were placed on high-friction areas.
I also weighed comfort. Anything stiff, bulky, or poorly placed becomes a complaint fast, especially on younger kids who notice scratchy spots immediately. That is why the best method depends not just on durability, but on where the label sits and whether the garment will later be passed down.
Choosing The Best Labeling Method For Your Family
The best option depends on the garment, not just your preference. A quick sticker works beautifully on a care tag, but it is the wrong tool for a tagless rash guard. A sewn label may outlast everything else, but it is too slow for a pile of daycare backup clothes that need names tonight. The comparison below is meant to help you choose by fabric, wash load, comfort, and whether you may want the item relabeled later.
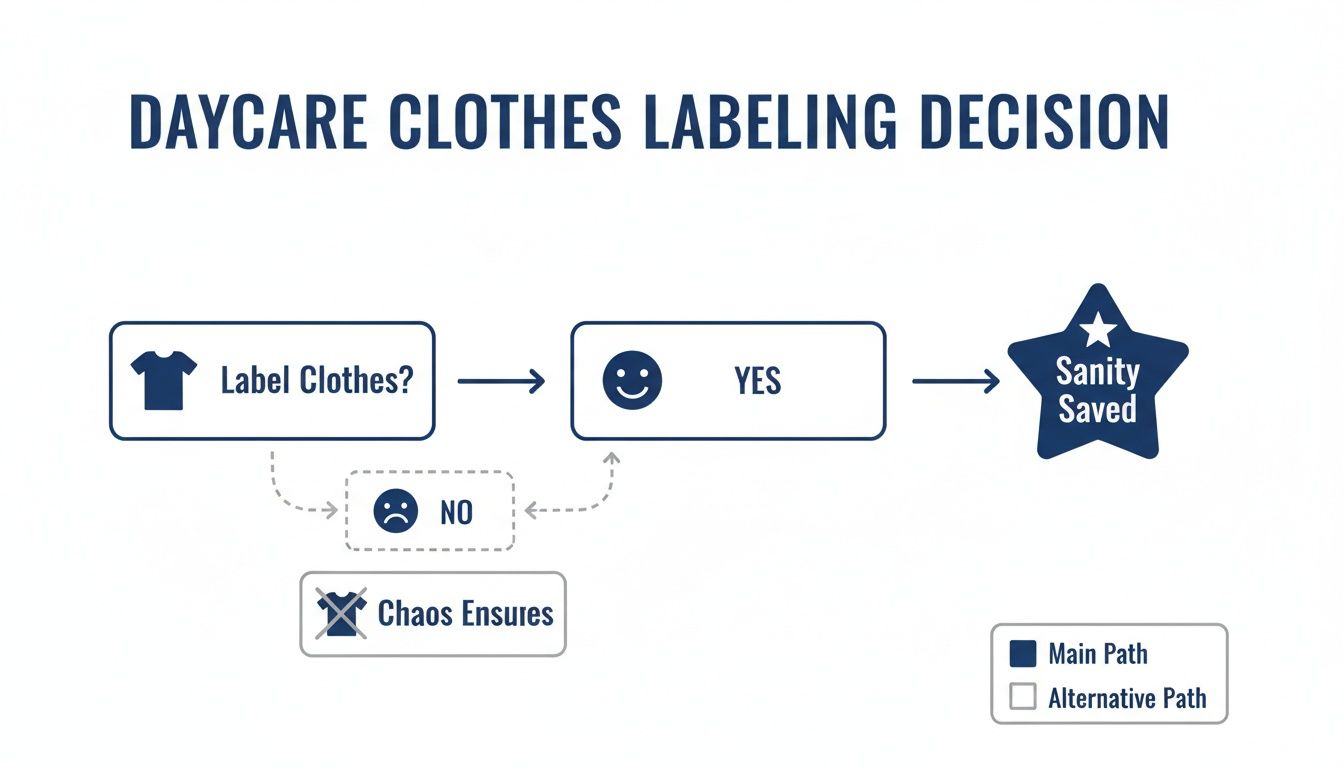
Sometimes, a picture just says it all. This little chart is the perfect visual for the path to daycare prep sanity.
Comparing Daycare Clothing Label Types
| Label Type | Best Fabric/Item Match | Tagless Friendly | Durability (Wash/Dry) | Comfort Against Skin | Removable for Hand-Me-Downs | Common Failure Mode |
|---|---|---|---|---|---|---|
| Adhesive Labels | Care tags on shirts, pants, pajamas, blankets | No, unless used on an existing tag | Good on intact care tags | Usually comfortable because label sits on tag | Yes | Corners lift if applied to fabric, linty tags, or damp clothing |
| Iron-On Labels | Cotton, poly blends, many tagless basics, some socks | Yes | Very good to excellent when heat-set correctly | Good if placed flat and away from seams | Harder to remove | Poor bond on heat-sensitive fabrics or if steam/moisture is used |
| Sew-On Labels | Coats, uniforms, handmade items, heirlooms | Yes | Excellent | Varies by stitch quality and placement | Yes | Scratchiness or puckering if sewn into the wrong area |
| Fabric Marker | Care tags, inner seams, emergency sock labeling | Yes | Fair to moderate | Best when written on tags, not broad fabric areas | No | Fading, bleeding, or becoming hard to read after repeated washing |
| Label Type | Best For | Durability (Wash/Dry) | Application Time | Removability |
|---|---|---|---|---|
| Adhesive Labels | Quick, bulk labeling; items with clear care tags; parents short on time. | Good (when applied to care tag) | Seconds | Easy (peels off tag) |
| Iron-On Labels | Uniforms, jackets, and frequently washed items needing a strong bond. | Excellent | 5-10 minutes per batch | Difficult |
| Sew-On Labels | Hand-me-downs, heirloom items, or anyone wanting maximum durability. | The Best | 15+ minutes per item | Can be removed |
| Fabric Marker | Last-minute needs, budget-friendly labeling, items like socks. | Fair (can fade over time) | Seconds | Permanent |
Adhesive Clothing Labels: Best for Tagged Everyday Clothes
Adhesive labels are the best overall choice for most daycare wardrobes because they are fast, readable, and easy to remove later. They work best on smooth manufacturer care tags, not directly on cotton jersey or fleece. If the item has a good tag and will be washed normally, this is the easiest way to label a week’s worth of shirts, leggings, and pajamas in one sitting.
The tradeoff is compatibility. They are a poor fit for tagless garments, heavily textured fabric, and some tiny sock areas. In my testing, the labels that failed quickest were always the ones applied to the wrong surface rather than the wrong garment category. Textile-care guidance from the American Cleaning Institute reinforces the same basic point: clean, dry surfaces and following care directions matter for anything that needs to survive repeated laundering.
Iron-On Labels: Best for Tagless Clothes and Repeated Washing
Iron-on labels are the strongest all-around option when a garment has no care tag or gets washed constantly. They bond into the fabric itself, which makes them especially useful for daycare tees, tagless pajamas, leggings, and backup clothes that cycle through the laundry every week.
They do take more care to apply. Heat, pressure, and dry fabric matter, and you need to avoid delicate or heat-sensitive materials unless the label instructions say otherwise. The Good Housekeeping fabric-care basics are a useful reminder that different textiles react differently to heat, so always check the garment’s care instructions before pressing. I have had the best results placing iron-ons on a flat interior area rather than directly over a seam or ribbed edge.
Sew-On Labels: Best for Expensive Outerwear and Relabeling Later
Sew-on labels are not the fastest option, but they are still the best method for expensive outerwear, special uniforms, handmade garments, and pieces that may need to be handed down. A sewn label does not depend on adhesive chemistry or heat tolerance, and it can usually be removed cleanly later with a seam ripper.
This method also gives you control over comfort and placement. On jackets, I prefer sewing into the lining or onto an interior hanging loop area rather than near the neck seam where a child may feel it. The main downside is time. If you are labeling ten daycare basics on a Sunday night, this is probably not the method to choose.
Fabric Markers: Best Backup for Last-Minute Labeling
A laundry-specific fabric marker is the best backup method when you need a name on something immediately. It is useful for socks, underwear, backup clothes, and any item that must leave the house before you have time to iron or sew. Write on the care tag or a hidden inner seam whenever possible.
A regular permanent marker can work temporarily, but it is more likely to fade or bleed. I use marker labeling as a stopgap, not a forever method. If an item becomes part of the regular daycare rotation, I usually go back and replace the marker with a more durable label later. For more options, our guide on which daycare labels you should buy compares label styles in more detail.
My Practical Recommendation
For most daycare clothing, adhesive labels on care tags are the best overall method because they balance speed, comfort, and easy removal. For tagless clothes or items washed several times a week, iron-on labels are the better long-term choice. For expensive coats, snowsuits, and rain jackets, sew-on labels are the safest bet if you want maximum durability without risking adhesive failure. And for last-minute labeling, keep a laundry-safe fabric marker in the house; it is the fastest fix, even if it is not the most durable one.
How To Apply Clothing Labels That Actually Last
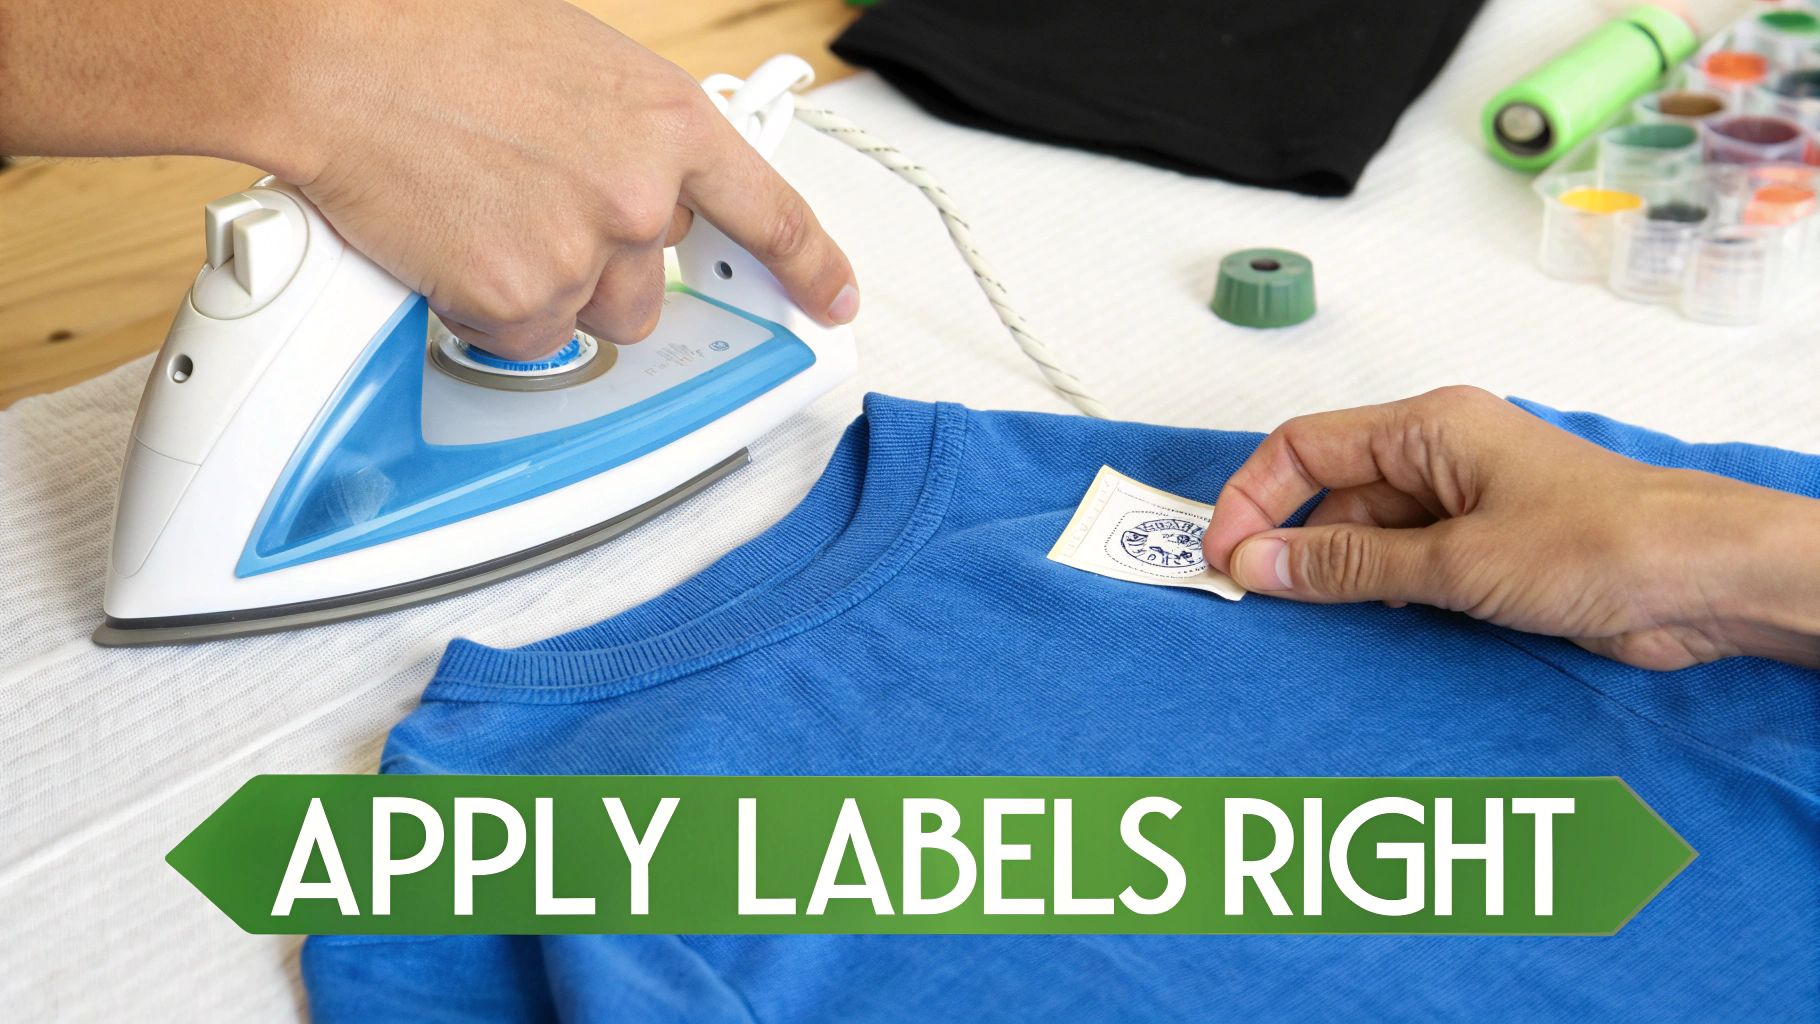
Application matters as much as label choice. A great label applied to damp fabric, fabric-softener residue, or the wrong part of the garment will fail early. The easiest way to avoid that is to use the same workflow every time.
A Simple 7-Step Workflow
- Check the daycare rules first. Confirm whether the center wants first name only, first and last name, or initials. Some centers prefer limited identifying information on visible items, while others want full names on blankets, lunch gear, and outerwear.
- Sort by garment type. Make separate piles for tagged clothes, tagless clothes, socks, and outerwear.
- Choose the label type by pile. Use adhesive on care tags, iron-on for tagless basics, sew-on for expensive outerwear, and marker only for quick fixes.
- Prep the fabric. Clothes should be clean and fully dry. If the area feels coated from detergent or softener, wipe and dry it first.
- Apply using the right surface. Do not force a sticker onto knit fabric if it is designed for tags. Do not iron over wet fabric or thick seams.
- Let it cure or cool if needed. Iron-ons need cooling time; some adhesive labels also benefit from firm pressure and a short settling period before washing.
- Test after one wash. Check readability, edge lift, and comfort. It is much easier to fix one weak placement now than after labeling twenty more pieces the same way.
I learned to do that last step after a batch of labels looked perfect on day one and then started lifting because I had rushed them onto slightly textured fabric. One wash told me exactly which placements were dependable.
Placement Guide by Item Type
Shirts and Sweaters
If the garment has a care tag, place an adhesive label there. If it is tagless, put an iron-on label just below the printed neck information on the inside back or along a flat side seam. Those spots are easy for teachers to check, and they usually avoid direct skin irritation. Avoid thick collar seams and ribbing because labels do not sit as flat there.
Pants and Shorts
Use the care tag first if there is one. If not, the inside back waistband or a flat interior side seam works well for an iron-on or marker. I prefer the waistband for older toddlers because it is fast for staff to locate during outfit changes, but a side seam may feel better on snug leggings.
Jackets and Coats
Outerwear should be labeled where staff can find it without making the item uncomfortable. The best spots are the manufacturer tag, interior lining near the hem, or a secure area near the hanging loop. Avoid placing stiff labels at the back neck on bulky coats, where they can bunch against the child’s skin. For expensive outerwear, sew-on labels earn their keep.
Tagless Clothing
Tagless basics are where many parents get stuck. If the inside print is smooth and the label maker allows it, an iron-on just below that printed area usually lasts best. If the fabric is very thin or stretchy, an inner seam can be better because it reduces rubbing. I have found that trying to shortcut tagless clothes with an adhesive label directly on knit fabric is where the most frustration starts.
How to Label Socks for Daycare Without Them Peeling Off
Socks deserve their own system because they stretch, rub inside shoes, and get washed constantly. The best placement depends on whether you care most about durability, comfort, or speed.
For the most durable result, use a small iron-on label on the outside cuff area or a low-friction area near the upper sock rather than the center of the foot. A label on the arch or sole can work, but it is more likely to be felt by sensitive kids and it sees more friction from shoes and floors. If I am labeling everyday daycare socks, I prefer a discreet placement near the cuff because it stays readable and avoids complaints about texture.
If you are using a fabric marker, write on the sole near the toe edge or on the inside cuff where the ink can soak in without being too visible. Marker is the fastest solution for socks, but it fades sooner than an iron-on. For very small infant or toddler socks, initials are often more practical than a long full name, because there is so little usable space.
Avoid standard adhesive labels on socks unless the product is specifically designed for that use. Most peel because the fabric stretches too much and offers too much lint and texture for a strong bond. That is the main reason parents feel like “nothing works” on socks: the issue is usually the label type, not the idea of labeling itself.
Best Sock Placement by Goal
- Best for durability: upper sock or cuff area with a small iron-on label
- Best for comfort: inside cuff or exterior cuff, away from the sole
- Best for quick labeling: laundry-safe fabric marker on the sole or inside cuff
- Worst choice for most socks: standard adhesive label on stretchy knit fabric
I tested sole placement on a few pairs and found it held reasonably well on thicker athletic socks, but lighter socks showed wear faster and one child noticed the texture right away. That pushed me toward cuff placement as the more reliable everyday option.
Making Sure Those Labels Actually Last
Okay, so you’ve applied the labels. Now comes the true test: daycare, where labels face their ultimate challenge—mud puddles, playground shenanigans, and the never-ending spin cycle of the washing machine. Making sure that little label stays put is what makes all this effort worth it.
Your first line of defense is how you do the laundry. I’ve found that one tiny habit makes a huge difference: turning labeled clothes inside out before tossing them in the wash. It’s a small step, but it protects the label from getting snagged by zippers, buttons, and just general friction.
Also, think about the temperature. Heat can be the enemy of many adhesives and inks. Whenever you can, choose a cold or warm wash cycle. Hot water can really weaken the bond of iron-on and stick-on labels over time.
Smart Drying and Quick Fixes
The dryer is another place where things can go wrong. I learned this the hard way! High heat is notorious for making adhesive labels peel at the corners or causing iron-on labels to bubble up. Your safest bet is to tumble dry on a low or medium setting.
If you have the time and space, air-drying is the absolute best way to make a label last forever. I especially do this for outerwear or items with those more delicate iron-on labels.
Even with the best care, you might see a label starting to give up. Don't worry, it's usually an easy fix.
- A Peeling Sticker: If you notice a corner of an adhesive label lifting, just wait until the garment is dry and press it down firmly. Most of the time, just reapplying that pressure is enough to get it to stick again.
- Fading Marker: A fabric marker is going to fade a bit with washing. It just happens. A quick touch-up every couple of months is all it takes to keep your kid's name easy to read.
- Curling Iron-On Edges: Don’t panic if an iron-on label starts to curl. Just grab some parchment paper, place it over the label, and press it again with a hot, dry iron for 10-15 seconds. This usually reactivates the adhesive and seals it right back down.
Sew-on labels' durability really depends on the supplies you use. The longevity of your hard work often depends on choosing the strongest sewing thread you can find.
Built for the Daycare Grind
Some labels are just made tougher than others. Products like InchBug's waterproof and fade-resistant laundry labels are engineered specifically for this kind of wear and tear. They use materials that are designed to stand up to detergents and countless wash cycles. You can learn more about these specialized laundry-safe clothing labels that are built to last.
Keep in mind that the care tags on clothing aren't just suggestions; they provide the essential washing instructions that preserve the garment—and the name label you've attached to it. The global market for these tags was valued at US$543 million in 2024 for a reason!
By putting a little thought into how you apply your labels and how you launder the clothes, you can make sure your labeling system works all school year long.
Creative Labeling Strategies For Daycare Pros
Once your main system is set, a few small habits make it much easier to keep up. The goal is not to create a complicated routine; it is to reduce the odds that unlabeled new clothes sneak into the daycare rotation.
Tailor Labels to Your Child's Age
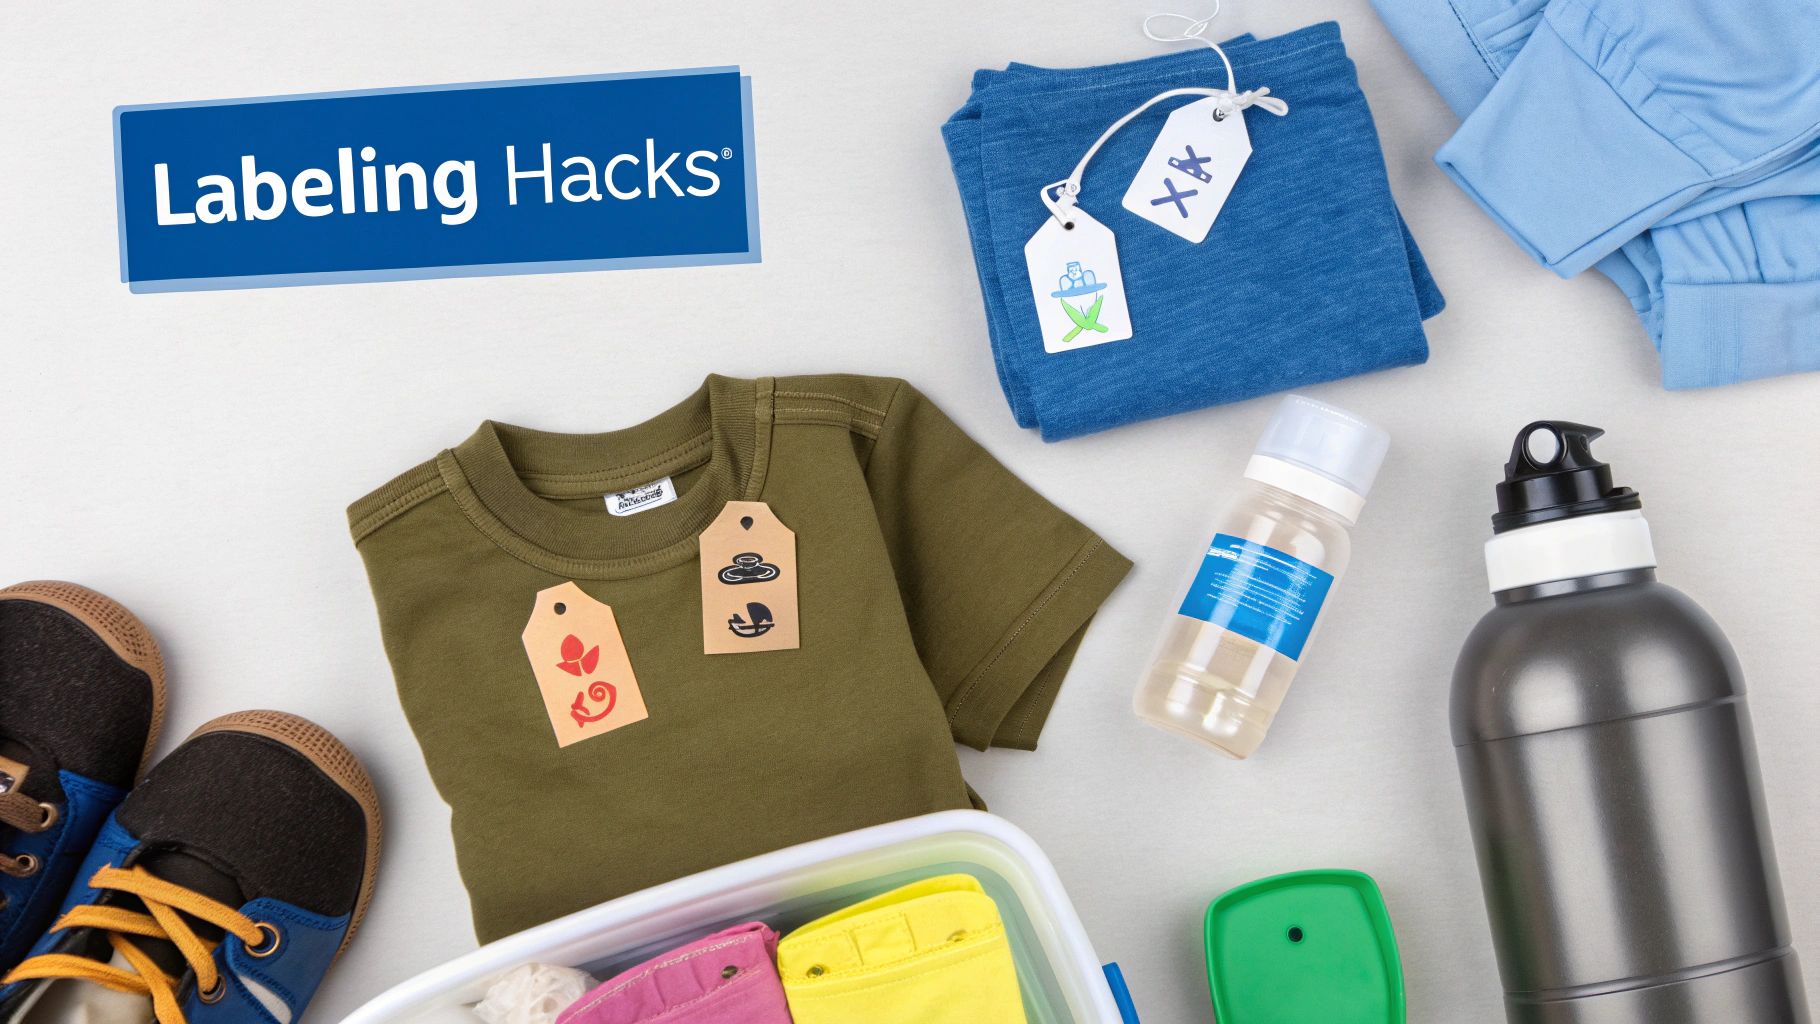
For toddlers and preschoolers, a name plus a recognizable icon can make a real difference. Children who cannot fully read yet can still recognize a dinosaur, star, or truck on their things. If you have more than one child, color-coding also helps you sort clean laundry and backup outfits faster.
Create a Dedicated Labeling Station
Keep labels, a laundry-safe marker, and any ironing supplies in one place. I have found that if labeling tools live in the laundry room or near where new clothes are unpacked, items get labeled immediately instead of lingering in a pile until the night before daycare.
Labeling Beyond The Clothes
Your system works better when it covers more than shirts and pants. Shoes, bottles, lunch gear, blankets, and backpacks are all commonly separated from the child using them. If you are building a full setup, explore InchBug’s broader daycare labeling solutions so the same system carries across clothing and gear.
Your Top Questions About Marking Daycare Clothes, Answered
What Do Daycares Usually Require on Clothing Labels?
Policies vary, but most centers want the child’s name on any item that leaves the cubby and mixes with group belongings: jackets, extra clothes, nap items, water bottles, lunch containers, and sometimes shoes. Some ask for a first name only, while others want both first and last name on items that are easier to lose. If privacy is a concern, ask whether initials are acceptable on clothing and reserve full names for internal items like bedding or bags. Some centers also prefer parents to avoid loose tags, pins, or hard attachments that could scratch skin or detach during play.
How Do I Label Tagless Clothes?
Tagless clothes are best labeled with iron-ons or a fabric marker. Place the label just below the printed neck information, along a flat inner seam, or on the inside waistband depending on the garment. The key is finding a smooth area that will not stretch too aggressively or sit right on a bulky seam. Adhesive labels are usually not the right answer unless there is still a separate care tag somewhere else on the garment.
What Is The Best Way To Label Socks?
For most daycare socks, the best long-term option is a small iron-on label placed near the cuff or other low-friction area. That placement usually lasts longer than the sole and is less likely to bother a child. If you need speed, use a laundry-safe marker on the sole or inside cuff. Standard sticky labels tend to peel from socks because the fabric stretches too much.
How Can I Remove Old Labels For Hand-Me-Downs?
Adhesive labels are usually the easiest to remove: peel slowly from the care tag, then clean any residue. Sew-on labels are also straightforward because you can snip the stitching. Iron-ons are the hardest; warming the area and gently lifting the label can help, but results depend on the fabric and adhesive. If hand-me-down flexibility matters a lot to you, that is a strong reason to prefer adhesive labels on care tags or sew-on labels on pricier pieces.
Will Regular Permanent Markers Work?
A regular Sharpie or permanent marker is acceptable as a temporary fix, especially if daycare starts tomorrow and you need names on socks or spare clothes tonight. It is not the best durable option for repeated washing. Standard permanent ink often fades faster and may bleed more than a marker made for laundry use. A laundry-specific fabric marker is the better choice if you plan to keep the item in regular rotation. In practice, I treat a Sharpie as an emergency tool and a fabric marker as the version meant for actual wash-and-wear use.
What Are the Best Daycare Labels for Clothes?
The best daycare labels depend on the item. For most everyday clothes with care tags, adhesive labels are the best balance of speed and convenience. For tagless basics, iron-ons are usually the strongest choice. For jackets, snowsuits, and other expensive layers, sew-on labels are the safest long-term option. If you expect to pass clothes down, favor removable methods like adhesive-on-tag labels or sew-on labels that can be unpicked later.
Ready to conquer the daycare chaos with labels that last? InchBug offers a full range of durable, kid-friendly labeling solutions, from our famous TagPals to versatile Orbit Labels for bottles. Check out all our daycare labeling solutions.