

You pull one picture book off the shelf, and five more slide down with it. A board book with a chewed corner is hiding under a puzzle bin. Someone has returned the dinosaur books to the holiday basket. Half your classroom library has no name on it, and the books you lent out are now circulating through backpacks, nap mats, and living rooms.
That kind of book chaos doesn't mean you're disorganized. It usually means the books are loved.
For small collections in homes, daycares, and classrooms, library book labels solve a very specific problem. They help children find books, help adults return them to the right place, and help everyone remember which books belong to whom. You don't need a full cataloging department to make that happen. You need a simple system that survives sticky fingers, quick cleanup, and the daily reality of kids using books hard.
Taming the Book Chaos An Introduction
In most small spaces, books don't stay in neat rows for long. They move from basket to rug, from reading corner to dramatic play, from one child's cubby to another family's car. That's why labeling matters so much more than people expect. A good label turns a pile into a working library.
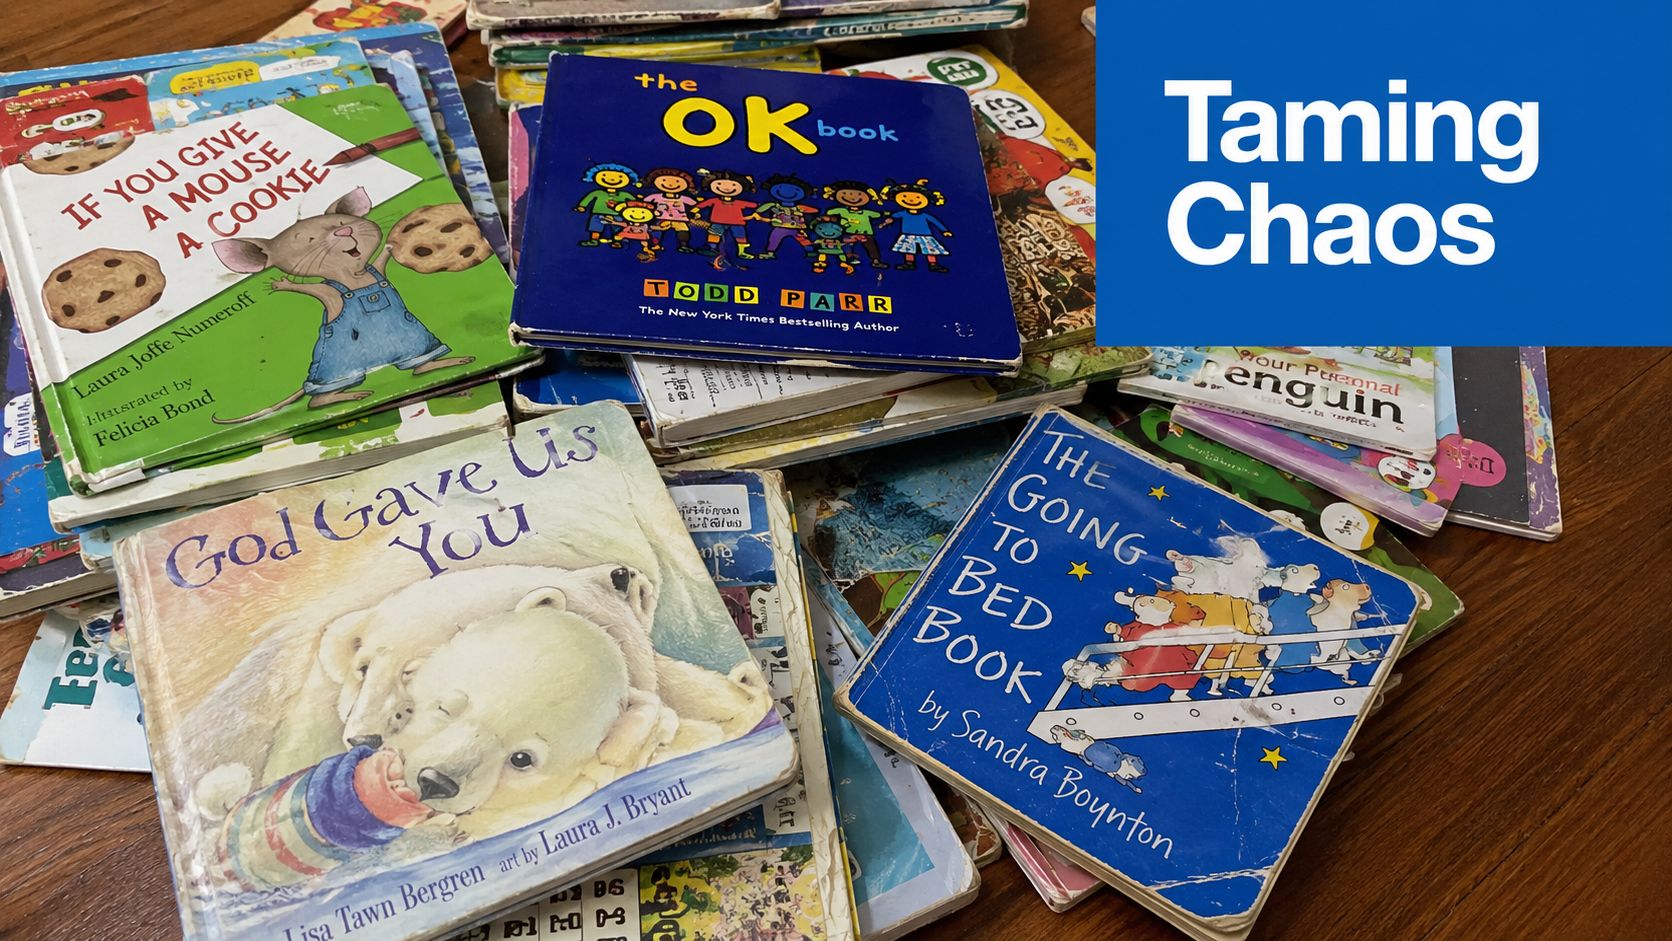
When I help organize a small reading area, I don't start with bins or color palettes. I start with one question. How will this book find its way home? If the answer is unclear, the shelf won't stay organized for long.
There's also something comforting about knowing this isn't a modern problem. The history of early bookplates traces ownership labels back to 15th-century Germany, around the dawn of printing, when publishers used illustrated labels with names and Latin mottos to mark books. That practice has lasted over 500 years. Labeling books isn't fussy. It's one of the oldest ways people have protected and shared a collection.
Start smaller than you think
Most parents and teachers make the same mistake at first. They try to label every book, sort every category, and redesign the whole shelf in one sitting. That's when the project stalls.
A better method is to begin with one group:
- Board books first: These circulate the most with babies and toddlers.
- Favorites next: If kids ask for it every day, label it early.
- Loaned books last: Keep a separate stack for anything that travels home often.
Sometimes the easiest way to get started is to organize the storage around the books at the same time. A few ideas for labels for storage can help when your shelf, baskets, and return bins all need to speak the same visual language.
A small library works best when a child can answer two questions quickly: “What is this?” and “Where does it go?”
That's the standard to aim for. Not perfection. Just a system simple enough that tired adults can maintain it and young children can learn it.
Choosing the Right Label Material and Adhesive
If layout is the map, the label itself is the foundation. Material matters. Adhesive matters. Finish matters. In a home reading nook, you can get away with lighter-duty labels than you can in a daycare where books are wiped down, stacked fast, and handled all day.
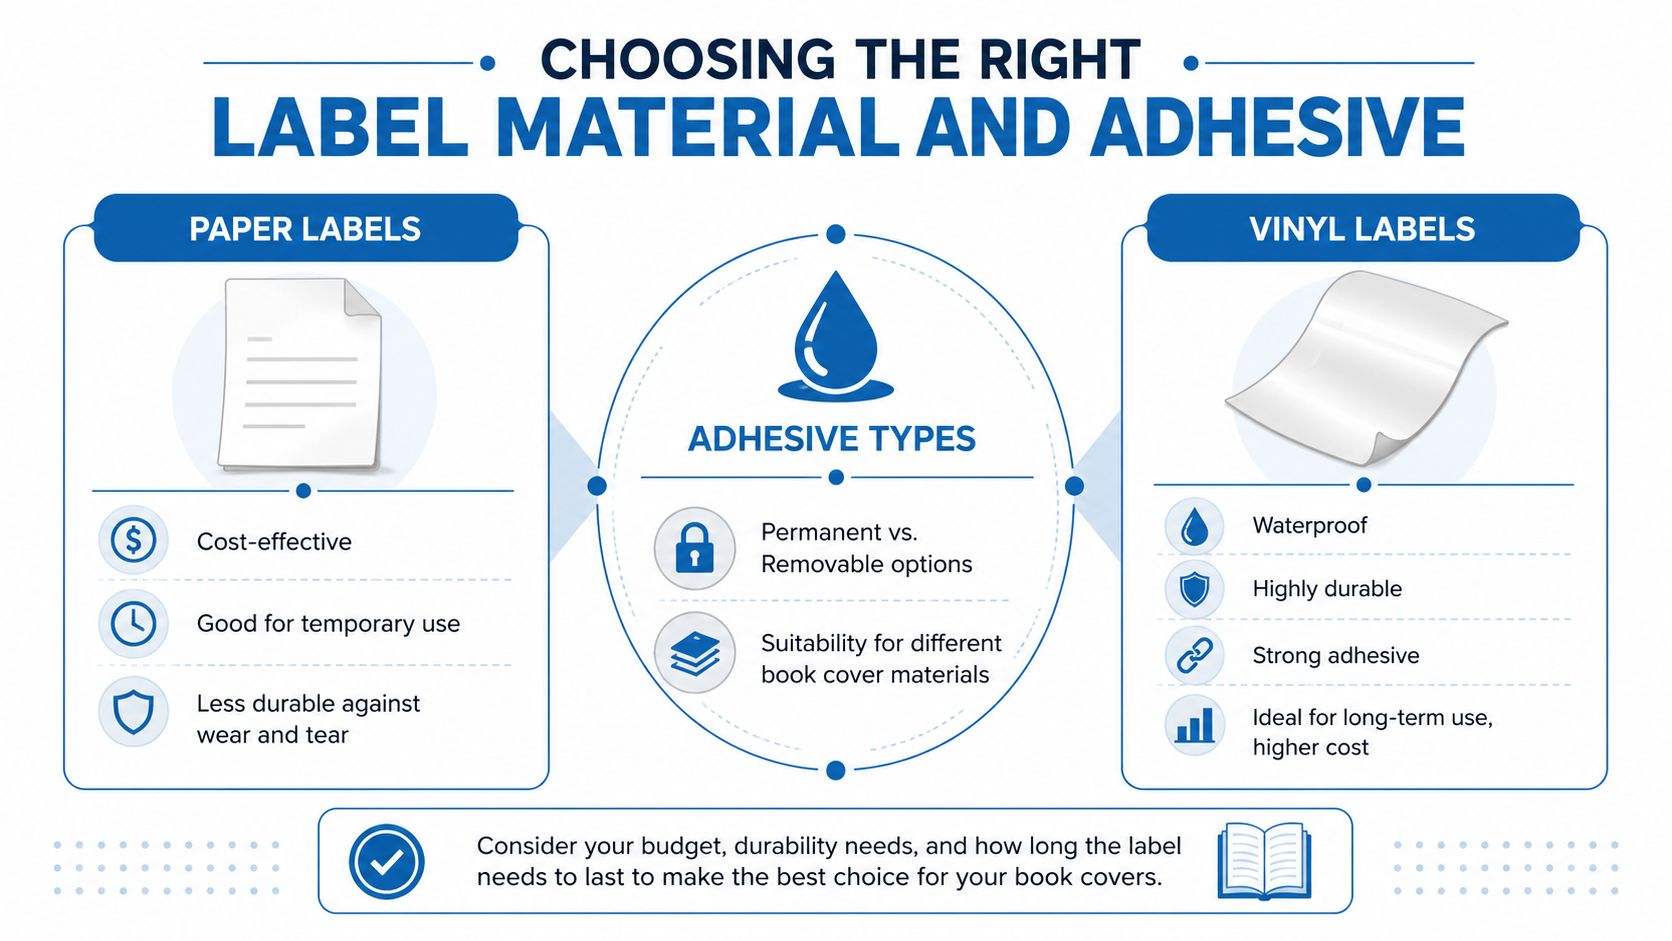
Think of label choice the way you'd choose a coat for a child. A light jacket is fine for a short walk on a mild day. It won't hold up in heavy rain and playground mud. Labels work the same way.
What each material does well
Here's the practical version.
| Material | Best use | What works | What usually fails |
|---|---|---|---|
| Paper | Short-term sorting, seasonal units, temporary bins | Easy to print at home, low cost, simple to replace | Edges lift, ink can smudge, surface wears faster |
| Vinyl | High-use books, daycare shelves, take-home books | Better moisture resistance, stronger feel, cleaner look over time | Costs more up front |
| Polyester or laminated labels | Heavy circulation and repeated cleaning | Good durability, more resistant to tearing | Not always worth it for low-use books |
For many small libraries, the sweet spot is simple. Use paper for trial systems and use a more durable material for the books children handle every day.
Permanent or removable
Adhesive choice is where many people get tripped up.
- Permanent adhesive belongs on books you plan to keep in your collection for a long time.
- Removable adhesive makes more sense for rotating classroom themes, resell piles, or books you trade with other families.
- Glossy covers need testing: Some coatings hold beautifully. Others encourage corner lifting if the label is too stiff or too weak.
- Textured covers are tricky: Labels with a stronger adhesive usually grip better, but they can be harder to remove cleanly later.
If you're experimenting with application methods for related craft or labeling projects, this overview of using 505 adhesive spray is helpful for understanding how temporary bonding differs from true label adhesives. It's not a shortcut for book labels, but it does clarify why the right adhesive type matters for the surface.
After you choose a material, watch how labels behave in real use.
My rule for small collections
I keep the decision simple:
- Home library with gentle use: Paper can work if you don't mind replacing labels.
- Preschool or daycare shelf: Choose a tougher material and a stronger adhesive.
- Shared family books that travel: Prioritize wipeable surfaces and secure edges.
For labels that need to survive moisture and daily handling on kids' belongings, the standards are similar to what families look for in dishwasher-safe name labels. Books aren't going through a dishwasher, of course, but durability under repeated cleaning and handling matters in the same way.
Practical rule: If you already know a book will be wiped, dropped, or loaned out often, don't start with the cheapest label. Start with the label you won't have to redo next month.
Designing Your Label Layout and Placement
A label can be durable and still fail if it's in the wrong place. In small libraries, consistency does more work than complexity. Children scan for patterns. Adults do too. If every book has a different label position, reshelving slows down and the shelf starts looking messy even when it's technically organized.
The most useful setup for homes and classrooms usually has three possible label zones: the spine, the front cover, and the inside cover. You don't need all three on every book.
Use placement that stays readable on the shelf
Library standards are a strong guide here. According to the Library of Congress guidance on label placement, for spines 1 inch or wider, the call number label should be centered ½ inch from the bottom. For spines under 1 inch, the label moves to the upper left of the front cover, ½ inch right of the spine and ½ inch from the top.
That sounds formal, but the reason is practical. Books are easier to spot and easier to pull when labels sit in a consistent location.
A simple layout that works for non-librarians
For a small-scale collection, I'd keep the actual content of the label minimal:
- Ownership mark: Family name, classroom name, or center name.
- Shelf code: A short category code like AN for animals or SEA for ocean.
- Optional icon or color cue: Helpful for pre-readers and quick cleanup.
You don't need a complicated call number system unless you want one. Most home and daycare libraries function better with short codes that adults can remember and children can match.
A few teachers like extending that visual logic to the rest of the room, and ideas from classroom picture labels can translate nicely to bookshelves, return bins, and theme baskets.
Put the information children need in the place they naturally look first. Usually that's the spine. If the spine is too narrow, make the front cover do the job.
What to place where
| Location | Best for | Why it works |
|---|---|---|
| Spine | Category code, short author code, color dot | Fast shelf scanning |
| Front cover upper left | Thin books, board books, narrow spines | Visible when spine won't hold a label well |
| Inside front cover | Ownership mark, return note, contact info | Protected from wear and less visually busy |
The inside front cover is especially useful for books that leave your space. Keep it simple. Name first. Everything else is optional.
Avoid these layout mistakes
Some problems show up again and again:
- Overstuffed labels: Too much text becomes unreadable at shelf distance.
- Low-contrast printing: Cute fonts often lose to fast cleanup and dim corners.
- Mixed placement: If half the labels are low and half are high, children can't learn the pattern.
- Decorative clutter: Icons should support sorting, not cover the book art.
Neat labels don't just look better. They make the room easier to reset after a busy day.
A Modern Approach with Barcodes and RFID
Technology sounds bigger than it has to be. For a home, daycare, or classroom library, a barcode system can be almost comically simple. You don't need specialized software to get useful results. You need a unique number on each book and one place to record who has it.
The easiest barcode setup
A basic system looks like this:
- Give each book a short ID number.
- Put that number on the book as text and, if you want, as a barcode.
- Track the number in a spreadsheet with the title, category, and borrower.
- Use a smartphone scanning app if you want faster check-in and check-out.
That setup works well for take-home books, teacher lending shelves, and family libraries where cousins, neighbors, or co-op members borrow titles. The main win isn't sophistication. It's accountability.
When barcodes are enough
Barcodes are best when you want:
- Low-cost tracking: You can build the system with tools you already have.
- Easy replacement: If one label gets damaged, you can print another.
- Simple training: Anyone helping in the room can learn the routine quickly.
Children also like them. Older preschoolers and elementary students often enjoy “checking out” books, and that routine can build care and responsibility around shared materials.
Where RFID fits
RFID is the more advanced option. Instead of scanning a printed code, you use a tag that can be read electronically. For a small classroom, that's usually more than you need. But if you manage a larger lending collection or want to understand how RFID systems are used in everyday environments, this RFID in retail strategy guide gives a clear plain-language overview of how tag-based tracking supports inventory and movement.
For most small libraries, I'd choose RFID only if you already have compatible tools or you're managing a collection valuable enough to justify the extra setup.
The best tracking system is the one another adult can use correctly during pickup time with a child asking for one more story.
Keep the tech invisible to kids
The system should help children, not interrupt reading time. Use technology to support the adults behind the scenes, and keep the child-facing part simple. A basket, a borrowed sign, a return slot, and a quick scan are usually enough.
Creating Kid-Friendly and Educational Designs
Children don't organize books the way adults do. They organize by what they can see, what they remember, and what feels familiar. That's why kid-friendly library book labels should work as visual cues first and text second.
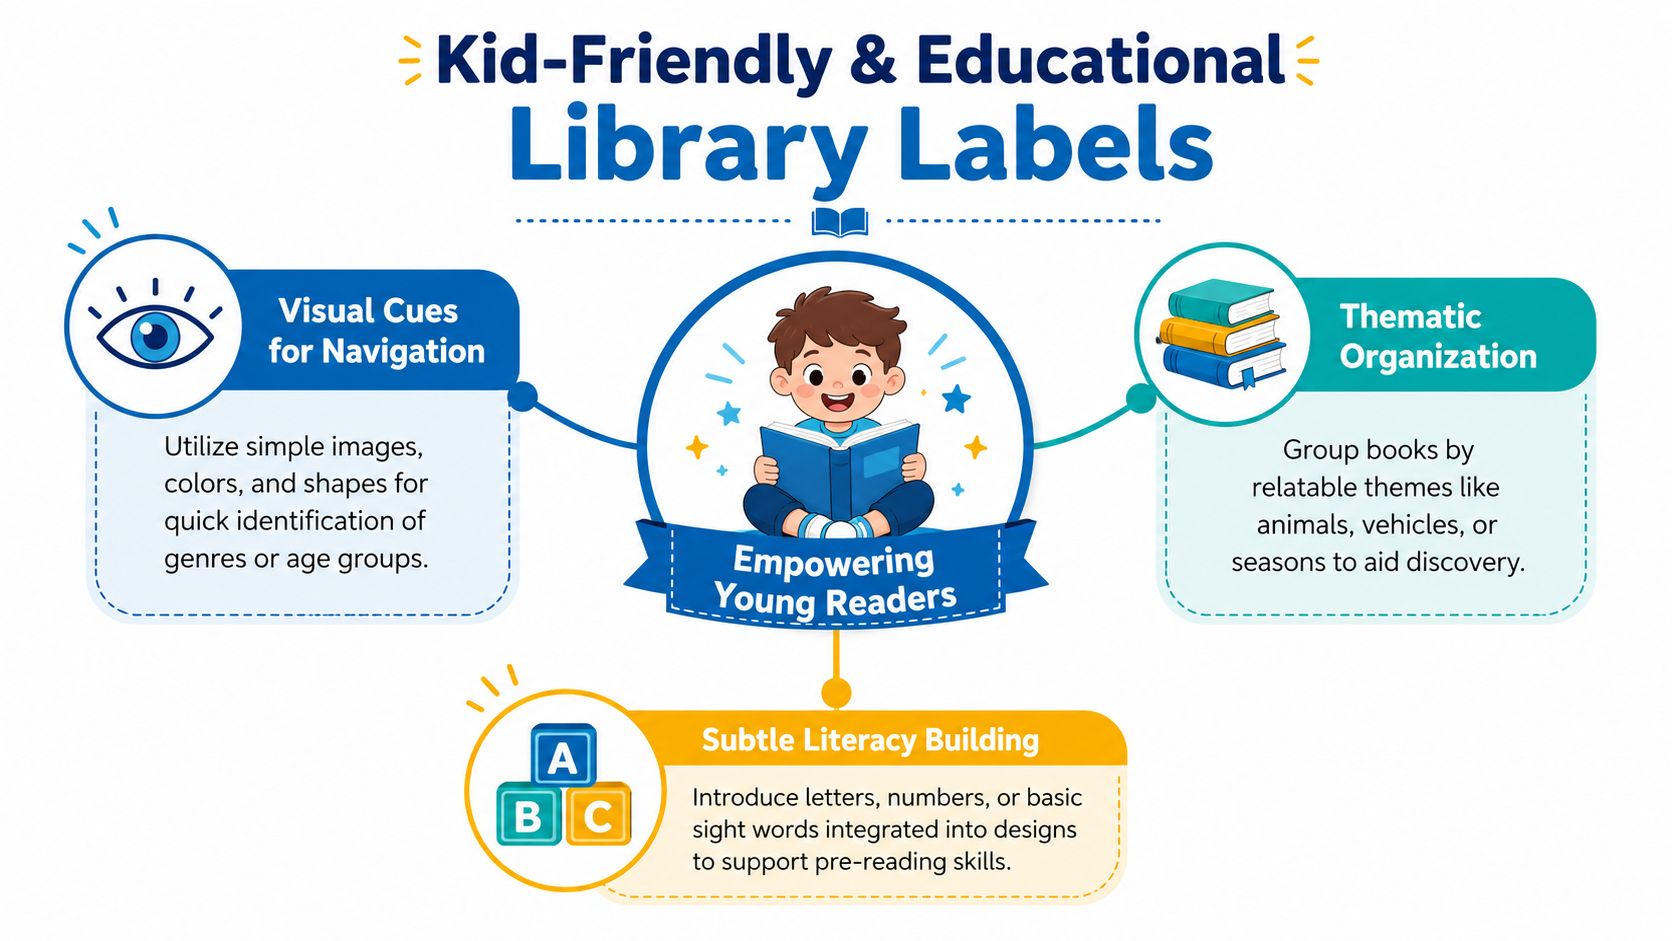
In a toddler room, a dinosaur icon can do more organizing work than a printed category name. In a preschool classroom, a blue dot for ocean stories or a leaf for nature books helps children browse independently before they can read every title.
Build labels around recognition
The core information needed on a book label is the owner's name. Optional wording such as “From the library of...” or “Please return to:” has stayed consistent for centuries because it works for proving ownership and encouraging returns, as explained in this history of bookplates and book labels.
For children, though, ownership is only part of the design job. The rest is navigation.
Here are design choices that work well:
- Color by theme: Green for nature, red for transportation, yellow for humor.
- Icons by topic: Star, animal paw, train, moon, heart.
- Shape cues: Circle labels for beginner books, squares for read-alouds, triangles for seasonal bins.
A shelf children can use without adult translation
One classroom setup I've seen work beautifully used a tiny visual system:
- ocean books had a wave sticker
- animal books had a paw print
- bedtime stories had a moon
- the matching basket carried the same image
Children didn't need to ask where books belonged. They matched symbol to symbol and put them back.
If you want inspiration for visual systems, these label design ideas are useful for thinking through themes, icons, and color choices that stay clear at a glance.
Keep learning gentle, not crowded
A good educational label can support literacy without turning every cover into a worksheet.
| Design element | Supports | Best use |
|---|---|---|
| First letter cue | Letter recognition | Early sorting by topic or author |
| Picture icon | Independent navigation | Toddlers and pre-readers |
| Color band | Fast reshelving | Shared shelves and mixed-age rooms |
Children are more likely to care for a library they can actually use on their own.
The strongest systems feel obvious. A child spots the dinosaur, finds the dinosaur basket, and succeeds without waiting for help. That moment matters more than a perfectly formal catalog.
Printing Your Own Versus Ordering Custom Labels
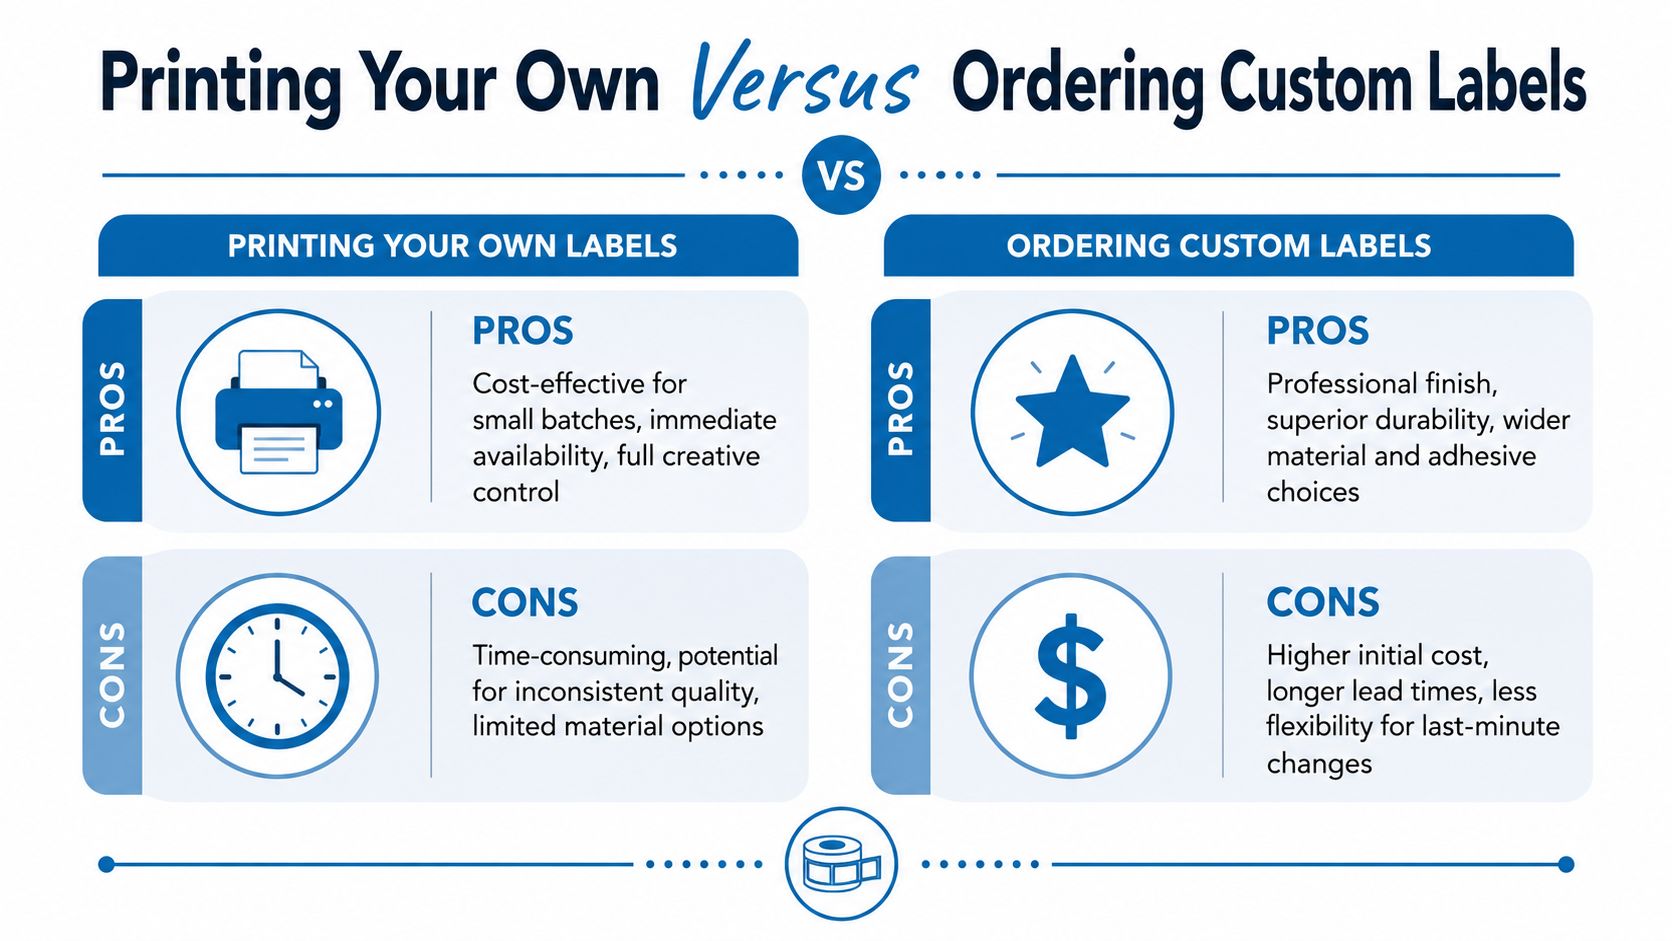
This decision usually comes down to one thing. Are you trying to save money first, or save time first?
Both options can work. The right choice depends on how many books you have, how rough the use will be, and whether you enjoy the setup process or dread it.
When printing your own makes sense
Home printing is practical when you're still testing your categories or working with a small collection. You can make changes quickly, print one sheet at a time, and adjust your codes as your shelf evolves.
That flexibility is hard to beat for:
- New classroom setups: You may not know your final categories yet.
- Seasonal rotations: Labels might only need to last for part of the year.
- Tiny home libraries: If you're labeling one basket at a time, DIY is manageable.
The downside is consistency. Ink can vary. Cutting can drift. Adhesives on generic sheets don't all behave well on coated covers.
When custom labels earn their keep
Custom labels make more sense when the collection is stable and heavily used. You get a cleaner finish, more material choices, and less hands-on work once the design is done.
That matters in daycares and classrooms where the same books are handled daily. If your biggest constraint is time, not setup cost, ordering labels can be the calmer choice.
A side-by-side decision view
| Option | Best for | Trade-off |
|---|---|---|
| Print your own | Testing systems, small batches, fast changes | More labor, less durability |
| Order custom | Stable collections, polished look, repeated use | Less flexibility for last-minute edits |
If you do print at home, organize the work in batches. The same logic behind boost efficiency with batch processing applies well here. Group design, printing, cutting, and application into separate rounds instead of finishing each book one by one.
That approach saves energy. It also cuts down on mistakes, especially when you're creating multiple categories or matching labels to bins and shelf markers.
For families and providers exploring homemade organization systems more broadly, daycare labels DIY can spark ideas for balancing personalization with speed.
My practical take
If you're labeling fewer books and like tinkering, print your own first.
If you're labeling enough books that the project keeps getting postponed, custom labels may be cheaper in the way that matters most. They give you back your evening.
Installation Maintenance and Important Safety Notes
Even the best label fails if it's slapped onto a dusty cover at an angle. Application matters. So does maintenance.
Apply labels like you want them to stay put
A smooth install is simple:
- Clean first: Wipe dust and residue off the cover and let it dry fully.
- Place once: Lightly line up the label before pressing from the center outward.
- Smooth edges well: Corners are the first place failure starts.
- Let adhesive settle: Don't immediately stack or scrub newly labeled books.
For routine cleaning, use a soft cloth and gentle wiping. Harsh scrubbing shortens the life of almost any label.
Be careful with old label removal
Secondhand books often come with old spine stickers, price labels, or worn ownership marks. The temptation is to peel fast and reach for a strong remover. That's where damage happens.
The University of Florida preservation guidance advises avoiding adhesive removers such as Goo Gone because of damage risks, and it favors lower-risk marking practices such as stamps inside covers for location labels. For home and classroom books, that means patience is safer than aggressive scraping.
What usually works better:
- lift slowly rather than ripping
- test any method on a less visible area first
- accept that some old labels are better covered than removed
Privacy and safety matter too
One labeling choice deserves special caution. The American Library Association's 2021 position statement says labeling books by reading level on the spine violates learner privacy and allows peers to judge a child's literacy status, as stated in the AASL labeling practices position statement.
For schools, daycares, and mixed-age rooms, that means public-facing reading-level labels can do real harm. Adults may find them convenient. Children may experience them as ranking.
Choose labels that help children find books, not labels that tell other children how to measure them.
There's also the everyday safety side. In infant and toddler spaces, avoid sharp corners, peeling edges, and anything small enough to become a picking or mouthing hazard. A tidy label system should reduce stress, not add one more thing to monitor.
If you're ready to make your shelves easier to manage, InchBug offers personalized, kid-friendly labels designed for the everyday challenges of daycare, school, and home life. Their customizable options can help you create a library system that's simple to maintain, easy for kids to recognize, and built for daily use.