
An iron on name tag is a small, heat-activated label that you can press onto fabric. Once it's on, it's really on there—fused right into the material. It’s a simple, durable way to make sure your kids' clothes actually make it home from school, daycare, or summer camp.
Think of it as your secret weapon against the lost-and-found scramble.
A Simple Fix for Vanishing Kids Clothes
Every parent knows the feeling. The perpetually missing hat, the single sock that returns from daycare, the brand-new jacket that vanishes into thin air. You invest in nice clothes for them, only for them to disappear into the lost property abyss. It’s a story as old as time.
This is where the humble iron on name tag becomes a total game-changer. It's more than just a piece of fabric; it's a sanity-saving tool.
These little labels are your first line of defense against the chaos, turning anonymous sweaters and t-shirts into clearly marked items that have a much better chance of finding their way back to you. For daycare staff and teachers, a well-labeled item means less time sorting through piles of identical jackets and more time focusing on the kids.
Why This Small Label Makes a Big Difference
The real magic of an iron on name tag is its permanence. Unlike stickers that peel off in the wash or markers that fade and bleed, a properly applied iron-on label becomes one with the fabric. It’s built to withstand the rough-and-tumble of childhood play and countless laundry cycles. Understanding the benefits of clothing labels for kids can help you build a more organized system from the get-go.
And it’s not just parents catching on. The global name tags market was valued at about USD 1.7 billion in 2023 and is expected to hit USD 4.50 billion by 2032. A big driver for that growth is the need for durable, kid-friendly solutions in schools and other institutions.
The core idea is simple: a clearly labeled item is an item that returns home. This simple act saves you time, cuts down on stress, and avoids the unnecessary cost of replacing lost clothes.
This guide will walk you through everything you need to know to make this small tool work wonders for your family.
How an Iron On Name Tag Actually Works
Ever wondered what makes an iron-on name tag so tough? It's not just a fancy sticker. Think of it more like a tiny tattoo for your child's t-shirt—it doesn’t just sit on the surface, it becomes a real part of the fabric.
Each label has a backing coated with a special heat-activated adhesive. This isn't your kid's craft glue; it’s a powerful thermal adhesive that stays solid and isn't sticky at all at room temperature.
But when you bring in the heat and pressure from a hot iron, a little bit of magic happens. The adhesive melts and turns into a liquid, which lets it seep deep down into the tiny, microscopic gaps between the threads of the clothing.
The Science of the Bond
As that melted adhesive flows into the fabric's fibers, it's basically weaving itself right into the garment's structure. This is the big secret that separates a quality iron-on from a simple sticker. Stickers just rely on surface stickiness, which gives up the ghost pretty quickly after a few rounds with hot water and tumbling in the laundry.
Once you lift the iron away, the adhesive cools down in seconds. It goes from a liquid right back to a solid, but now it's permanently locked in place with the fibers of the clothing.
This process creates a seamless, durable bond that’s built to survive the chaos of a washing machine and dryer. The label doesn't just stick to the clothing—it fuses with it.
The label itself is usually made from a soft, flexible polymer. This material is picked for a couple of key reasons: it needs to be comfy against the skin but also tough enough to handle daily wear and tear. It can bend and stretch right along with the fabric without cracking or peeling off.
From Heat to Hold
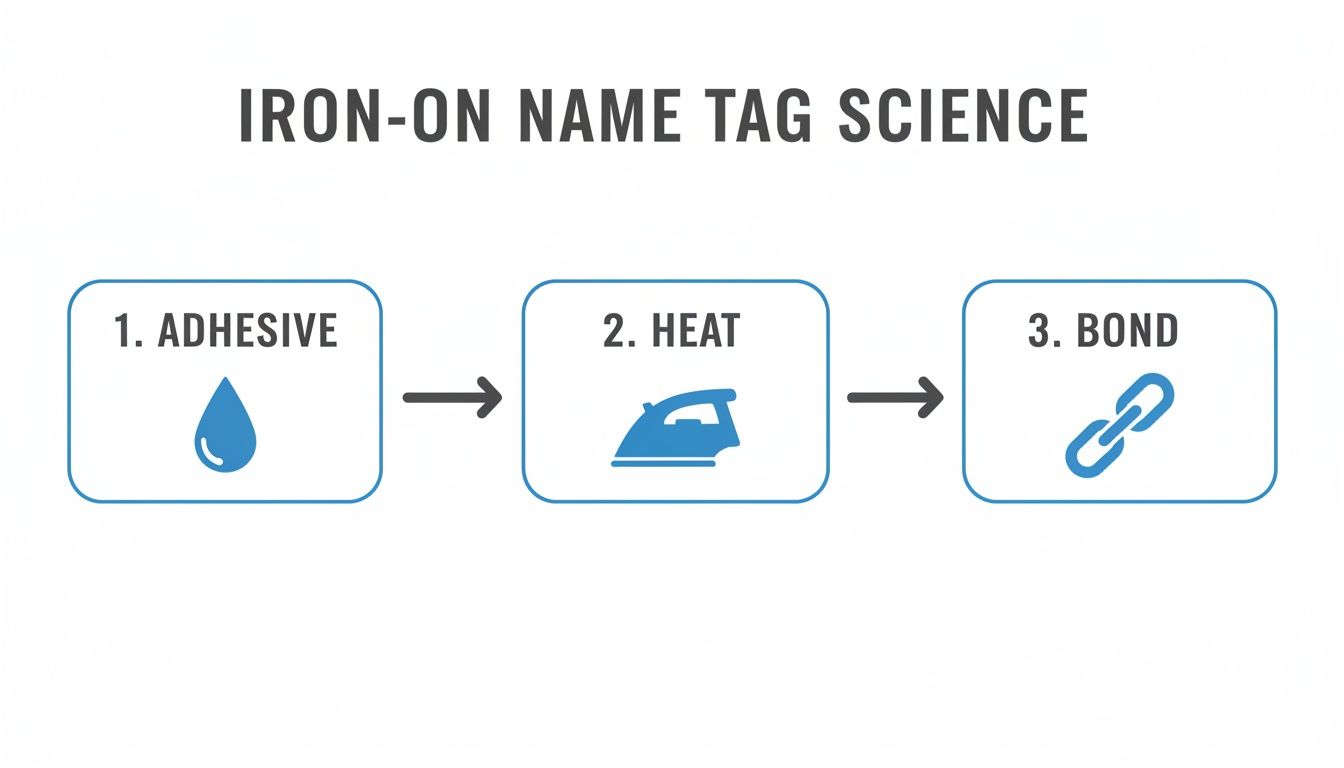
The whole application process is a simple chain reaction that leads to a bond that lasts. Let's break it down into the key players:
- The Materials: You’ve got two main parts working together—the soft polymer label for comfort and the super-strong thermal adhesive for staying power. It's a tag that feels soft but holds on tight.
- The Catalyst: The heat from your iron is what kicks everything off. If the temperature isn't right, the adhesive won't melt properly, and you'll get a weak bond that fails. This is exactly why following the heat-setting instructions is so important.
- The Fusion: As the adhesive melts and then cools, it creates a physical anchor right inside the fabric. This is what gives an iron-on label its impressive grip, leaving temporary solutions in the dust.
Basically, you’re performing a tiny lamination process right on your kid's clothes. This tough fusion is why marker fades and bleeds, and stick-on labels bail after a few washes, while a well-applied iron-on name tag sticks around for the long haul.
A Foolproof Guide to Perfect Application
Getting an iron on name tag to stick for good is pretty simple once you know the tricks. Success isn’t just about blasting it with heat; it’s really about the prep work, the right amount of pressure, and a little bit of patience. I’ll walk you through the whole process to make sure you get a perfect application that will survive countless trips to the playground and through the wash.
Think of it like baking a cake. You can't just dump all the ingredients in a bowl and expect a masterpiece. You need the right tools, the right oven temp, and a clear recipe to follow. The same goes for these labels.
Gather Your Supplies
Before you even think about plugging in the iron, get all your supplies together in one spot. Trust me, this will keep you from running around mid-process and helps everything go smoothly. It’s a short list!
- Your Iron On Name Tag: Make sure it's clean and ready to apply.
- A Household Iron: Your standard iron is perfect for the job. Crucially, make sure the steam function is turned OFF and the water tank is completely empty. Steam is the number one enemy of a strong bond.
- Parchment Paper: Most quality label kits come with a small sheet. If yours didn't, any regular baking parchment paper from your kitchen will work just fine.
- A Hard, Flat Surface: An ironing board is actually too soft and padded for this. You'll get the best results using a wooden table, a kitchen countertop, or even a sturdy book placed on the floor.
The Step-By-Step Application Process
Okay, with your supplies ready, it’s time to get that label on. Following these steps carefully is the secret to creating that super-strong, permanent bond between the label and the fabric.
- Preheat Your Iron: Set your iron to the "Cotton" setting, or whatever temperature the label maker recommends. Let it get fully hot, which usually takes about five minutes. An iron that isn't hot enough is the #1 reason for application failure.
- Prepare the Garment: Lay your piece of clothing flat on your hard surface and smooth out any wrinkles where the label will go. For an even better bond, I like to pre-heat the fabric by pressing the hot iron on the spot for about 10-15 seconds.
- Position the Label: Place the iron on name tag exactly where you want it, with the name facing up. Now, cover it with your sheet of parchment paper. This little sheet is important—it protects the label from the direct heat of the iron's surface.
- Press and Hold Firmly: Press the hot iron straight down onto the parchment paper, making sure you cover the entire label. Don't wiggle the iron back and forth like you're ironing a shirt. Just apply firm, steady pressure for the recommended time, usually 15-20 seconds.
- Let It Cool Completely: This is probably the most important—and most ignored—step. After you lift the iron, leave the label and parchment paper alone until they are completely cool to the touch. Trying to peel it off while it's still warm will absolutely ruin the adhesive.
- Check Your Work: Once it’s cool, gently peel back the parchment paper. The label should look like it’s fused right into the fabric, and you should even be able to see the fabric's texture through it. If you notice any edges lifting up, just repeat steps 4 and 5.
Finally, give the adhesive a full 24 hours to cure before you toss the garment in the wash. This waiting period lets the bond set completely, making it ready for anything.
This whole process is basically a simple chain reaction: heat melts the adhesive, and pressure pushes it deep into the fabric fibers, creating a bond that lasts.
Choosing the Right Fabrics for Your Labels
When it comes to getting an iron on name tag to stick around for the long haul, not all fabrics are created equal. I've learned that picking the right material is just as important as the application itself. It directly impacts how well the label bonds and how long it actually lasts.
Think of the fabric as the foundation—if it's unstable or bumpy, whatever you try to build on top is bound to fail. The label's heat-activated adhesive needs a smooth, stable surface to melt into and really grip. This is why some fabrics are star players while others are best left on the bench. Trying to force a label onto the wrong material often ends in a weak bond or, worse, a ruined piece of clothing.
The Best Fabrics for a Lasting Bond
For a secure application that can survive the washing machine and the playground, you'll want to stick with fabrics that can handle the heat of an iron and have a relatively smooth weave. These materials let the adhesive create a strong, permanent fusion.
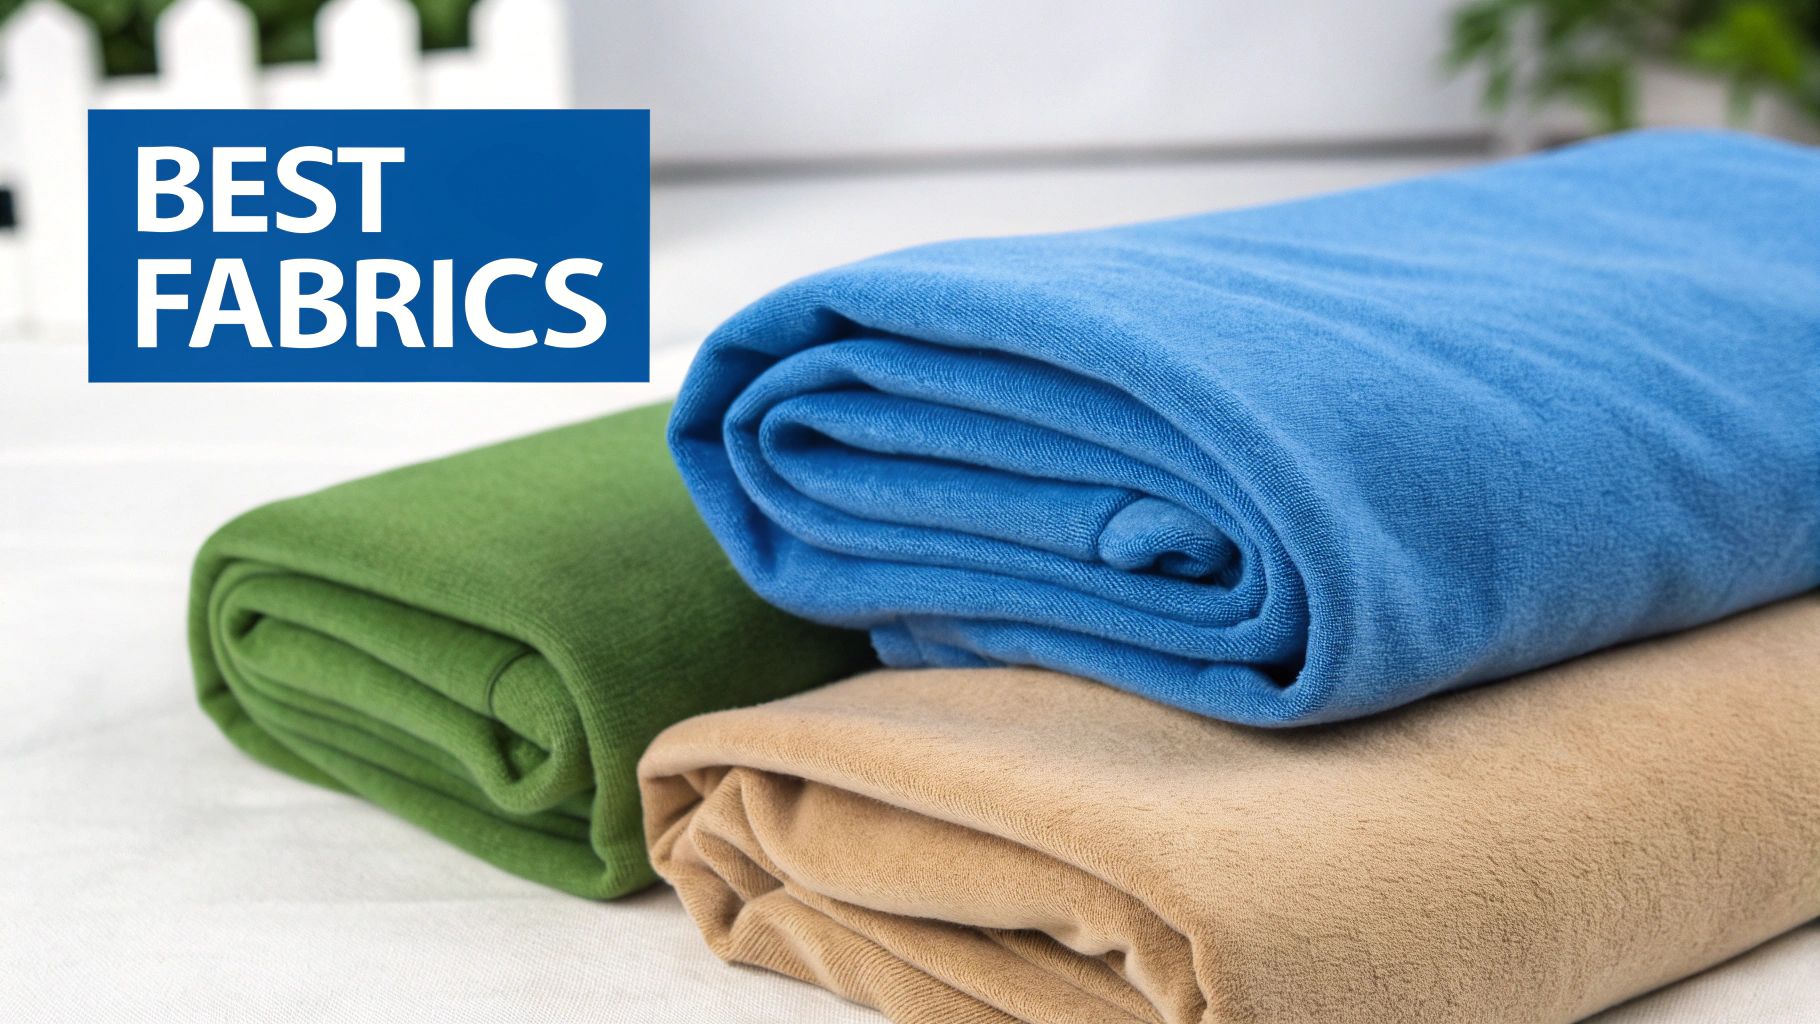
From my experience, the most reliable choices are:
- 100% Cotton: This is the gold standard. Cotton is durable, handles heat like a champ, and its natural fibers provide a perfect surface for the adhesive to grab onto.
- Polyester: Another fantastic option. This synthetic fabric is tough, and its fibers readily accept the melted adhesive, creating a super secure hold.
- Poly-Cotton Blends: You get the best of both worlds here. These blends are heat-resistant and provide an excellent surface for a permanent iron on name tag.
What do all these fabrics have in common? They can withstand the necessary heat without melting or warping. This lets the adhesive fully activate and create that strong, seamless bond you’re looking for.
Fabrics to Approach with Caution or Avoid
On the flip side, some materials just aren't cut out for this process. Applying high heat can cause them to melt, stretch, or get scorched, and their texture can prevent a good bond from ever forming.
I always make sure to steer clear of these:
- Delicate Synthetics: Materials like nylon, acrylic, or spandex can easily melt or stretch out of shape under the direct heat of an iron. It's not a pretty sight!
- Heavily Textured Fabrics: Things like fleece, terry cloth, or chunky knits have a bumpy, uneven surface. The label can't make full contact, which results in a weak application that will likely peel off.
- Heat-Sensitive Materials: This is a hard no. Silk, lace, and other delicate fabrics simply can't handle the high temperatures required to apply an iron on name tag.
A Note on Child Safety
As a parent, one of my top concerns is what touches my child’s skin. You can rest easy knowing that high-quality labels from trusted brands like InchBug are made with safety as a priority. They use non-toxic, CPSIA-compliant materials, which means the labels are completely safe for direct contact with even the most sensitive skin.
Once applied correctly, they become a soft, integrated part of the garment, so you don't have to worry about irritation.
Caring For and Removing Your Name Tags
Once your iron on name tag is perfectly in place, its real job is just getting started. Proper care is what keeps it stuck on through countless tumbles in the washing machine and all the adventures on the playground. A few simple laundry rules will make sure that adhesive bond stays strong and the label looks great for the life of the clothing.
The good news? High-quality labels are built tough. They're designed to handle your washing machine and dryer without needing any special treatment. For the best results, though, always wait at least 24 hours after you've ironed it on before the first wash. This gives the adhesive time to fully cure and grab on tight.
Washing and Drying Best Practices
Keeping your labels looking good is pretty straightforward. The main thing is to just avoid extreme heat that could mess with the adhesive over time.
- Wash Temperature: Stick with a warm or cold water setting. While the labels can usually handle a hot wash here and there, doing it all the time can eventually soften the adhesive.
- Drying: Tumble dry on a low or medium heat setting. Just like with washing, avoiding super high heat will help that bond last.
- Fabric Softeners: It's a good idea to skip liquid fabric softeners and dryer sheets when you can. They can sometimes leave behind a film that might weaken the label's grip.
Follow these simple steps, and that iron on name tag will stay put and be easy to read, wash after wash.
How to Remove an Old Name Tag
Sooner or later, you might need to take a label off—maybe you're passing a jacket down to a younger sibling or getting it ready for donation. Thankfully, the process is surprisingly easy and uses the same iron you used to put it on.
- Preheat Your Iron: Set your iron to the same setting you used to apply the label (usually the cotton setting is perfect). Make sure the steam is turned off.
- Place Parchment Paper: Lay the clothing on a hard, flat surface and cover the iron on name tag with a piece of parchment paper.
- Heat the Label: Press the hot iron firmly onto the parchment paper for about 10-15 seconds. This reactivates the adhesive, making it soft and gooey again.
- Peel While Hot: Right after you lift the iron, carefully use a pair of tweezers to grab a corner of the label. Peel it away while it's still warm. Just be careful—the label itself will be hot!
If you're left with a little sticky residue, don't worry. Just place the parchment paper back over the spot and press it with the hot iron again for a few seconds. The residue should lift right off onto the paper.
Troubleshooting Common Issues
Even when you do everything right, you might run into a small problem now and then. Don't panic! Most issues are a quick and easy fix.
Here's a quick guide to help you identify and solve the most common hiccups you might encounter with your iron on name tags.
Iron On Name Tag Troubleshooting Guide
| Problem | Possible Cause | Solution |
|---|---|---|
| Edges are lifting | Not enough heat or pressure was applied, especially around the corners. | Place parchment paper over the label and re-press with a hot iron for 10-15 seconds. Really focus on pushing down firmly on that lifting edge. |
| Label looks faded | This usually happens from lots of high-heat washes or harsh detergents over time. | This is typically normal wear and tear. If it’s happening to a new label, try using a medium heat setting in the dryer. |
| Wrinkled or bubbled | The iron was wiggled during application, or the fabric wasn't completely flat. | Gently re-heat the label using the iron and parchment paper. While it's still warm, use something flat (like a credit card) to firmly smooth it down as it cools. |
With these tips, your labels should stay put and look great. And if you're looking for other durable options, you can explore different kinds of laundry-safe clothing labels designed to last through it all.
Iron On Labels vs Other Labeling Methods
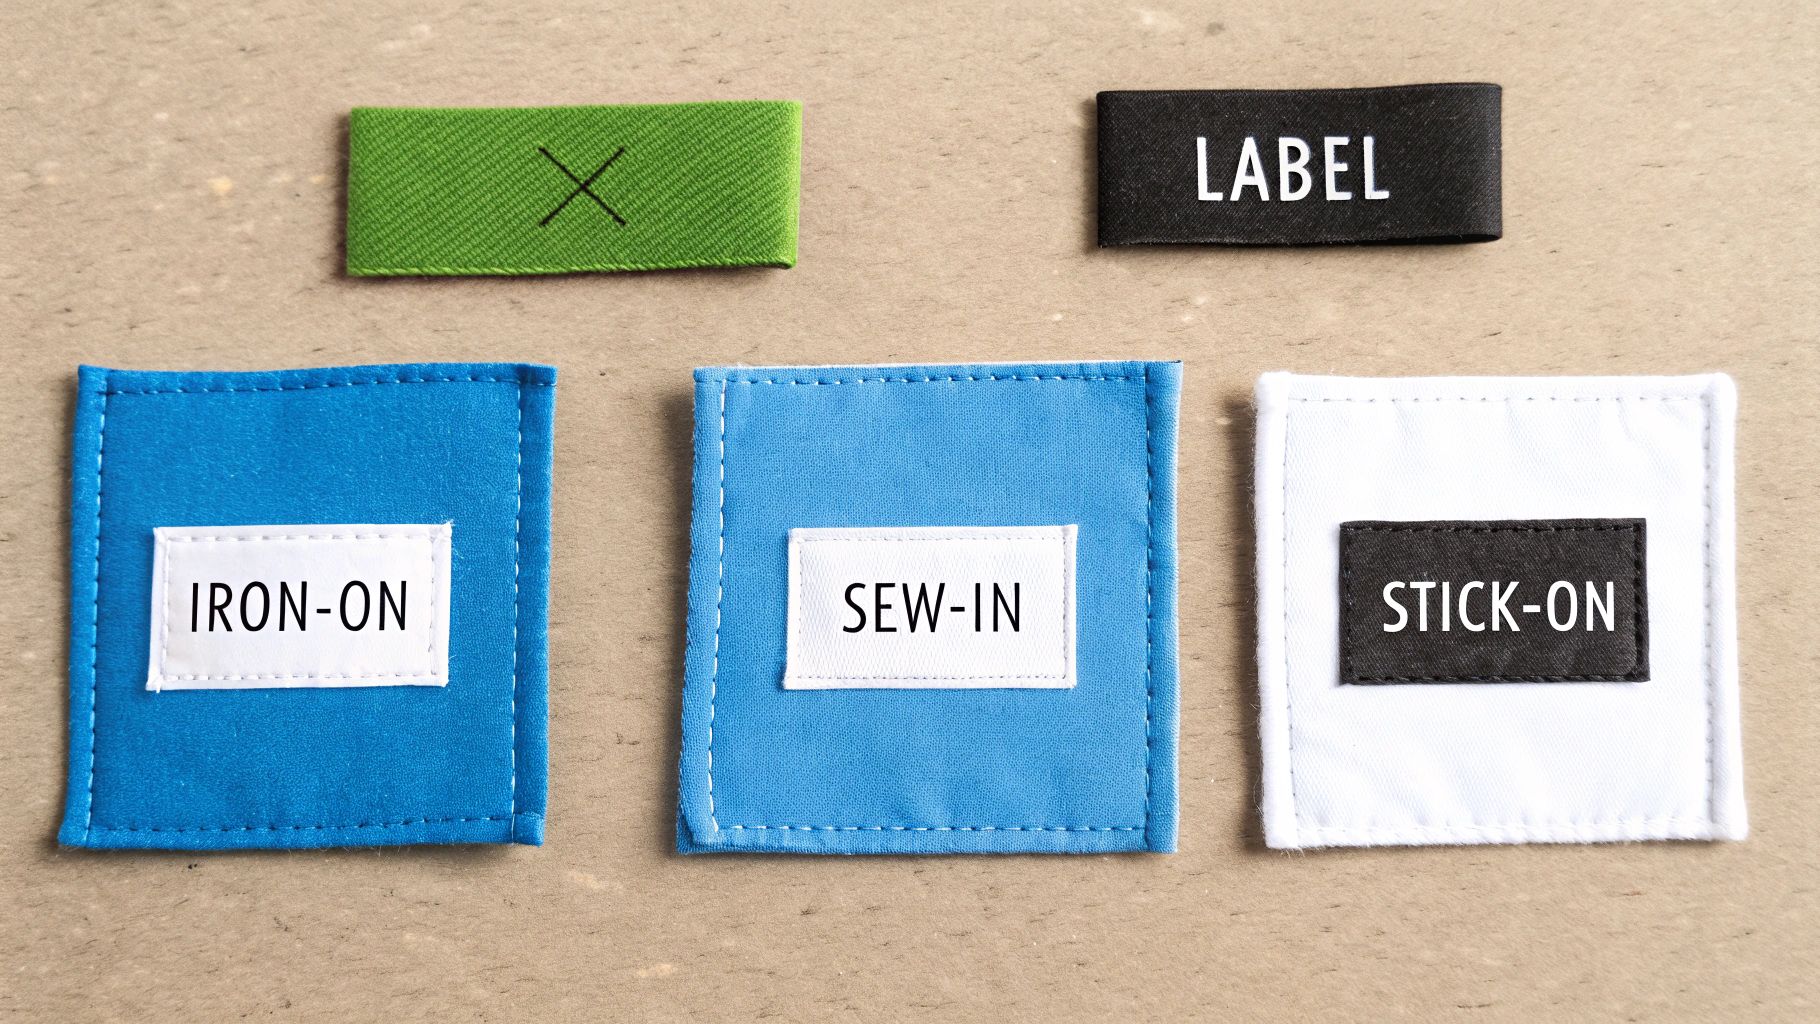
When it comes to labeling kids’ clothes, you've got a few different ways to go, and each has its own thing going for it. The right choice really comes down to what you need most—speed, staying power, or comfort. The iron on name tag is a super popular choice, but how does it actually compare to the other options out there?
An iron-on label works by literally fusing with the fabric when you apply heat, creating a bond that’s tough enough to handle whatever the washer and dryer can throw at it. This is where they really shine, especially on those tricky items like socks or tagless t-shirts where other labels just won’t stick around. It takes a couple of minutes to apply, but the result is a smooth, permanent label that’s not going anywhere.
Stick-On Clothing Labels
Stick-on labels are, without a doubt, the speediest option. You just peel, press it onto the garment's care tag, and you're done. No heat, no sewing, no fuss. For busy parents who need a quick fix before school tomorrow, they’re a total lifesaver.
The trade-off, though, can be durability. While a good quality stick-on label can definitely survive the wash, they're generally not as permanent as an iron on name tag. Over time, you might see the edges start to lift, particularly if they see a lot of high-heat drying cycles. If you're weighing the pros and cons of stick-on versus iron-on, our guide to TagPal labels is a great place to start.
Sew-In Name Tags
This is the classic, old-school method. Sew-in tags are incredibly durable and have a traditional, quality feel. Once they’re stitched in, they are there for good and often feel a bit softer against the skin than other labels. They’re also easy to snip out with a seam ripper, which is perfect for clothes you plan on handing down or donating later on.
The biggest downside? The time commitment. Let’s be honest, sewing each tag by hand is a real project, especially when you're facing a mountain of new school uniforms.
Key Takeaway: Iron-on labels strike a powerful balance between the lightning speed of stick-on tags and the classic permanence of sew-in ones. They offer a reliable solution that works on just about any fabric that can take a little heat.
Permanent Markers
Grabbing a permanent marker is the quickest and cheapest way to get a name on a piece of clothing, period. It’s the go-to when you realize at 8 p.m. that a gym shirt needs to be labeled for the morning.
But the issues here are longevity and how it looks. The ink almost always fades after just a few washes, turning that clearly written name into a blurry, illegible mess. It can also bleed through thinner fabrics, which not only looks messy but can sometimes irritate sensitive skin.
Your Questions, Answered!
Even with the best instructions, you might still have a few questions about iron-on labels. That's totally normal! To help you feel like a pro, I've gathered up some of the most common things parents ask. Let's clear up any last-minute worries.
Can I Use a Hair Straightener to Apply Labels?
I know it seems like a clever shortcut, but please don’t! We strongly recommend sticking with a standard household iron (no steam). A hair straightener just can't provide the even, consistent heat and pressure you need. This almost always results in a weak bond that won't last, and you might even scorch the fabric.
For a permanent, wash-proof application, a good old-fashioned dry iron set to the right temperature is the only way to go.
Will an Iron On Name Tag Irritate My Child's Skin?
This is a big one for parents, and rightly so. High-quality iron-on name tags are made with kids' sensitive skin in mind. Trusted brands use soft, flexible materials that are CPSIA-compliant, meaning they're certified non-toxic and totally safe for direct skin contact.
When you apply the label correctly, it fuses right into the fabric, feeling smooth and seamless. It shouldn't cause any irritation or discomfort at all.
The key is choosing labels from a reputable company that puts safety first. A properly applied label should feel like it’s part of the clothing, not a stiff or scratchy patch.
How Many Washes Will the Name Tag Last?
Here’s the great news: when applied correctly to the right fabric, a premium iron-on name tag is designed to last for the entire life of the garment. Seriously! These tough little labels are waterproof, fade-resistant, and built to handle dozens and dozens of trips through the washer and dryer.
For the absolute best results, just remember to wait at least 24 hours after you've ironed it on before the item's first wash. This little bit of patience gives the adhesive time to fully cure and create an unbreakable bond.
Ready to conquer the lost-and-found bin for good? Explore the full collection of durable, kid-safe, and easy-to-use clothing labels at InchBug and find the perfect solution for your family. Visit https://www.inchbug.com to get started