

The personalized water bottle labels market was estimated at $403.6 million in 2025 and is projected to reach $759.2 million by 2034, with a 7.2% CAGR. For a parent making DIY personalized water bottle labels, that demand points to a practical truth: durability matters as much as appearance.
Your child's bottle looked perfect when it left home. By the time you picked them up, the name sticker was curling at one edge, cloudy under condensation, or missing entirely after a trip through the dishwasher. Daycare mix-ups turn a small labeling job into a recurring chore, especially when the same bottle moves between the kitchen, classroom, car, and sports bag.
The most reliable DIY labels come from treating the project as a durability challenge, not just a craft project. The vinyl, adhesive, surface preparation, curing time, and cleaning routine matter more than an elaborate graphic. A simple, readable label that stays attached will do more for your family than a beautiful design that fails after its first wet day.
Why Your Water Bottle Labels Keep Peeling Off
The usual failure starts innocently. You print a name on attractive sticker paper, trim it neatly, and press it onto a bottle that looks clean. Then the bottle gets chilled, handled with wet hands, rinsed, or placed in a dishwasher. Moisture reaches the edges, the paper softens, and the adhesive loses its grip.
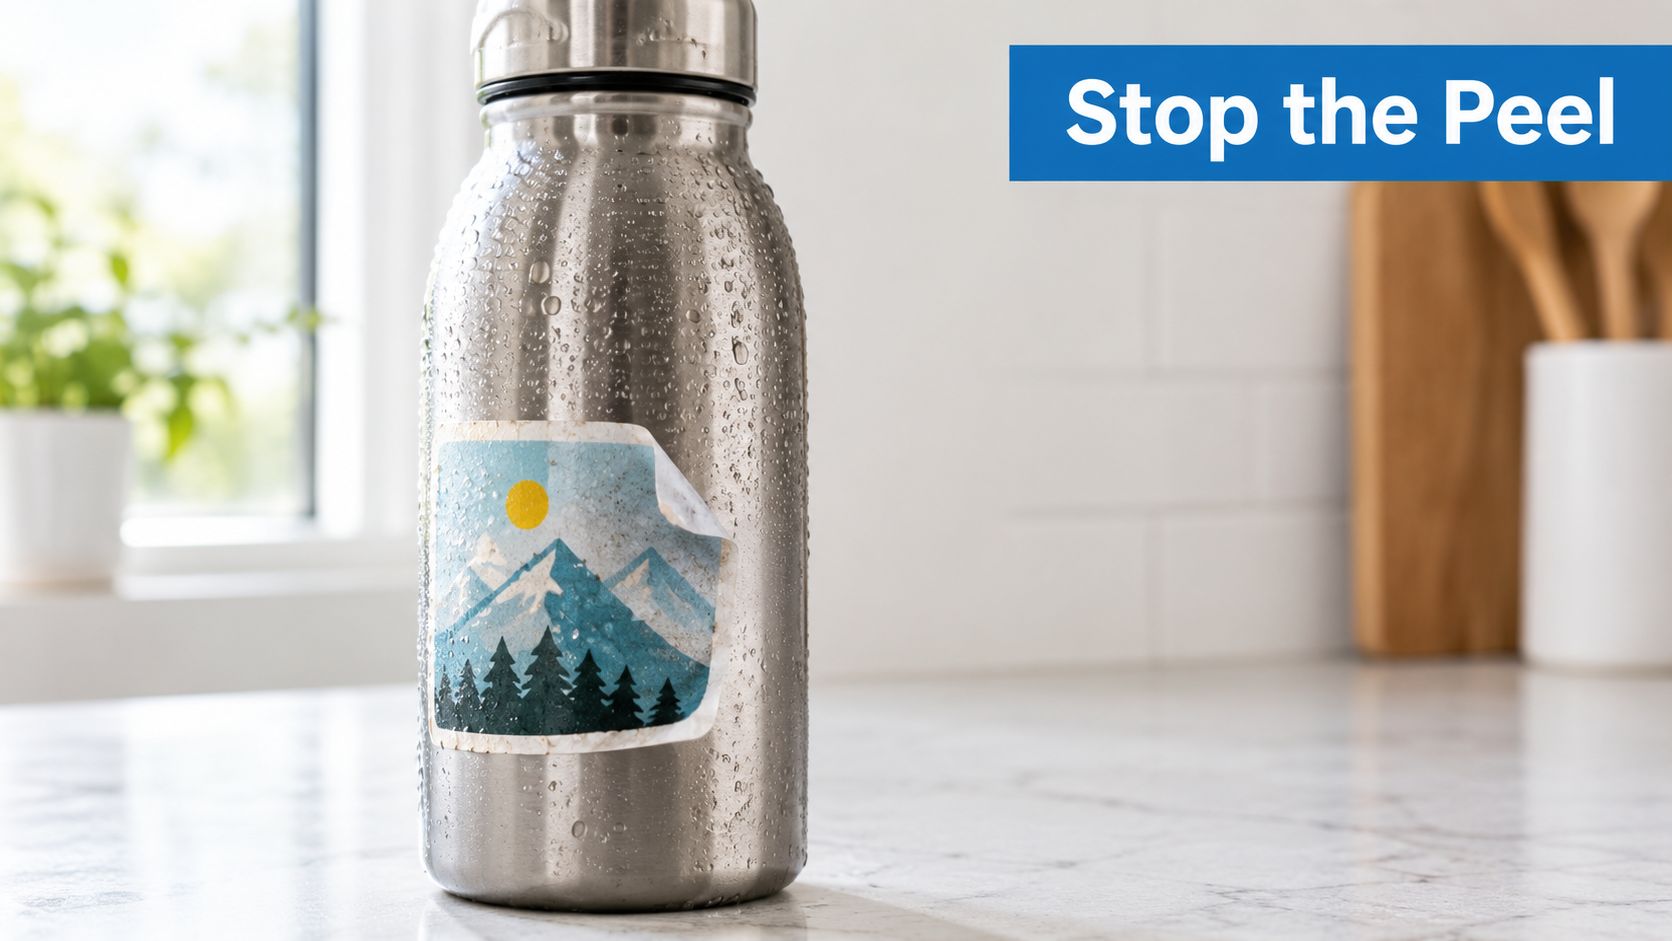
Cold condensation is particularly unforgiving. A bottle can be dry when you apply the label and wet minutes later after coming out of a refrigerator or lunch bag. Fingerprints, skin oils, leftover soap, and tiny droplets create a barrier between the adhesive and the bottle. Curved surfaces add another problem because tension pulls at the label seam every time the bottle flexes or gets squeezed.
A useful label adhesion test can help you assess a material before committing to a full batch. Test the actual bottle, not just a spare piece of smooth plastic, because bottle coatings, ridges, frosted finishes, and curves can change the result.
The conditions that expose weak labels
Daycare and school bottles face a combination of stressors:
- Repeated handling: Children grab bottles by the label area, twist them, and drop them into crowded bags.
- Wet storage: Condensation and rinse water can sit under the bottle or collect around the seam.
- Heat exposure: Dishwasher heat may damage some labels even when the face stock is marketed as waterproof.
- Abrasion: The label rubs against lunch boxes, shelving, car interiors, and other bottles.
The personalized water bottle labels category reflects more than decorative gifting. One market breakdown places events and parties at 34.2% of the 2025 end-user segment, valued at roughly $137.9 million, while self-adhesive labels held 47.8% of the product category, worth about $192.7 million in the same market breakdown. Those figures suggest that buyers repeatedly value labels where presentation and identification overlap. For parents, that means the practical test isn't whether a label looks polished at pickup time. It's whether the name remains legible after the bottle has lived a normal child-sized day.
Gathering the Right Materials for Durable Labels
Start with the bottle, not the design software. Measure the flat label zone, including its usable height and the distance around the bottle, then keep the artwork within that area. Ridges, tapered shoulders, textured coatings, and recessed panels can prevent a label from sitting flat, so don't assume a generic template will fit every bottle.
Choose a face stock that can handle moisture
Standard paper sticker sheets are suitable for dry items, but they're a poor foundation for a bottle exposed to condensation and washing. Choose a waterproof synthetic face stock, such as BOPP or vinyl. These materials are designed to resist moisture and cold better than ordinary paper, although waterproof doesn't automatically mean dishwasher-proof.
The adhesive matters just as much as the printed surface. A permanent acrylic pressure-sensitive adhesive is the practical choice for a bottle that needs to remain labeled through wet handling. Removable or rubber-based adhesives can lose grip when exposed to moisture, refrigeration, or repeated washing. Packaging guidance also warns that product construction affects dishwasher and microwave performance, so test the exact stock and adhesive combination rather than trusting a material name alone. A clear guide to waterproof and dishwasher-safe labels is useful when comparing those claims.
Add a laminate when your printed material needs extra protection from smudging, scratching, or surface wear. Laminate can improve the face of the label, but it won't rescue a weak adhesive or a poorly cleaned bottle. It also adds thickness, which can make tight curves and seams more difficult to wrap neatly.
Assemble a sensible home setup
You don't need a commercial finishing line, but you do need consistent tools:
- Printer: Use an inkjet or laser printer that handles your chosen synthetic stock. Confirm the stock's printer compatibility before loading a full sheet.
- Cutting tool: A sharp craft knife, rotary trimmer, or cutting machine produces cleaner edges than household scissors.
- Measuring tools: Keep a flexible tape measure and ruler nearby for the bottle and label zone.
- Cleaning supplies: Use isopropyl alcohol, lint-free cloths, and a dry work surface.
- Proofing stock: Print the first version on plain paper so you can check scale and placement without wasting waterproof material.
That preparation prevents the common false economy of printing several attractive labels before discovering that the artwork is too tall, the seam lands over a curve, or the stock won't feed correctly.
Designing and Printing Your Custom Label Layout
A bottle label should be read quickly by a teacher, daycare worker, or child. Put the child's first name or familiar identifier where it can be found at a glance, then use decoration to support readability rather than compete with it. High contrast, generous spacing, and a clear typeface usually outperform a crowded design with delicate lettering.
Build the file around the bottle
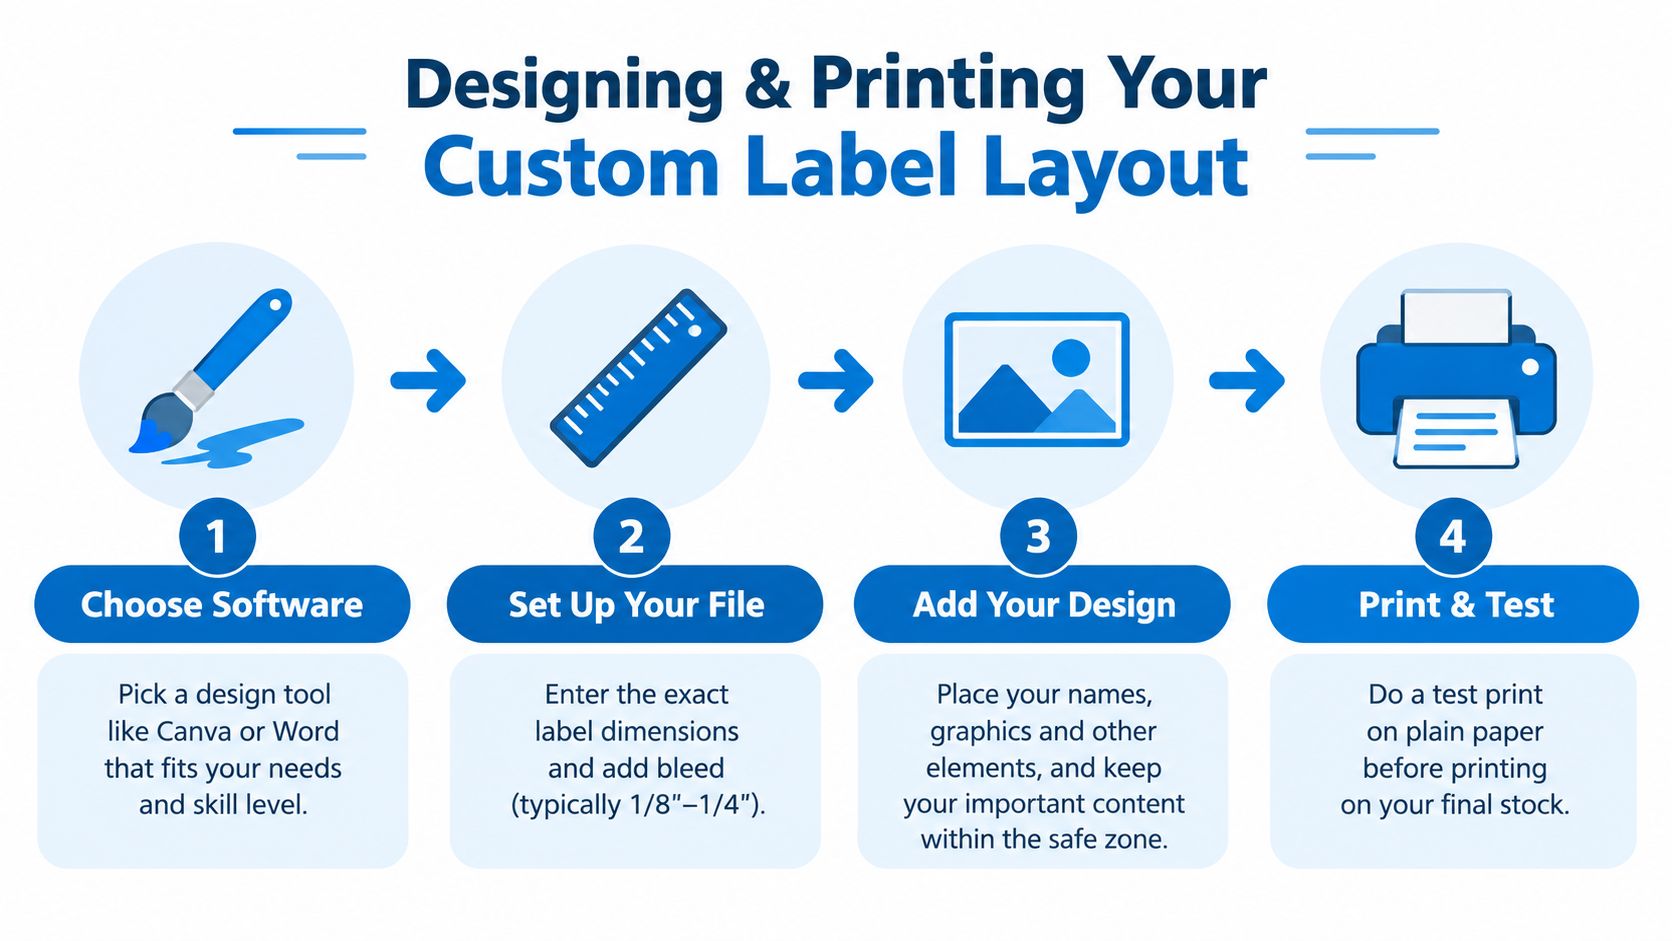
Enter the measured width and height of the flat label area before adding graphics. Keep a 1/8-inch bleed beyond the finished edge and a 1/8-inch safe margin inside it. The bleed gives trimming room, while the safe margin keeps names and important icons away from the seam or cutting line.
A clean workflow looks like this:
- Choose a design tool such as Canva, Word, or a professional layout application.
- Create the document at the exact finished dimensions.
- Place the name, icon, and background while preserving the safe margin.
- Use the bleed to extend background colors or patterns beyond the trim edge.
- Print a plain-paper proof and wrap it around the bottle before using final stock.
For parents creating multiple versions, a printable label text sections worksheet can help organize the name, room information, allergy note, or secondary identifier before you arrange the final artwork. Keep sensitive information limited to what the setting needs.
Print for accuracy, not just color
When your printer and material support it, export the finished artwork as PDF/X-4 at 300 dpi in CMYK before proofing and approval. That workflow helps preserve print detail and gives you a more controlled color result than sending an unfinished screen layout directly to the printer. Your printer's own color handling can still change the output, so judge the physical proof rather than the monitor alone.
Check the print for soft text, streaks, registration problems, and ink that transfers when touched. If you're using a cutting machine, make sure the material setting matches the stock and run a test cut before producing the entire sheet. A collection of label templates for printing can speed up setup, but a template is only a starting point. The bottle's measurements should make the final decision.
Applying Labels for Maximum Adhesion and Longevity
Application is where a good material either earns its place or fails before daycare begins. Even a waterproof synthetic label can peel if you apply it over oil, moisture, condensation, or residue from an old label.
Prepare the bottle properly
Remove the old label and any adhesive residue. Then clean the intended area with isopropyl alcohol and a lint-free cloth. Let the surface dry fully. Alcohol removes fingerprints and oils that ordinary water can leave behind, but the bottle still needs time for any remaining moisture to evaporate.
Apply the label only when the bottle is at room temperature. A chilled surface can develop condensation as you work, and that moisture may cause edge lift before the adhesive has bonded. Don't apply the label immediately after washing, either. A dry exterior is necessary, but trapped moisture around seams and grooves can still undermine the result.
Wrap from the center outward
Hold the label by its edges so you don't contaminate the adhesive. Align one end with a bottle seam or another consistent reference point, then press the center area onto the bottle first. Smooth outward toward each end with firm, even pressure, working slowly to push out air rather than trapping bubbles.
Use this sequence:
- Align: Check that the top and bottom edges follow the bottle's shape.
- Anchor: Press the central portion onto the flattest area.
- Smooth: Move toward the left and right edges without stretching the material.
- Seal: Press the overlap or seam firmly, especially at the corners.
- Inspect: Look for wrinkles, lifted edges, and bubbles before setting the bottle aside.
The adhesive needs time to develop its bond. Independent school and daycare label guidance recommends allowing 24 hours before dishwasher exposure, and that waiting period is especially sensible for DIY labels. During curing, keep the bottle dry and at room temperature. Don't test it immediately by soaking it, flexing the seam, or sending it into a hot wash.
A detailed guide to applying labels to bottles can help when you're working with a curved container or troubleshooting bubbles. If the label won't sit flat during a dry test, changing the shape or material is usually better than forcing it into place.
Comparing DIY Labels to Reusable Options
DIY printed labels give you control over the name, colors, icons, size, and quantity. They're useful when you already own compatible stock and want a particular design for a birthday, classroom theme, or group activity.
The trade-off is labor. You measure, design, print, trim, clean, apply, and wait for the adhesive to cure. If the bottle changes, the child moves classrooms, or the label fails at the seam, you repeat much of that process. A reusable band shifts the effort toward choosing the right size and adding the identifier once, then transferring it between compatible bottles.
Match the format to the routine
| Your situation | DIY printed label | Reusable bottle band |
|---|---|---|
| You want a custom illustration or event design | Strong fit | More limited design area |
| You label one consistent bottle | Practical | Practical |
| Bottles change often | More reprinting and reapplication | Easier to transfer |
| The bottle sees frequent wet handling | Requires careful stock and testing | Designed around repeat use, but still needs fit checks |
| You enjoy making small batches | Creative and flexible | Less hands-on work |
Reusable formats also make sense when siblings switch bottles or when a bottle is replaced but the child's identifier stays the same. For broader bottle selection advice, especially for active use, this resource on how to choose a bottle for gravel riding offers a useful reminder that shape, grip, and cleaning routine affect labeling decisions.
For a closer look at the reusable-label approach, reusable labels for bottles can help you compare a transfer-friendly format with a printed adhesive label.
The right choice is the one that lowers total hassle across the bottle's life. A cheap sheet isn't economical if you replace it repeatedly, while a reusable option may be unnecessary for a one-day event or a bottle that rarely gets wet.
Care Tips and Troubleshooting for Long-Lasting Labels
Durability isn't a one-time property. It depends on how the bottle is washed, stored, carried, and handled after application. A strong label on a clean bottle can still suffer when an abrasive sponge catches an edge or when a hot cycle exceeds the material's tested limits.
Wash the bottle according to the bottle manufacturer's instructions and avoid scrubbing directly across the label. Hand washing with mild soap is the gentlest routine for an untested DIY label. If you use a dishwasher, place the bottle where it won't rub against racks or other items, and remember that waterproof face stock doesn't guarantee that the entire label construction will tolerate dishwasher heat.
Fix small problems early
When one corner begins to lift, don't pull the label farther back. Dry the area completely, press the edge down with a clean tool or fingertip, and keep the bottle out of water while the adhesive re-bonds. If dirt has collected under the lifted section, pressing it down will only trap the problem, so replacement may be cleaner.
Use this troubleshooting guide:
- Edge lifting: Check for condensation, oil, or a curved seam. If the surface is clean and the lift is minor, press it flat and monitor it.
- Smudged printing: The face stock or ink may not be compatible. Replace the label rather than sealing wet ink under laminate.
- Cloudy appearance: Moisture may be trapped beneath the label or laminate. Let the bottle dry fully before assessing the damage.
- Wrinkled seam: The label may be too large for the flat zone or too rigid for the curve. Measure again and resize.
- Name fading: Reduce abrasion and harsh cleaners, then test a different stock or protective layer.
Practical rule: Judge a label by how clearly it identifies the bottle after ordinary handling, not by how perfect it looked immediately after application.
A label needs replacement when the name is no longer legible, the adhesive has collected dirt, or the material has split around the seam. A small cosmetic mark doesn't require starting over, but a compromised identifier defeats the purpose of labeling. Parents labeling infant bottles, toddler cups, and school bottles should also consider whether the format can keep up with changing containers and washing habits.
The broader market context supports that practical focus. Another market report valued personalized water bottle labels at $2.38 billion in 2024 and projected $4.15 billion by 2033, with a 6.4% CAGR; it also reported that North America represented about 37% of global revenue in 2024, or roughly $880 million in that report. The figures are historical and projected market markers, but the everyday lesson is simpler: personalization works best when it solves identification and repeat-use problems, not when it only adds decoration.
InchBug offers personalized bottle bands and water-resistant name labels designed for children's bottles, cups, lunch boxes, clothing, shoes, and bags. If repeated washing and daycare mix-ups make DIY labels feel like a weekly project, visit InchBug to compare reusable and dishwasher-friendly labeling options for your child's routine.